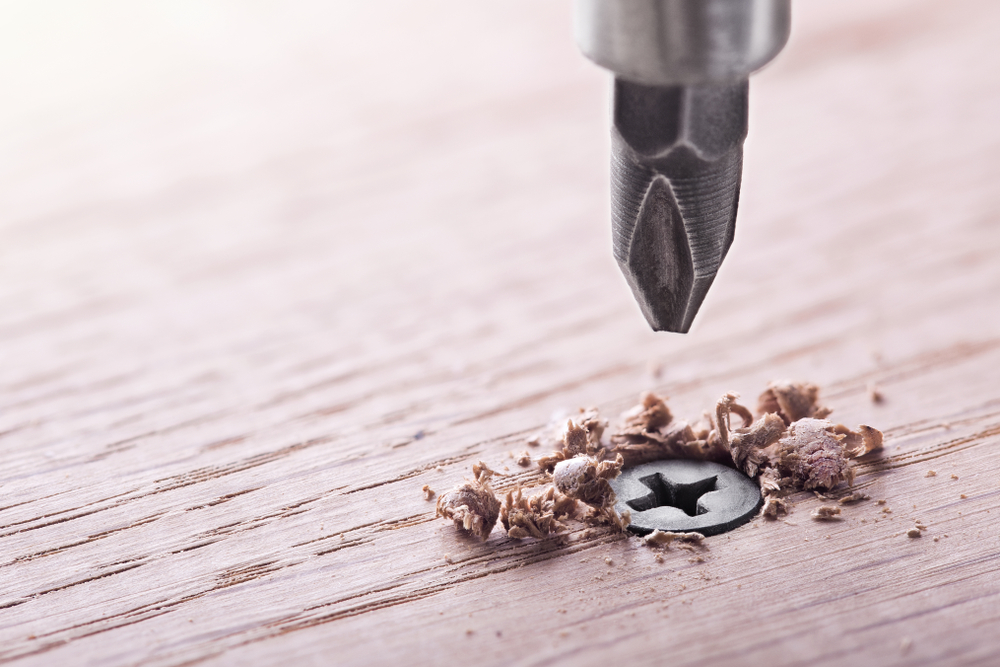
We’ve all done it. We’ve all encountered that one stubborn screw that just doesn’t want to come out, regardless of how much you curse, cajole, or coax it.
At that point, there’s only one thing left to do: teach that stupid screw a lesson by pushing as hard as you possibly can.
Of course, doing that will most likely leave you with a stripped screw — but it will also make you feel better for a brief moment. Still, you’ll have to figure out a way to get that screw out somehow.
13 Ways to Remove a Stripped Screw
The good news is that removing a stripped screw is far from impossible. The bad news is that it will take a little bit of elbow grease and ingenuity — but below, you’ll find 13 sure-fire ways to get that screw out sooner or later.
1. Use Pliers
This is one of the easiest ways to extract a stripped screw, but it will only work if there’s still some of the head sticking out of the wood.
All you need to do is to take a pair of vise-grip pliers, grab the screw head, and unscrew it. It couldn’t be easier.
Of course, if you don’t need to remove the screw, you can just use a pair of wire cutters to snip off the part that’s sticking out. This also has the benefit of making you feel really strong.
2. Switch Screwdrivers
If you’ve been using a power drill, switch to a manual screwdriver. If you’ve been using a manual screwdriver, try a drill. (And if you’ve been drinking screwdrivers, keep going.)
Sometimes switching things up gives you the chance to get a little better grip on the screw. This isn’t a high-percentage play, but every now and then it could be just what the doctor ordered.
3. Try a Larger Bit
If you’re using a drill, switch out the bit for a larger one. This can distribute pressure over a larger surface area on the screw, making it more likely to budge.
Even better, the larger bit is likely to intimidate the screw, so it will be more inclined to cooperate.
4. Use Rubber Bands
Put a rubber band over the head of the screw, and then dig your screwdriver into the rubber band. Try to slowly unscrew it while pressing firmly down.
The rubber will fill the slots in the screw, giving you more friction and a better grip. It will also make you look like a tool-based mad scientist if anyone’s watching.
5. Try Steel Wool
If the rubber bands don’t work, then it’s time to get serious. Steel wool will create even more friction, and it will give your screwdriver a ton of grip inside the stripped-out head.
6. Use an Abrasive Powder
What, the steel wool didn’t work either? Okay, now it’s time for the really big gun: abrasive powder.
Grab an abrasive cleaning powder like Comet (heck, even sand will work in a pinch) and sprinkle it over the screw head. This may prevent the screwdriver from slipping, giving you just enough purchase to remove the screw — and if it doesn’t work, at least you’ll have a clean stripped screw.
7. Grab a Hammer
Hold the screwdriver in place, then tap the handle with a hammer. This may force it deeper into the screw, giving you the purchase you need to get it out.
This is more likely to work if the screw is made of a softer metal, but either way, hitting something with a hammer will make you feel better about the whole situation.
8. Try a Flat-Head
If the stripped screw has a Phillips head, you may be able to get it out by using a flat-head screwdriver. You’ll need to push as hard as you can, but the flat surface can get in deeper, giving you more torque.
This could also damage the screw further, so only use this method if you’re ready to give up on it. There’s no feeling quite like forcing a piece of hardware out using nothing but your powerful muscles, though.
9. Cut a Notch in the Screw
If you own an oscillating tool like a Dremel, you can dig a shallow little slot in the screwhead. This will allow you to insert the blade of your flat-head and unscrew it with ease.
You’ll need a narrow, metal-cutting disk, but this is another great way to feel like you’re really making that screw pay for inconveniencing you.
10. Drill a Hole in the Screw
This is very similar to the notch-cutting method above. Take a small drill bit intended for use on metal and bore a tiny hole in the head of the screw. This lets your screwdriver get in deeper, as well as bypassing the stripped parts.
Be careful about how far you drill down, though. If you go too far, the head of the screw could pop off, which, while satisfying, isn’t very helpful.
11. Weld a Nut to the Screw Head
You’re really not messing around if you try this method. If you have a welder on hand (and the required skills to use it, naturally), you can spot-weld a nut to the screw head. Then, after the thing has cooled, you can use a socket wrench to remove them both.
This method may seem like overkill, but the important thing is that you didn’t let the screw win.
12. Try Anti-Slip Fluid
If you look hard enough, you can find products that are specially designed to prevent screwdrivers from slipping out of stripped screws. Not only do they cut down on slippage, but they also reduce the strain on your arms, lowering the risk of injury.
13. Buy a Screw Extraction Kit
We know, we know — you wish we’d told you these things existed before you started welding a nut to that stripped screw.
Screw extraction kits contain specialized, double-ended drill bits. You drill into the head of the broken screw with one end of the bit, then flip it over and use the extractor side to pull the thing out.
These kits are effective, but they can be somewhat expensive. If it’s worth spending money to get that screw out, though, they can be very useful — and they can also work on jagged, broken, or uneven screws.
How to Avoid Stripping a Screw in the First Place

While the techniques on this list can be effective for removing a stripped screw, it’s vastly preferable to never strip one in the first place. As it turns out that’s fairly easy to prevent, assuming you know what you’re doing.
Here are a few tips to prevent stripping any screws on your next home improvement project.
Use the Right Screw for the Job
If you use a wood screw on a metal surface, for example, you’ll have to use a lot more force to sink it (if you can sink it at all). The more force you use, the more likely you are to strip the screw — simple as that.
Drill Pilot Holes
This goes along with the “the less force used, the less chance of stripping your screws” rule we mentioned above. Pilot holes can prevent screws from seizing up while they’re being sunk, thereby reducing the amount of force you need to insert them.
Use Fresh Drill Bits
If your drill bits are old and worn, they’ll be more likely to slip, which will damage the screw head. New drill bits will sink in cleanly, giving you more purchase and reducing the likelihood of slippage.
Stick to Manual Screwdrivers
Electric drills are great for reducing the amount of work you have to do, but they can make it difficult to regulate the amount of torque you use. Using a manual screwdriver gives you complete control over the force applied, so you’ll be less likely to damage the screw.
If You Use a Drill, Take Advantage of the Clutch
The clutch on a high-quality drill can stop you from applying too much force to the screw, as it will allow the motor to spin without engaging the bit. Start off on the lowest setting and bump it up as necessary; this should give you all the juice you need without overpowering the screw.
Use Better Screws
We have good news: it’s not your fault. You may not be to blame for all the stripped screws, as it may simply be a case of using cheaply-made hardware. If you upgrade to nicer screws, you may have less stripping to deal with. More complex screws like Phillips heads or Torx are less likely to strip as well.
Then again, since you were the one that bought the screws, maybe it’s your fault after all.
Use Lubricant
We mentioned screw lubricant briefly above, but it’s not just useful if you already have a stripped screw. You can also use it to prevent stripping, as it will limit the damage your screwdriver can do to your hardware.
If you don’t have any specialized lubricant handy, you can always use Vaseline instead.
Stay Straight
Screws are designed to have screwdrivers come in straight, at a 90° angle. If you attack them from any other direction, you increase the risk of stripping.
It’s not always possible to come in perfectly straight, but try to do so as often as you can. Also, if you’re using cheap screws, coming in at an angle will almost certainly cause problems.
Stop Immediately if You Notice Stripping
It’s tempting to keep going even after you notice the screw starting to strip — you’re so close, after all. However, you need to stop at the first sign of trouble.
It’s always better to remove the damaged screw and finish the job with a fresh one. If you do this, you’ll have no need for the techniques on this list (but you will go through your cheap screws more quickly, which may be a blessing in disguise).
Final Thoughts

Stripping screws may seem like an unavoidable part of the DIY lifestyle, but if you’re careful, you can limit the damage you do to your hardware. Even if things go wrong, though, the strategies on this list can help you get out of trouble quickly and easily.
Best of all, though, some of these techniques really let you show off in front of your friends and family (especially the one where you weld a nut on — that’s sure to be the talk of the neighborhood for a few days).
