
A sleek set of designer tiles will look brilliant in your bathroom or kitchen. But there’s one on-going issue you’ll always have to contend with: stained and discolored grout.
As grout is light in color and made from a porous material (typically a mixture of cement, water, and sand), it tends to discolor with ease. And because the concoction sits beneath the surface of your tiles, you won’t clean it properly with a simple wipe down.
But that’s not to say cleaning grout is an unachievable task.
With the right cleaning solution and a generous dose of elbow grease, you can reverse discoloration and restore the aesthetics of your chic interior tiles.
The Tools of the Trade
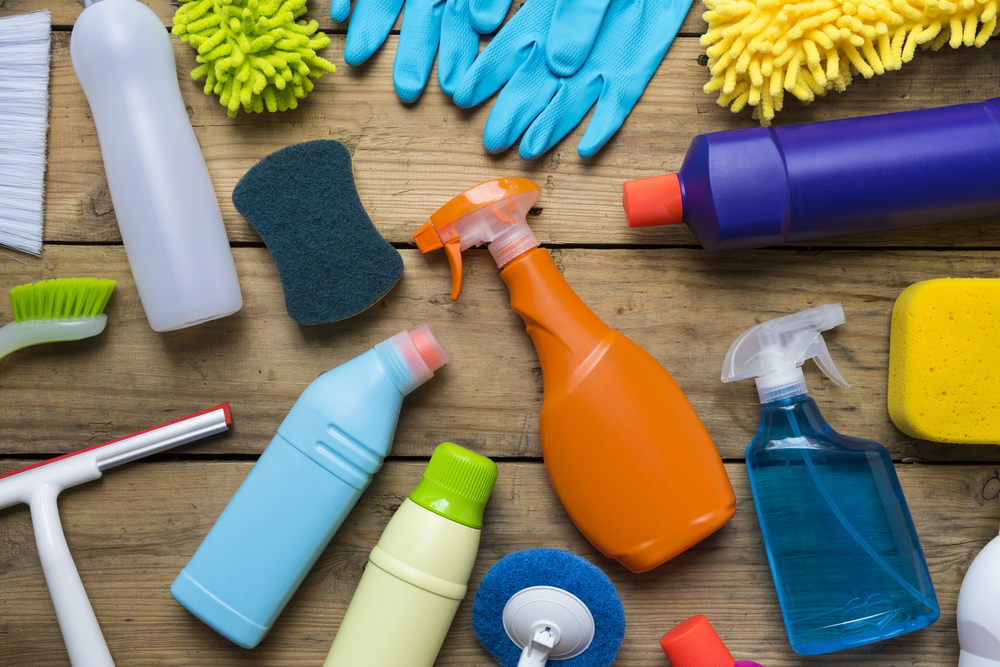
The good news is you don’t need any fancy equipment to remove stubborn stains from grout.
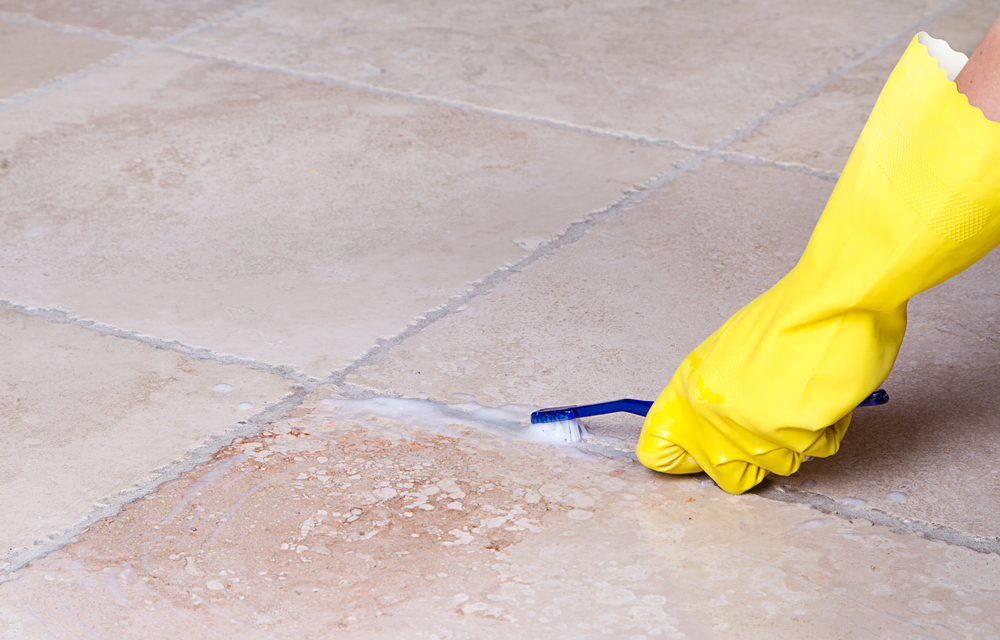
Grab an empty spray bottle from under the cupboard (or buy one online) and repurpose an old toothbrush as your primary scrubbing tool.
Better yet, a thick-bristled brush or purpose-built grout cleaning combo set will do a great job at scrubbing away the stains.
- Pro Tip: Using an electric toothbrush lets you go easy on the elbow grease.
You’ll need a disposable cleaning cloth to wipe away the solution after you’re done. Don’t even think about skipping this step, especially if you’re working with a toxic chemical compound.
To prevent your grout from getting stained again, consider adding a sealant in the final phase. MORE does a fantastic water-based grout sealant that excels at safeguarding against stains.
What You’ll Need:
- One spray bottle (liquids) or mixing bowl (paste)
- One scrubbing brush (toothbrush or thick-bristled grout brush)
- Disposable cleaning cloths
- One tube of grout sealant (optional)
How to Clean Grout
The precise process varies depending on your preferred cleaning solution, which you can read all about below. Nonetheless, there are a few universal steps you should follow to get your grout squeaky clean.
1. Prep the Area
Wipe down your tiles with a damp cloth to absorb all the dust and debris. While you’re at it, have a go at wiping away any food stains before moving onto the next stage.
2. Prepare Your Preferred Cleaning Solution
The ideal cleaner depends on the current state of your grout. Prepare the solution as a paste in a mixing bowl or as a liquid in a spray bottle.
3. Apply the Cleaning Solution
If you’re working with a paste, put some on your brush and gently smother it over the stained grout. For liquids, spray it evenly over the grout. In either case, allow the solution to sit there for several minutes (the exact time varies between cleaning solutions).
4. Scrub the Grout
Once the cleaning solution has had time to work, start scrubbing away at the grout. The worse the discoloration, the more elbow grease you’ll need to use. Rinse the tiles clean with water and wipe them down once you’re done.
5. Apply a Sealant
Now that the area is dry and your grout is looking lovely and clean, you may want to apply a grout sealant. These potent products add a protective layer to prevent your grout from becoming discolored again.
An Easy Alternative: The Steam Cleaner
Although you’ll have to fork out a hundred bucks or so for a decent steam mop cleaner, the investment is worthwhile for the convenience it affords.
Rather than bending down and tirelessly scrubbing away at your grout, you can run the mop back and forth over the tiles and let its heating element do the hard yards for you. The method works on medium to heavy stains and is more eco-friendly than most other approaches—no nasty chemicals required.
A plethora of unique options are available, although it’s hard to go past the Power Fresh Steam Mop from BISSELL.
Choosing the Ideal Cleaning Solution
The perfect cleaning product depends on the current state of your grout. For your regular weekly clean, a bucket of warm water will do the trick. But for badly neglected grout with gruesome stains, reach up to the top shelf and grab something a little more heavy duty.
As a rule of thumb, start with a milder solution and work your way up. Test each solution in an out-of-the-way spot—behind the cupboard or beneath the toilet—to ensure it won’t permanently discolor your tiles.
Warm Water for Preventative Cleaning
Regularly cleaning grout with warm water is an excellent way to prevent stains from appearing in the first place.
Spritz a healthy dose over your grout and give it a gentle rub with your brush. Warm water won’t work at removing existing stains, so consider this option as more of a prevention than cure.
Vinegar and Water for Dirt and Mild Stains
If your grout is covered in grime or is starting to suffer from mild stains, a white vinegar and warm water solution is your best bet. Chances are you already have the classic household cleaning staple somewhere in your arsenal—if not, you can buy a big one-gallon bottle for a few dollars online.
Mix one part warm water and one part white vinegar into your spray bottle and apply it evenly over the grout. Let it sit for around five minutes to work its magic before scrubbing the grout clean with a brush.
Baking Soda, Water, and Vinegar for Moderate Stains
If vinegar doesn’t achieve the desired effect, try throwing a smidge of baking soda into the mix. Officially known as sodium bicarbonate, this white crystalline powder is naturally alkaline and evolves into a heavy-duty cleaning powerhouse when mixed with acidic vinegar.
One of the great benefits of the potent combo is it’s non-toxic—perfect for when you’ve got little kids or pets roaming around the tiles.
Apply a thick paste of baking soda and water to the grout then spray over the top with pure vinegar. Once the solution has stopped fizzling away, start scrubbing with your brush. Rinse off the area with fresh water to disperse the solution.
Hydrogen Peroxide for Moderate to Heavy Stains
The next step up is hydrogen peroxide, a powerful chemical compound used as an oxidizer, bleaching agent, and antiseptic.
Hydrogen peroxide is sold at most drug stores and readily available to purchase online. Although it costs much more than the aforementioned options, hydrogen peroxide does a better job at cleaning stubborn grout stains. And as a neat little bonus, you can use it to disinfect wounds as well.
The process is simple: spray it on the grout, scrub vigorously, let it sit for a few minutes, then wipe it off with a cloth. Some folks prefer to add a sprinkling of baking soda to form a thick cleansing paste.
Oxygen Bleach for Heavy Stains
Oxygen bleach is an excellent option for grimy grout and stubborn stains. Also known as sodium percarbonate, the common cleaning solution is a mix of hydrogen peroxide and sodium carbonate and typically comes in a powder or gel.
It’s not something you want to ingest or inhale, however, so treat the product with care. Work in a well-ventilated area and avoid letting the solution come in contact with your skin.
Apply the manufacturer’s recommended dose to your grout and let it sit for 15 minutes or so. Rinse clean with fresh water once it’s done.
Commercial Grade Cleaners for Heavy Stains
If your grout is covered in unappealing stains, commercial cleaners are a viable option to oxygen bleach. A wide range of products are available to choose from, each specializing in different things.
Bar Keepers Friend, for example, works well at removing stains (it comes with a grout brush included in the deal), while BioKleen has eco-friendly cred.
Commercial cleaners are suitable for a variety of household surfaces, so there’s no need to purchase one solely to use on your grout. The application process varies between products; always check the manufacturer’s instructions before scrubbing away.
Chlorine Bleach as a Last Resort
If all else fails, you could try using chlorine bleach to clean especially stubborn stains out of your grout.
The heavy-duty solution is highly toxic so you’ll need to treat it with extreme care. Be particularly pedantic about removing any traces of vinegar from the grout—when chlorine mixes with vinegar, it creates deadly toxic fumes.
And don’t get into the habit of going down this route too often. Caustic cleaners like chlorine bleach are highly corrosive and will eventually erode your grout.
How to Clean Grout: Final Thoughts
Cleaning out your grout requires prior preparation and a bit of elbow grease, but it’ll be well worth it to restore the sleek like-new look of your lovely household tiles. The ideal cleaning solution depends on the current condition of your grout, and we’ve covered all the essential options in this handy how-to guide.
Don’t let dirty grout cramp your interior décor style. Grab your preferred solution and start scrubbing the stains away today.