Mopping the floor is one of our least favorite chores, but it’s necessary to keep our homes clean and free of germs. While the process may seem straightforward, there are actually some common mistakes that many people make when doing this weekly task.
If your floors aren’t as clean as you’d like, then you may be making one of these mistakes. In this article, we’re going to go over the tools you need as well as general best practices so that you can mop your floor correctly the first time.
Sweep First
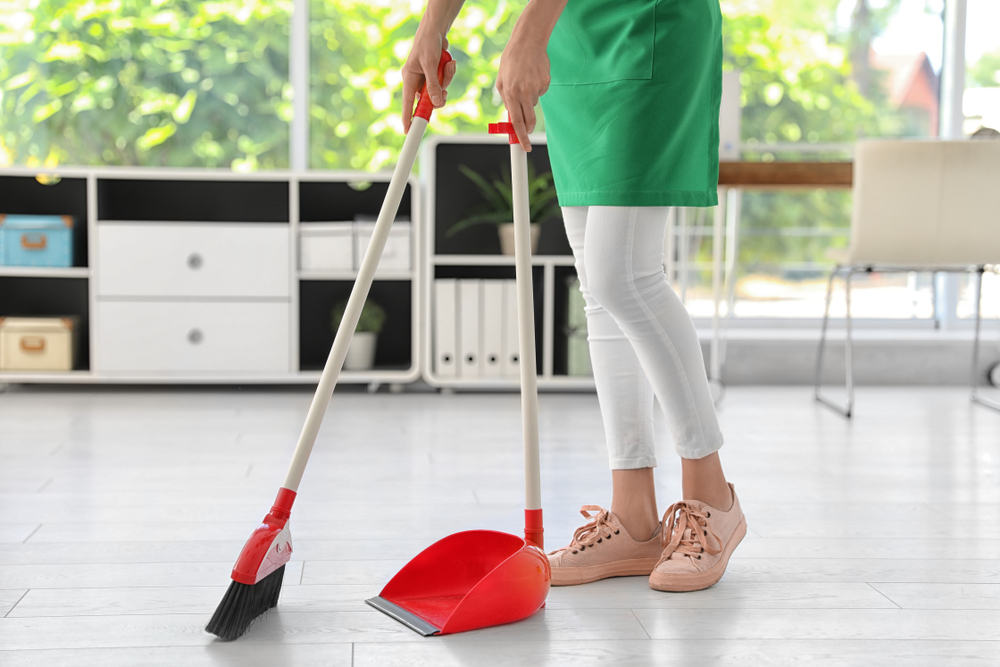
If you don’t sweep your floors before washing them, then you’re actually just wiping whatever dirt, crumbs, and debris are on them around your floors, which is the opposite of cleaning them. In fact, this can even damage your floors over time as some of the debris may have rough edges that could create small scratches in the finish of the floor.
Though some people will suggest vacuuming, sweeping does a better job. It’s often easier to get into hard-to-reach places, like under cabinets, and the broom will collect debris that the vacuum cleaner misses.
Try vacuuming your floor and then sweeping after. You’ll probably still have a small pile of dust and dirt. While the pile is definitely reduced from vacuuming, why do in two steps what you could do in one? Choose the broom.
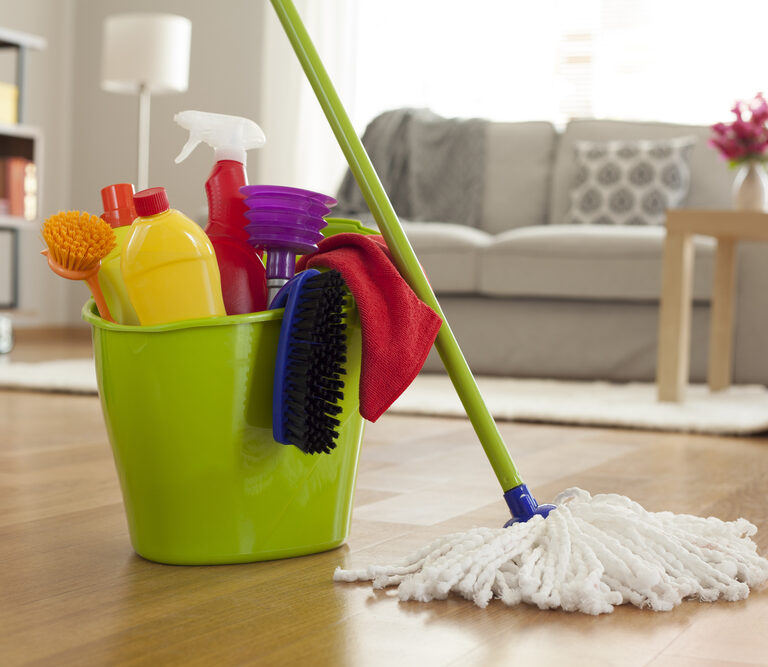
Choose Your Mop
It’s important to choose the right mop for your floor type. While Swiffers and other pad mops are great for quick cleanup, they aren’t the right choice for a deep clean. Instead, you’ll want to consider string mops (the traditional mop that comes to mind at the thought of the word) and sponge mops.
String mops are great for floors that have texture or grooves as they’re better at getting into those grooves than sponge mops are. However, string mops hold quite a bit of water and therefore may not be the best option for hardwood, bamboo, or laminate flooring. To retain the integrity of these types of floors, you’d have to wring out the mop until it was almost dry.
Therefore, we suggest considering a sponge mop for hardwood, bamboo, cork, or laminate floors. Sponge mops do not hold as much water and thus are a bit gentler on these types of floors.
These mops typically have a handle just above the sponge that squeezes it out when pulled. Though sponge mops can be better for such types of flooring, you’ll still want to wring the sponge out until it’s nearly dry.
Don’t Overdo It With the Cleaner
As with mops, you’ll want to choose the right cleaner for your floor type. Most cleaners will list what types of floors they are made for, so be sure to read the label carefully.
It’s important to choose the right cleaner for your floors because the wrong cleaner could damage them over time, especially if your floors are made of a material like hardwood.
It’s equally important to follow the instructions on the label of the product you are using. As the saying goes, “too much of a good thing can be bad.” This is true for floor cleaning products as they can leave behind a sticky residue when you use too much.
Either that, or you’ll have to spend extra time rinsing; why make more work for yourself? Do yourself a favor and don’t overdo it with the cleaner.
Use Two Buckets
Some of the information we’ve shared may have been obvious to a lot of you, but one of the most common mistakes people make when it comes to mopping the floor is only using one bucket. It’s actually better to use two buckets when washing a floor; one with the cleaning solution, the other with clean rinsing water.
You’ve probably noticed that when you wash your floors, the water in your bucket slowly gets dirtier and dirtier. This is exactly why you need a rinsing bucket. Dipping your mop into a bucket of dirty water means you’re just spreading dirty water over the floor and aren’t doing much to remove the grime that’s there.
If you rinse your mop in clean water, you’ll get less of this dirt into your cleaning solution which will allow it to do its job. Depending on how large of a space you’re mopping, you may even need to refill your buckets. Though having a rinse bucket helps immensely, you should replace the water in both buckets once it starts to look dirty. Using clean water results in a clean floor.
Pre-Cleaning
You may have some areas on your floor that get especially dirty. For us, it’s always grimier under the dog bowls (good thing the mess makers are cute). It’s a smart move to spot treat these areas.
You can use some of the solution from your bucket or an appropriate spray cleaner. If your floor is not sensitive to water, then you can actually leave the cleaner to sit until you make your way over to the area with the mop.
Otherwise, we suggest grabbing a sponge and precleaning the area. Since this spot will be getting double the cleaner (from this pre-treatment and later the mop), you’ll want to mop or wipe it with clean water to prevent any stickiness or residue from the cleaner.
Proper Floor-Cleaning Form
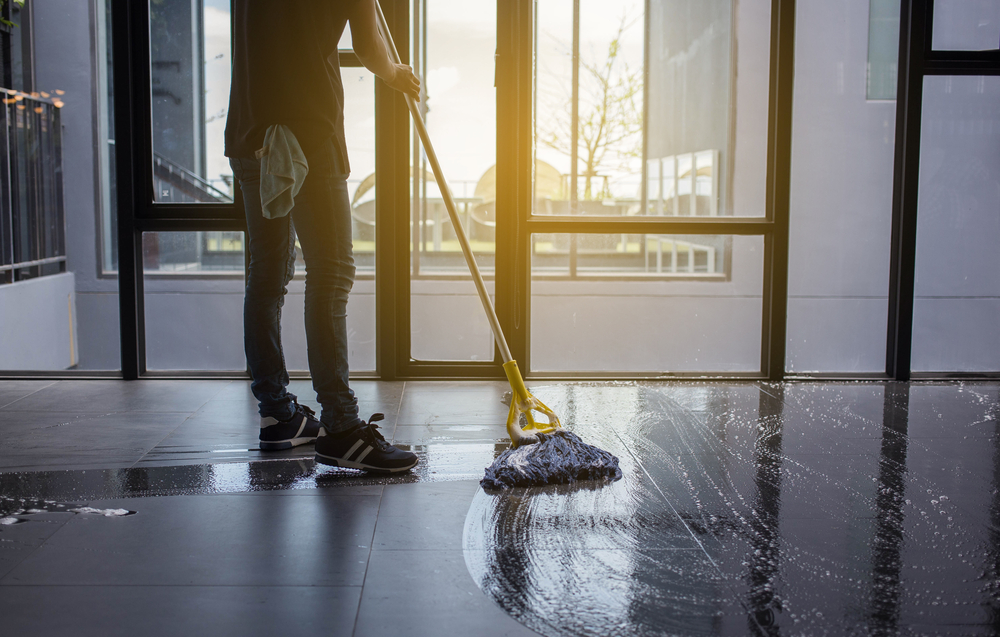
While you may not be cleaning the floor in front of a panel of judges (unless you have a spouse or even parent over your shoulder as you clean), your technique matters. It’s all about being efficient.
If you’re using a string mop, the best technique is to sweep the mop in small figure-eight motions. Sponge mops, on the other hand, work best in a back and forth motion. If you’re cleaning a wood floor, be sure to go with the grain.
Make sure to work backward so that you are never stepping on the areas you’ve just cleaned. Go in small sections and rinse your mop in the water bucket after each one.
Do a Final Rinse
To make sure your floors are extra squeaky clean and you’ve really gotten all the grime off them, you can do a final rinse. Basically, you take clean, hot water and mop the entire floor with that.
Before doing this step, you can use a cloth or paper towel to wipe a spot on the floor and see if it actually needs to be rinsed or not. If the towel comes back dirty, doing a final rinse is a good idea.
Don’t Forget to Wash Your Mop
Once you’re done with the floors, it’s vital that you also wash your mop. Leaving the mop dirty will give you less than stellar results the next time you use it to wash the floor and will also make your mop the perfect home for bacteria. If your mop head is machine washable, then be sure to throw it in the wash when you’re done.
Otherwise, we suggest you first rinse the mop head off in water to clean it of dirt and debris. Then, you can soak it in a mixture of one gallon of hot water and ½ cup of bleach. For sponge mops, use 1 cup of vinegar instead. Bleach can cause the sponge to deteriorate, which is why you’ll want to use vinegar.
Let the mop soak for about 10 minutes. Then, wring it out as much as possible and leave it to dry before putting it away.
If you do not disinfect and dry your mop before storage, it becomes a playground for bacteria that you do not want to be spreading around on your floors. Do yourself a favor and take the time to properly clean and dry your mop.
No More Dirty Floors!
Though the process of cleaning the floor is somewhat of a pain (does anyone actually like this chore?), it’s less irritating if the floor is actually clean after you’ve taken the time to mop it.
Be sure to sweep first so that you aren’t just mopping debris back and forth over your floors. Similarly, it’s important to use a second bucket of clean water to rinse your mop out so you’re not spreading dirty water over the floor, which is ineffective.
Be sure to watch your technique, too (figure-eight motions are best when using string mops), and don’t be afraid to give the floor a final rinse by mopping it with clean, hot water. If you follow these tips, you can say goodbye to dirty floors for good.