No matter how thorough you’ve been in the post-grout cleaning phase, your tiles are going to have a degree of haze. Whether the cloudy mineral residue appears directly after grouting or rears its ugly head a couple of days later, there’s no way to avoid grout haze.
But don’t dismay, your strenuous tiling efforts weren’t in vain. Removing grout haze is simple with the right tools and technical know-how. In this post, we’ll show you the fastest possible way to neutralize the haze and make your new tiles shine.
What Causes Grout Haze?
Grout is a muddy-like mixture that generally contains cement, sand, water, and various assorted minerals.
When grouting tiles, the worker smears the mucky substance over the entire tiled surface with a grout float to drive the material into the joints. Although the worker will scrape and wipe away most of the excess grout, a thin cloudy film will inevitably remain.
There’s no need to worry, though. Grout haze is a common consequence of the tiling process and can easily be cleaned once the tiles have had time to cure.
The Different Types of Grout
Not all grout is created equal. The type that’s smeared across your tiles dictates how you should clean up the haze.
Cement grout is the most popular option among the home improvement crowd as it’s affordable and easy to apply. The good news is it’s also super easy to clean off your tiles and typically doesn’t require harsh chemical solvents.
Epoxy grout, on the other hand, is a premium product with superior durability and water-repellent properties. It’s fantastic for high splash zones like showers as its non-porous nature prevents water from seeping through the tiles. But when it comes to cleaning, you’ll need to spring for a chemical agent because homemade household cleaners aren’t up to the task.
Urethane grout is pre-mixed and ready to use right out of the packet. Its robust composition makes it difficult to remove with a household cleaner; thus, chemical solvents work best.
The Different Types of Tile
Your choice of tile also affects the cleaning solution you should use.
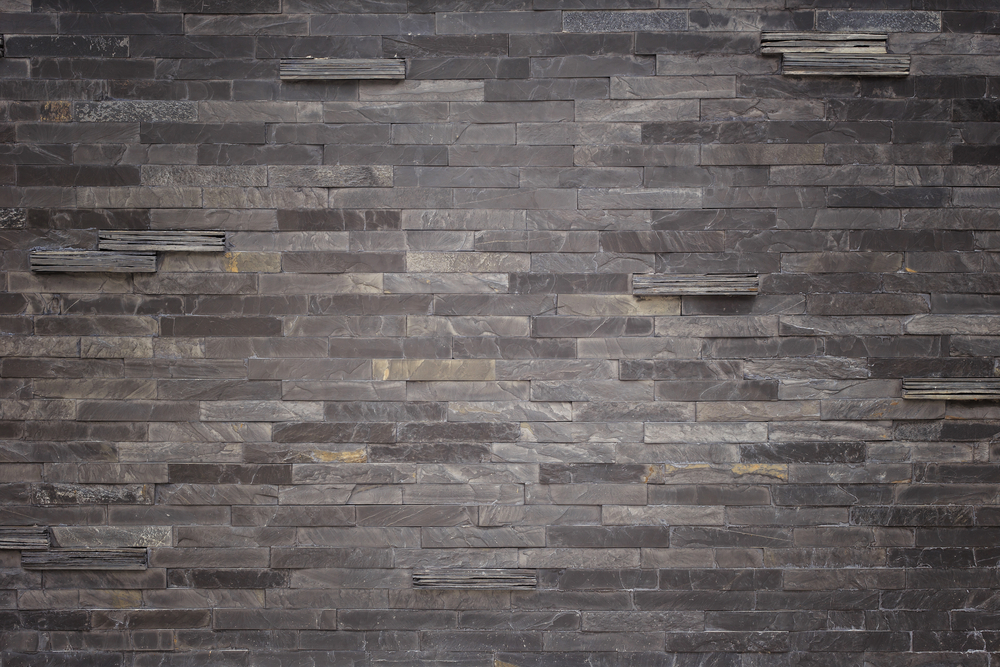
Smooth tiles made from porcelain and ceramic are highly water-resistant and safe to clean with acidic substances such as vinegar. If you’re working on a porous tile such as stone, acid can seep into the pores and corrode the surface, effectively ruining your entire tiling job.
Think carefully about the type of cleaning solution you use and contact the installer if you aren’t 100% certain about your tile’s composition. If you installed the tiles yourself, you’ll find the tile type listed on the packaging.
The Tools of the Trade: What You Need to Remove Grout Haze
Gather the following tools and materials to wipe away grout haze for good.
- Cotton cheesecloths
- Grout float
- White vinegar (porcelain and ceramic tiles only)
- Grout sponge
- Two buckets
- Rubber gloves
- Nylon brush
- Scrub Pad
- MAPEI ULTRACARE or FILA Surface Care Solutions grout cleaner
You won’t necessarily need all of these, as the ideal solution depends on your tile and grout type.
The Preparation Phase
Consider the following before you begin the haze removal process.
1. Identify Your Tiles
Work out what kind of tiles you’ve got and purchase the appropriate cleaning solution. Vinegar works well on non-porous tiles such as ceramic and porcelain, while a chemical cleaning agent is your best bet for slate and stone.
2. Identify Your Grout
If you’re using everyday cement grout—regardless of whether it’s sanded or non-sanded—then you can wipe off the haze with simple household vinegar. Premium grouts such as epoxy and urethane will require a special chemical cleaner.
3. Allow the Grout Time to Cure
While you can (and should) wipe off excess grout the moment it touches your tiles, it’s best to wait for the grout to cure before you do a thorough clean. Otherwise, you’ll inadvertently dissolve the uncured grout in the joints between your tiles and compromise the entire tiling project.
Grout typically takes 24-48 hours to cure, but some varieties like urethane can take up to a week. Consult the label on your grout to determine the curing time, or ask the installer if you didn’t DIY.
Don’t leave it too long, though. Any more than ten days and the haze will begin to harden and become much more difficult to remove.
How to Remove Grout Haze: Four Easy Options to Revitalize Your Tiles
The best way to remove haze depends on the grout and tile type. We cover the most common combinations below.
Option 1: The Damp Cloth (Best With Ceramic or Porcelain /Any Tiles)
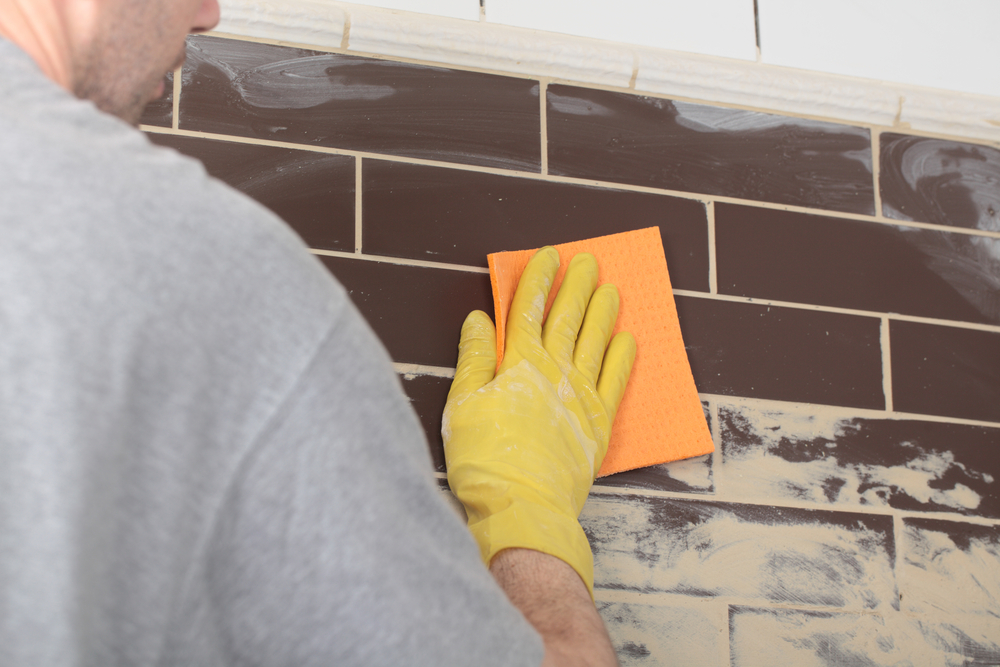
If you’ve got a thin film of cement grout staining your tiles, removing it could be as simple as a quick wipe down.
All you need is a bucket full of warm water and a terry towel or cheesecloth.
- Dunk the cloth into the bucket.
- Wring as much water out of the cloth as possible.
-
- Excess water could unsettle the grout in the joints.
- Firmly rub the affected tiles to lift the grout from the surface.
- Dry the area with a dry cloth or mop.
Option 2: The Grout Float (Best With Ceramic or Porcelain Grout / Any Tiles)
If you installed the tiles yourself, you’re already familiar with the grout float, a handheld squeegee-like tool with a firm rubber base.
- Position the float at a 45-degree angle to the floor.
- Pull the float across the tile surface towards you.
- Repeat the process until you’ve removed the haze.
The soft rubber edge should drag the grout haze across the tiles without scratching them or damaging the grout lines. Now it’s time to do a final clean to get rid of any remaining haze.
- Scrub the entire surface with a damp grout sponge.
- Buff the area with a terry towel or cheesecloth.
- Review your handy work with a flashlight.
If you can still see grout streaks or stains, you can try one of the following two options.
Option 3: Vinegar (Any Grout/Porcelain or Ceramic Tiles Only)
White vinegar is a superstar household cleaning product with a high acidic content that cuts through grout haze with ease. And as it’s completely non-toxic, you don’t have to worry about accidental ingestion—a godsend when you’ve got pets or kids.
But be warned: It’ll seep into the pores of slate or stone and cause severe discoloration. Only reach for the vinegar if you’re working on porcelain or ceramic tiles.
- Fill a spray bottle with one part vinegar and five parts water.
-
- Feel free to throw in extra vinegar if required.
- Spray the solution over the affected area.
- Rub the solution in with a mop or cloth.
- Mop the area with fresh water to clean up the vinegar.
Vinegar is tough stuff, but it won’t always clear away the haze. Whip out a commercial cleaner as a last resort.
Option 4: A Commercial Grout Remover (Any Grout/Any Tiles)
Commercial grout cleaners are the most effective way to remove unwanted haze. However, they’re also somewhat unpleasant to work with and cost money, which is why we recommend them as a last resort.
Take care to pick a cleaning solution that’s specially formulated to function on your specific type of grout and tiles. For example, MAPEI ULTRACARE works well on epoxy grout and is safe for use on any tile type. Another good option is FILA Surface Care Solutions, whose haze remover is ideal for cement grout and won’t damage delicate slate or stone tiles.
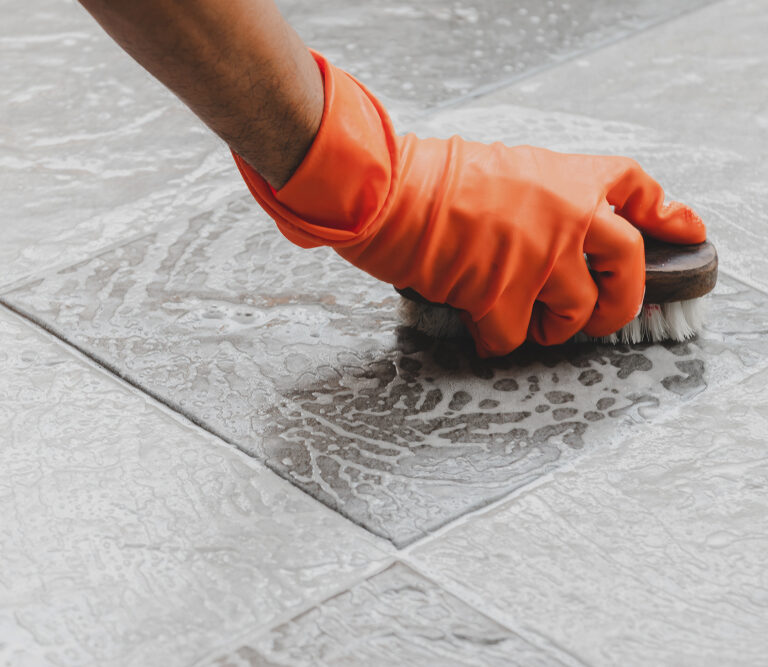
- Pop on your personal protective equipment (mask and rubber gloves).
- Apply the manufacturer’s recommended dose to the tiles.
- Let the formula sit for several minutes.
- Scrub the formula into the affected area with a scrub pad to wear away the haze.
- Switch to a nylon brush for any hard-to-remove haze.
- Mop up the excess cleaning solution.
- Dry the area with a dry mop or towel.
- Inspect the area with a flashlight.
Even the most stubborn epoxy grout haze shouldn’t hang around once washed with a commercial-grade cleaner. If you can still spot some haze, try repeating the process or switch to a different brand.
Removing Grout Haze: Final Thoughts
Grout haze is a natural by-product of the tiling process and a minor nuisance you can quickly fix yourself. By following one or more of the four options outlined in this handy how-to guide, you’ll banish the cloudy grout stains for good and relish in your glimmering new tiles.