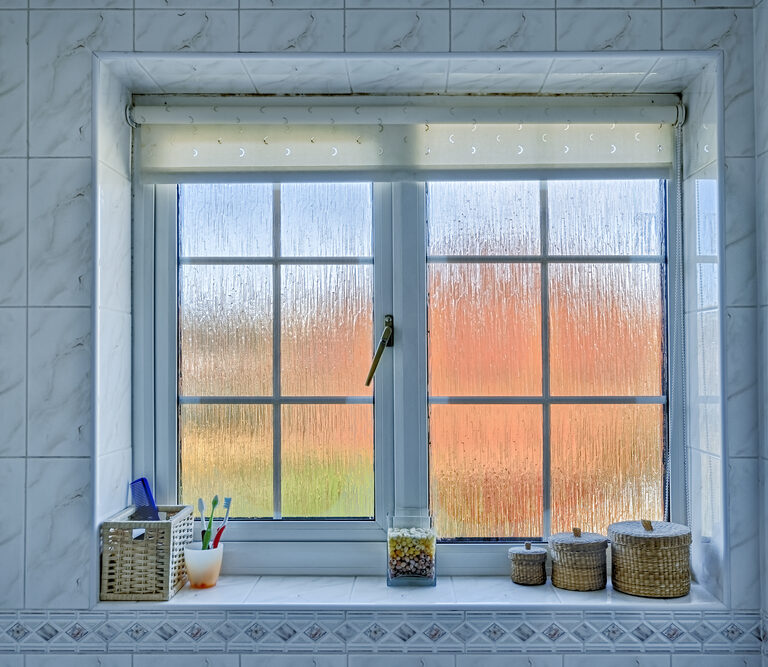
Style and privacy should always go hand in hand when it comes to home design. Not every room needs a set of dark curtains to create a sense of privacy —especially bathrooms. For a modern minimalist touch, frosted glass is the answer. Frosted glass is a type of obscure glass that distorts the objects behind it, without blocking light from getting in.
While this aesthetic is more common in corporate settings, it can bring great results to any room in your house that needs either privacy or a more contemporary touch.
Methods for Frosting Glass
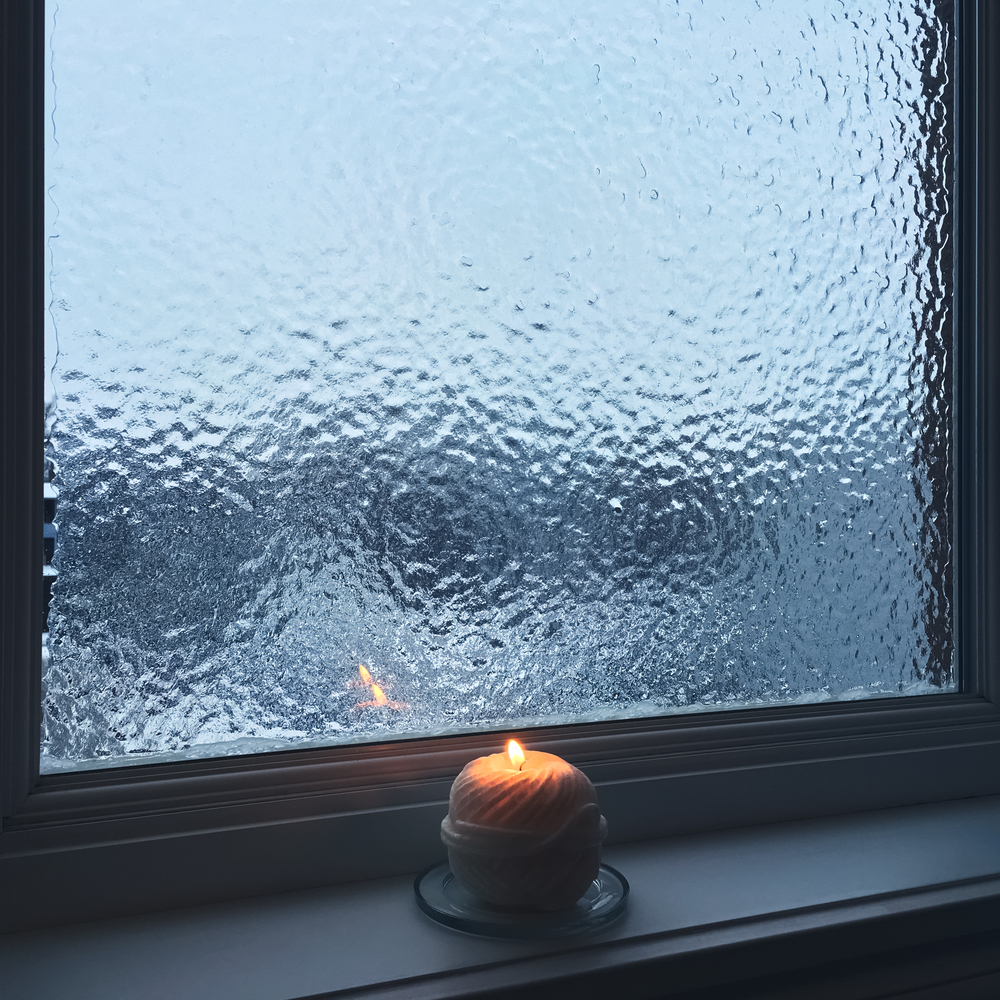
The name of this glass style comes from the blurry look clear glass gets when it’s cold outside, especially during winter. There are many ways to achieve this aesthetic, from DIY budget options to top-tier professional alternatives. Choosing one depends entirely on your personal preference and situation. Here are the four most common ways to frost glass:
Etching
This method is the oldest and one of the most common ways to frost glass. Etching is a process that dates back to the mid-1800s. Glassworkers used it to decorate vases, cups, and windows by giving them custom styles with many shapes and patterns. The process involves the use of hydraulic acid, which is highly corrosive. Nowadays, there are many commercially-available and safe products for anyone to do it at home.
Frosted Film
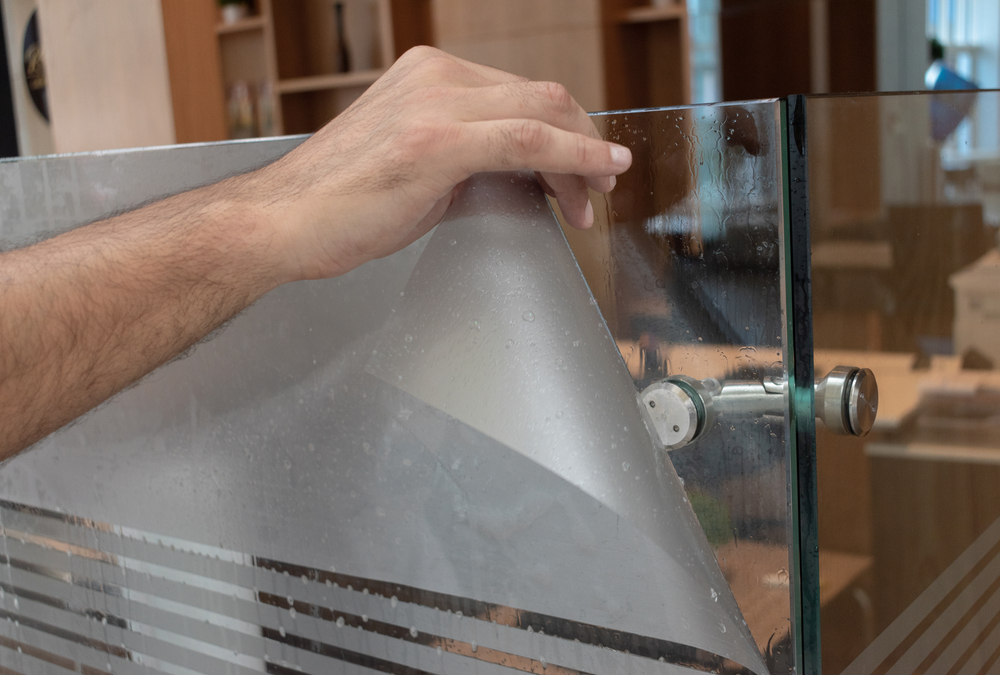
Frosted film is easy to apply, and it’s also a cost-effective method, since you won’t need to replace your windows or use heavy-duty chemicals. It’s generally water-resistant, and to the naked eye, it looks just like any other permanent frosting method, like etching or sandblasting.
Spray Paint
Spray painting is the easiest and fastest way to frost windows. It’s also a budget DIY option that comes with a few drawbacks —mainly that it’s not permanent and subsequent layers have to be applied every six months. The quality also depends a lot on the spray brand, so there’s no consistent look. All-in-all, this option is great for spaces where you would like to see how frosted glass would look.
Sandblasting
Along with etching, this is another common professional way to frost glass. However, it requires a lot of equipment, so unless decorating and frosting glass is your hobby, hire a professional to do it for you. It would be like buying an entire workshop just to fix your car. This guide focuses on the three first methods, as sandblasting is a process better left for professionals and enthusiasts.
How to Etch Glass
What You’ll Need
- Masking tape
- Etching paste
- Rags or paper towels
- Protective eyewear
- P90 Breathing mask
- Acid-resistant gloves
- Plastic bucket
- Sponge
- Clean water
Step 1.
First and foremost, you should make sure you’re wearing appropriate protective equipment. Etching is done through the use of hydrochloric acid, which is highly corrosive, so you need to be careful when you handle the paste. Wear thick rubber gloves, a long sleeve shirt, protective eyewear, and a respirator mask.
Step 2.
If you can, take the glass you’re going to frost out of its frame so you can perform the etching outside your home or in a more comfortable environment. If you can’t move the glass, make sure you use masking tape around its frames or any place where the etching paste may cause damage.
Step 3.
Thoroughly clean the glass of any dirt or fingerprints, because they could compromise the frost and glass quality. You can use normal soapy water and a sponge. Make sure you use paper towels and clean water to rinse off the soap, and let the glass dry in a place where no dirt or debris will fall onto it.
Step 4.
Not all etching pastes are the same. For that reason, you need to read the product’s label or box for specific information about the preparation and application.
Step 5.
Carefully apply and spread the etching paste with a bristled brush; only one side of the glass should be enough. After you have a generous layer, let the paste dry for as long as it’s instructed on the label, which is usually around 10 to 15 minutes.
Step 6.
After waiting for the recommended time, fill a plastic bucket with water and use a clean sponge to carefully wipe off the paste. Give the sponge a good squeeze every time you’re wiping off the paste, so it doesn’t drip down the wall. After washing away the paste, you’ll start seeing how opaque the glass is, giving you a glimpse of the final result.
How to Apply Frosted Film

What You’ll Need
- Spray bottle
- Liquid soap or window washer
- Window scraper
- Rags or paper towels
- Plastic card
- Sponge
- Clean water
Step 1.
Make sure the film you get has the same dimensions as the glass you want to frost. Most online options are very particular about the film’s different sizes and dimensions to make life easier for you. For glass or windows with unconventional shapes, buy a film at least twice the size of it. Use a ruler to meticulously get the shape’s dimensions and a pencil to draw it on the film, then use a boxcutter and slice along the drawing to create a mold that would fit perfectly on the glass.
Step 2.
Before you apply the frost, clean the window thoroughly to avoid dirt, debris, or fingerprints on it. This is more important in this method than any other because anything that’s not cleaned will remain visible between the glass and the frost film. Proceed to clean any liquid left of the window with a rag or paper towels but make sure there are no pieces left on the glass.
Step 3.
Lay the film on a flat, clean surface like a table and carefully peel it off.
Step 4.
Generously spray both the film and the glass with soapy water.
Step 5.
Hold the film by the corners and slowly position it close to the glass. Get the film as close as you can to the glass without touching it and then let it slowly stick onto the glass. Don’t worry if there are water or air bubbles, just be sure the film is sitting in the correct position.
Step 6.
Apply another layer of soapy spray on the film and use the squeegee or a plastic card to push any trapped water or air bubbles to the sides. Start from the top of the film and work your way to the sides until there’s no trapped water or air. Be careful not to move the film out of position.
Step 7.
Let it dry overnight and if there’s any excess film on the window the next day, use a ruler and a box cutter to carefully trim the excess parts.
How to Frost a Window With Spray Paint
What You’ll Need
- Frost Spray
- Masking tape
- Soapy water
- Protective eyewear
- P90 Breathing mask
Step 1.
Because of the fumes generated by the frost spray, it’s recommended to take the glass outside or ventilate the room you’re working in while applying the frost spray. Make sure you wear eye protection and a P90 breathing mask.
Step 2.
Clean the glass you’re going to frost with a rag and soapy water, and make sure it dries properly.
Step 3.
If you can’t take the glass outside, make sure to use masking tape to cover the frames and other objects close to the glass where frost spray may fall.
Step 4.
Carefully and evenly apply a thin layer of frost spray. Read the product’s label to check for drying times, and once the first layer is dry, apply subsequent ones until you achieve the level of opacity you desire.
Can You Wash Frosted Glass?

Yes, every method listed above is safe to wash with just soapy water and a rag or paper towels. Remember that frost spray is not a permanent solution to window frosting, so the more you clean it, the more likely it will start to crack and peel. If it does, you just need to re-apply another layer of the product.
Final Thoughts
From DIY methods to more professional alternatives, glass frosting is a widely available solution to light and privacy issues for your windows. Picking the best method is all about your personal choice. It’s easy to apply, take care of, and is a stylish way of giving that nice and cool look to your house without going overboard.
