What’s worse than a house full of dirty windows? A series of unsightly streaks left behind from a half-hearted cleaning attempt.
Whether they’re at home, the office, or on your favorite automobile, windows have a nasty habit of accumulating gunk. Dust, dirt, debris, and pollution particles will make their way onto your once pristine windows to block out your prized view.
And unless you’re privy to the proper technique, any attempt to clean the glass will result in endless displeasing streaks.
In this article, we’ll discuss the ideal equipment and teach you the best method for cleaning windows without leaving behind those ugly streaky stains.
How Often Should You Clean Your Windows?
Although it’s a chore, cleaning your windows is a sure-fire way to enhance the interior aesthetics of your home. Nothing ruins a chic design job more than a row of dusty, barely transparent windows.
So how often should you wash them?
It depends on the contaminants floating through the air.
The general rule of thumb, however, is to endeavor to clean your windows once every six months or so.
If you’re living somewhere with a large quantity of airborne grime, then aim to schedule a thorough clean more often. If not, you could probably get away with doing them less frequently.
Choosing the Right Equipment for the Job
Equipment is just as important as technique in the window cleaning game, so think carefully when picking out the tools of the trade.
The Window Cleaning Agent
While there’s plenty of debate on who makes the best window cleaning agent, the truth is most of the top options perform pretty well. All specialty window cleaners have similar active ingredients and achieve the same result: crystal clean windows that are 100% free of streaks.
Nonetheless, we’re rather fond of the timeless classic Windex brand, a powerful solution found in millions of American homes. Grab a spray bottle and one-gallon refill for a cost-effective combo pack.
Whatever you do, avoid using any cleaners based on ammonia or alcohol. These leave behind a fine streaky film that attracts dust and grime.
If you’d rather concoct your own agent, then white vinegar is your best bet—the potent acidic solution works wonders at wiping away dirt and breaking down streaky residue. Plus, the all-natural byproduct is non-toxic, so it’s safe to store around the house when you’ve curious toddlers about.
You’ll need to whip up a solution of one part white vinegar to 10 parts of warm water and transfer it into a spray bottle.
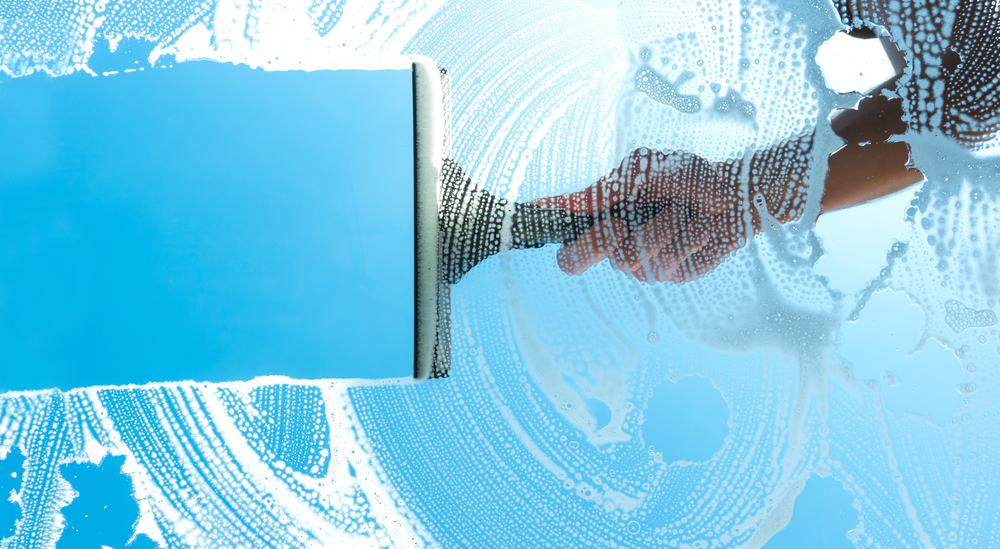
Squeegees Versus Towels
Although squeegees are the preferred method for professional window cleaners, the technique is rather difficult to perfect. Drips and drabs land everywhere, and should you fail to align every squeegee stroke, you’ll end up with a window full of unsightly streaks.
Unless you’ve got the time and patience to perfect your squeegee technique, we recommend opting for a towel instead.
Paper towels are a popular choice, but you’ll need to get a quality brand. The cheap stuff tends to fall apart mid clean and leave behind ghastly clumps of lint. Bounty Paper Towels do an excellent job of retaining their shape when wet.
Our favorite option, however, is the lint-free microfiber cloth. These cost-effective cleaning machines are ultra-absorbent, easy to use, and machine washable—not to mention they’ll leave your windows with a shiny, like-new gleam.
Cleaning Your Windows: A Step-by-Step Guide

Follow these six steps to achieve crystal clear, streak-free windows in record speed.
1. Choose a Cool or Cloudy Day
If it’s scorching hot out, your cleaner will dry on the blazing windows before you get the chance to wipe it off, and then you’ll be left with nothing but a myriad of annoying streaks.
And if it’s raining, the downpour will flush away the solution before it gets to work its cleansing magic (as if you’d want to work outside in the rain, anyway).
If possible, wait for a cool and dry day to take on the task. If not, start early in the morning or late in the evening while it’s not too hot.
2. Dust Down the Window Sills
The first step is to sweep up any dirt and debris from the window frame, using either a soft-bristled brush or a vacuum cleaner. Otherwise, the window cleaner will drip down and make a mucky, muddy mixture, which could stain the window sill or walls.
While you’re there, you might want to take the opportunity to remove and clean your window screen. Pop it out from the snaps and give it a good scrub with hot soapy water. Rinse it off and let it dry before popping it back in again.
For blinds and shades, run a damp microfiber cloth over both sides to soak up the dirt, then again with a dry cloth to absorb the water.
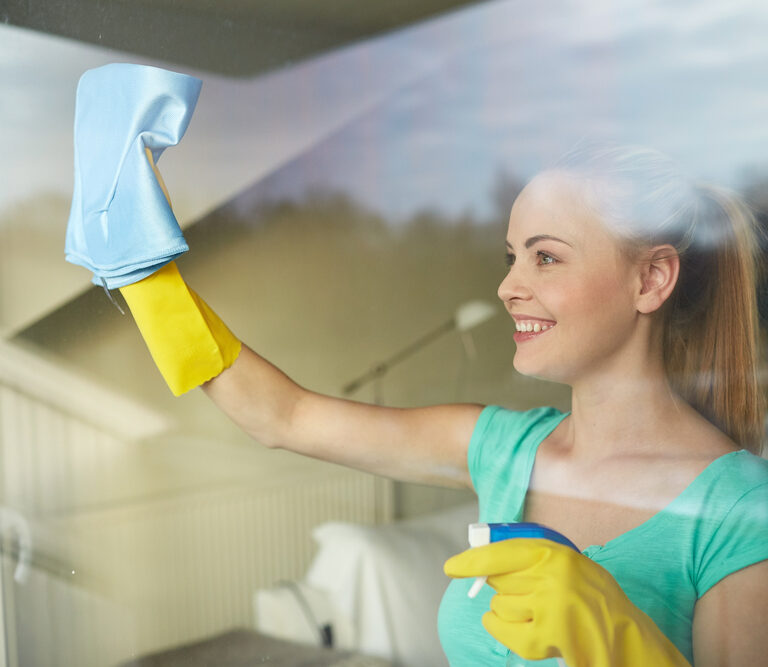
3. Spray and Wipe
Spray a generous dose of your preferred cleaning solution onto the window and wipe vigorously in various directions.
Don’t be afraid to apply a little elbow grease should you need to remove any stubborn stains.
Feel free to squirt on more solution if you feel it’s warranted; there’s no harm in giving the window a thorough soaking.
4. Wipe the Window Dry With Straight Strokes
It’s the drying part of the process that tends to leave behind streaks, so take your time and do it right. Wipe the window dry slowly and carefully from one side to the other to achieve the straightest possible line.
If you let the window cleaner sit there too long, it’ll dry naturally and leave behind those nasty streaks. So strike while the iron is hot (or while the window is wet, rather).
If you’ve got a whole row of windows to clean, we recommend spraying and drying them one at a time instead of all at once. Trying to do a big row in one go would allow ample time for the liquid to dry naturally and create streaks.
We recommend doing horizontal strokes on the inside and vertical on the outside (or vice versa). That way, you can easily see which side of the glass the streaks are on if you need to fix up a few imperfections afterward.
If you’d rather stick with a squeegee, use the rubber end to wipe from top to bottom across the entire windowpane. Leave an inch or so overlap on each swipe to minimize streaks and wipe the edge of the rubber dry to reduce drips.
5. Work Your Way Around the House
Start on one side of the house and work your way around in a clockwise (or anticlockwise) direction. This practice allows you to understand exactly what you have and haven’t yet cleaned.
If you’re coming to the end of a hot day, start on the shady side of the house and finish in the sun to minimize the time you spend working in harsh sunlight. The same logic applies in reverse at the start of the day.
6. Go Back and Re-Do the Bad Bits
Unless you’re a window cleaning wizard with millions of sparkling panes to your name, chances are you’re going to leave behind a few streaks—it’s part and parcel of the process.
Go back and touch up the troubled spots by either spray and drying them again or giving them a good scrub with some scrunched up newspaper.
What to Avoid When Cleaning Windows
Avoid the following four things to safeguard your windows from scratches and streaks.
- Don’t use alcohol and ammonia-based cleaners
- Don’t let your solution dry naturally before wiping it clean
- Don’t use a knife or abrasive brush to scrub stubborn stains
- Don’t clean your windows in the middle of a hot day
How to Clean Windows: Final Thoughts
Without proper equipment and practical know-how, cleaning your windows can be fraught with frustration. But the good news is the process is perfectly painless once you know what you need to do.
Keep the handy tips in this extensive window cleaning guide in mind to minimize the time you spend on this prevalent household chore.