One of the longest-standing ways of covering up imperfections or adding some extra character to walls is to add a textured finish. Although it isn’t as popular a method these days, textured walls can still often be seen in older buildings or in homes where renovation is being carried out.
While some people love the way that orange peel ripples or knock-down swirls and ridges look, many more find texturing old-fashioned and unattractive. So, it isn’t too surprising that a lot of homeowners are keen to learn how to remove texture from walls.
Although this project can be a time-consuming and messy one, rest assured that it’s definitely possible to remove a textured finish on your walls. If you try the methods that we suggest here, you’ll be able to restore your walls to a beautiful, flat surface once more.
Are you ready to get started? Then read on to learn all you need to know about removing texture from walls. Let’s start by identifying the correct removal method.
Are Your Walls Painted?
Before you can pick up your trusty scraper and get to work, you need to know which method to adopt when it comes to removing texture from your walls. There are two different options depending on whether your walls have been painted or not.
- Soak & Scrape – this solution involving manually scraping the texture from your walls and is best for walls that haven’t been painted.
- Skim Coating – rather than stripping, this is a way to smooth out the textured surface. It’s the best solution for walls that have already been coated in paint.
The type of paint shouldn’t matter too much, but if you’d like to learn more about the different types of wall paint, check out this article.
Textured walls that haven’t been painted can easily be removed using the soak & scrape process; however, if the textured wall has been painted, its surface must be skimmed using drywall compound. This is because paint acts as a sealant, preventing water from getting through to the wall below. Therefore, soaking cannot soften the texture effectively. As such, covering up is a better option.
Once you’ve determined which type of textured walls you have, you can select the correct removal method for your needs.
Soak & Scrape Method
If you have unpainted textured walls, the soak and scrape method is the ideal choice. Here’s what you need to know.
What Do I Need for the Soak & Scrape Method?
You will need the following:
- A drop cloth
- Painter’s tape
- Goggles
- 2-gallon pump sprayer
- 10” drywall taping knife
- Dust mask
- Stepladder
- Drywall sanding screen & pad
A Step-by-Step Guide to the Soak & Scrape Method
- First, cover your floor with a drop cloth. It’s best to use a canvas cloth rather than a plastic one, since it may become slippery when the drywall compound becomes wet.
- Tape off the window trim, door trim, and baseboards using painter’s tape.
- Put on some old clothes and protective goggles.
- Fill up the pump sprayer with water.
- Evenly spray the whole wall to soften its textured finish. You may need to repeat this 2 – 3 times to get it sufficiently saturated.
- Allow the wall to stand for around 15 minutes before testing the texture using your fingertip.
- If the texture is sufficiently soft—so it can be rubbed off down to the underlying drywall—you can begin scraping.
- Using a stepladder, begin at the top of the wall. Work downwards using the drywall taping knife, using long, slow strokes. Make sure the blade is held at an angle of 30 degrees against the wall to prevent damage while scraping off the texture.
- If your find any resistance under the knife, stop and spray the affected area again before waiting another 15 minutes to see if the texture has softened enough to be removed.
- Repeat the process until all of the texture has been removed. Any thin smears that remain can be sanded off later.
- Allow the wall to completely dry. This may take as long as 24 hours.
- Once the wall is dry, put on a dust mask and begin sanding the wall using a drywall sanding pad and sanding screen.
Once this process is complete, your wall should be beautifully smooth once more.
Skim Coat Method
If you have painted textured walls, you’ll need to use the skim coat method. Here’s what you’ll need to get started.
What Do I Need for the Skim Coat Method?
For this technique, you require:
- A putty knife (steel)
- A hammer
- A drop cloth
- Protective eyewear
- Painter’s tape
- Rags
- Sanding sponges
- Drywall all-purpose compound
- Two 5-gallon buckets
- A drill and paddle bit
- Roller cage and large nap paint roller
- Roller pan
- 10” drywall taping knife
- Stepladder
- Taping pan
- Dust mask
A Step-by-Step Guide to the Skim Coat Method

- Use the steel putty knife to pry the baseboard outward. Sometimes, you’ll need to use a hammer to tap the putty knife’s head so it can more easily wedge itself between the wall and baseboard.
- Use a canvas drop cloth to cover up the floor and protect it.
- Tape off the door and window trim using painter’s tape.
- Put on protective goggles and some old clothes before starting work.
- Using the sanding sponges, sand the painted texture surface lightly. This is especially important if the paint used on the surface is glossy.
- Using a damp, clean rag, wipe the wall’s surface down thoroughly to remove all dirt and dust. This will ensure you start over with a fresh, clean palette.
- Put ½ gallon of premixed drywall compound into your bucket and slowly add water.
- Using the drill with the paddle bit fitted, blend the mixture until it has the same consistency as pancake batter and is smooth and lump-free.
- Pour the thin compound mix into the roller pan, then dip the thick-nap paint roller into it.
- Roll the roller that has been dipped in the mixture onto the wall evenly. You may need to use an extension pole to reach the top of the wall. Start at one side, working in vertical swathes around 2 feet wide. Be prepared for mess here, since the compound will drip (this is why you need the drop cloth on the ground to protect your floor).
- Make sure that you’ve applied sufficient compound, so the wall’s existing texture is generously covered.
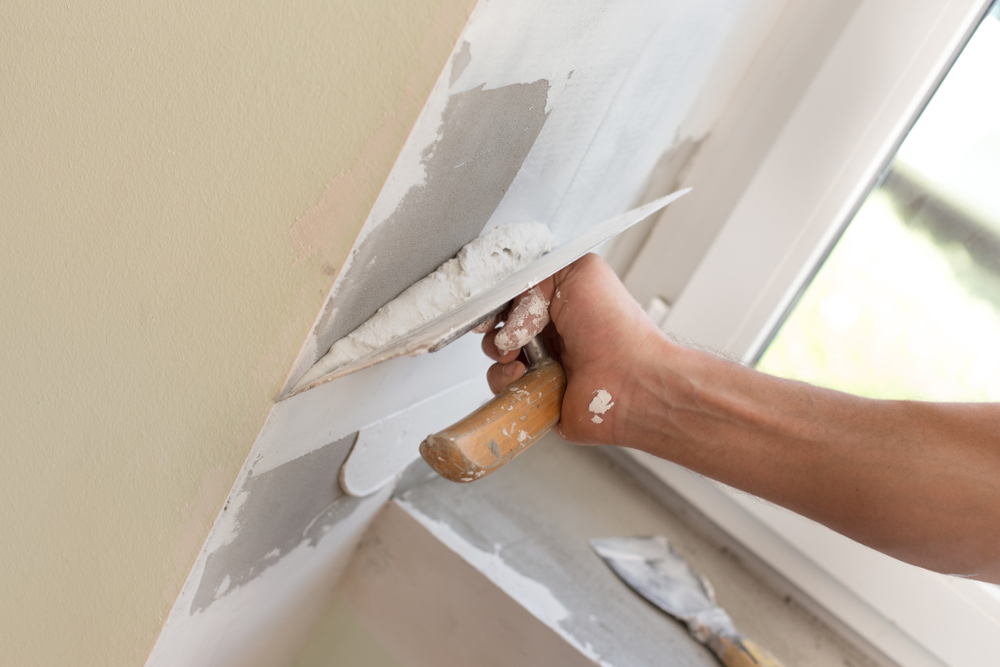
- Using a drywall taping knife, smooth the texture while it’s wet, beginning at the wall’s bottom and pulling lightly upwards—hold the taping pan in one hand and the knife in the other. When the excess compound builds up on the knife, you can easily scrape it into the taping pan. This is a technique known as skimming, and although it will take some practice, you will soon develop a method that works well for you.
- Be careful not to allow one of the compound swaths to dry before rolling on the next swath. It’s common for drywall compound to harden when dry compound contacts wet compound. Therefore, working quickly is imperative. Stick to swaths of 2 feet (or less) so that you don’t accidentally skim wet compound over areas that are already dry.
- Make sure that no excess compound scraped off the wall is put back into the bucket full of fresh compound. It should be disposed of in a separate bucket with only new compound used each time you skim.
- Allow the compound to completely dry. This could take up to 48 hours.
- Once the wall is dry, check whether the surface is fully covered and, if necessary, you should apply another skim coat using the method outlined above. This will probably only be necessary if the wall’s texture is very deep – for example, if it has been covered with a slap-brush texture that has large peaks and valleys. If you apply another coat, don’t sand in between the coats.
- Using a drywall sanding sponge, sand your completed wall until it’s smooth, using light pressure and sanding in circles. Avoid using a drywall sanding pad since this could gouge the wall’s newly skimmed surface, leaving marks that would be visible when the surface is painted.
- Once you have finished sanding the wall, wipe it using a damp sponge so that any remaining dust is removed.
Congratulations—your wall is now ready for priming and painting.
Do I Need to Treat Walls After Removing Texture?
If you’ve just removed texture from your wall and want to paint it again, you’ll need to apply primer first. This will seal the drywall, stop old stains from being visible through your new paint, and will help the paint to adhere smoothly and evenly to the surface. A single coat of primer applied to the wall should be adequate. Allow it to dry completely before painting the wall.
When choosing a paint for your wall after removing texture, the best option is a flat finish since this will hide any slight imperfections left behind after the texture has been removed.
Final Thoughts
Now you know how to remove texture from walls, you can get started with renovating your home. Soon, your outdated walls will have a stylish, smooth new look!
