Varnish and polyurethane are two of the most popular wood finishes, and there’s hundreds of varieties of each of them on the market. Trying to decide which one to use is a one-way ticket into a wood-staining rabbit hole.
The interesting thing is that, at the end of the day, varnish and polyurethane are actually the same thing. Both finishes create a thick layer that protects wood from water, rot, fungus, UV light, and scratches. However, there are some key differences that make different formulations better suited for specific applications and projects.
In this guide, you’ll find information about the different kinds of home projects for which polyurethane or varnish are appropriate, so you can narrow it down and figure out which kind you need.
What Is Polyurethane?
Polyurethane is a synthetic resin made from chemicals to imitate natural substances. It’s a very resistant type of plastic that was developed in the 1930s. Outside of woodworking, it’s used to make plastic bags, bottles, and children’s toys. It’s very resistant and dense, making it appropriate for structures that undergo heavy use, like floors and decks.
Modern polyurethanes protect wood from heat, water, and scratches. There are interior and exterior grade options, and even some products designed for boats.
There are two kinds of polyurethane available on the market: water and oil-based. The main difference between them is mainly the aesthetic you will achieve at the end.
Water-Based
These types of polyurethane provide a clear finish, preserving the wood’s natural color. They dry faster than oil-based products —they’ll be ready in just a couple of days instead of a week. Another advantage of water-based products is that they produce less odor. However, this type of polyurethane can create dangerous fumes. Another thing to note is that they usually require several coatings to achieve the same level of protection as oil-based polyurethane products.
Oil-Based
Oil-based products are the jack-of-all-trades of the polyurethane world. There are oil-based polyurethanes for boats, indoor floors, yard furniture, you name it. These products tend to enhance the natural color of the wood, making them more aesthetically pleasing. They are perfect when you want to replicate the look of a certain wood type.
Their main drawback is that it takes several days for the layers to dry, but these types of finishes are more durable than water-based products. They are ideal for projects that get heavy use, like hardwood floors.
How to Choose a Polyurethane Type
- For projects that will get a lot of use, like floors and decks, use an oil-based polyurethane for better durability. Oil-based products are resistant but not completely rigid, meaning the layer will not break off as the wood bends, but will move with it.
- For outdoor furniture, go for a water-based polyurethane. This option has the best properties to protect against damage from water, fungus, and rot.
- To enhance the natural color of the wood, water-based products are your best bet. Be careful about the number of layers you use so it doesn’t end up being too glossy.
How to Apply Polyurethane
1. Clean the Wood
Use a damp cloth to clean the wood you’re going to waterproof. If you’re dealing with a large project, you could alternatively use a power washer to save some time. Let it dry for as long as it needs to, and make sure dust, debris, and rain don’t fall on it, as these could compromise the sealant’s quality.
2. Sand It
Applying a new mix of polyurethane on top of a pre-existing one always requires sanding. With time, wood develops imperfections and cracks that you need to sand down to improve the final look of the polyurethane finish. To get the smoothest result, use a 120-grit sandpaper.
2. Apply the First Layer
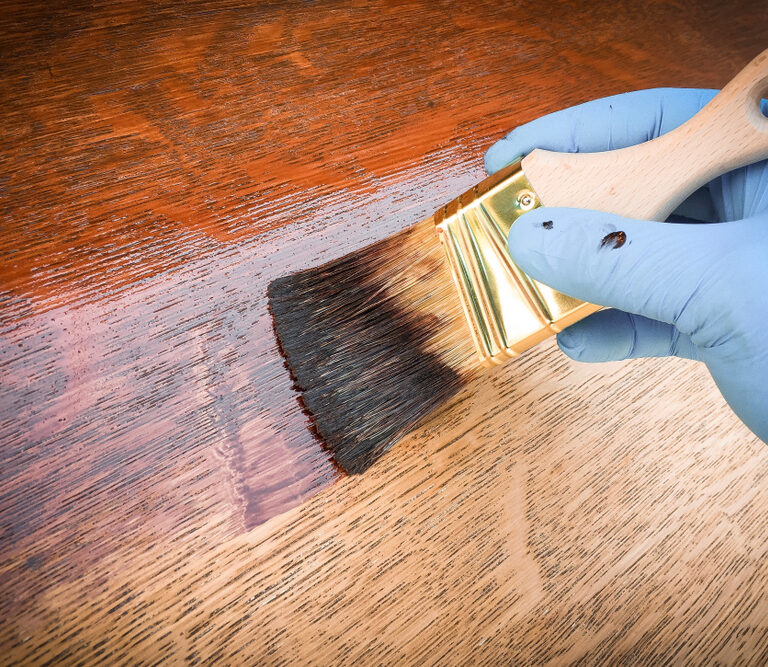
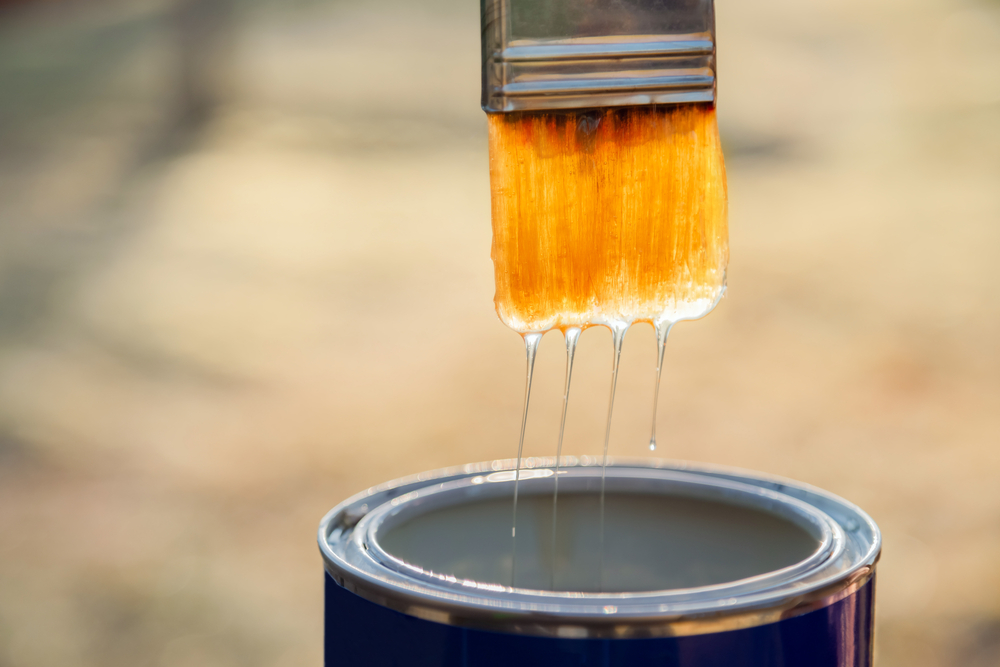
Always read a product’s label before applying it, and follow the instructions. However, as a rule of thumb, you want to apply more than one layer of polyurethane, especially if you’re working with a water-based product, because they require more layers. To apply the first layer, use a brush. If there are any spots that become saturated, just wipe them down with a rag.
4.Let It Dry
Once you have evenly applied the first layer, let it dry for however long it’s stated on the product’s label. With water-based products, you can usually apply subsequent layers right away, but with oil ones, it’s better to let the oil soak into the wood for a day or so before applying a new layer.
What Is Varnish?
Varnish is a general term used to label many types of synthetic sealants, including resins, solvents, and polyurethane. The common denominator among these types of finishes is that they all form protective films around the wood. They offer protection against UV light, heat, sunlight, water, and scratches.
In its most basic form, varnish is made out of an oil, a resin, and a solvent. Because of the wide variety of products out there, there’s not one single aesthetic that describes all varnishes. It all depends on what type of look you’re going for.
Most of these products come in single cans but it’s not uncommon for them to include a catalyst that you need to mix.
There are many types of colored varnishes, but since tints don’t penetrate wood, tones can suffer from wear with time. For this reason, you should always aim to apply more than two layers of varnish when finishing wood.
The Most Common Types of Varnish Include:
- Resins
- Shellac
- Alkyd
- Lacquer
- Polyurethane
- Acrylic
How to Choose a Varnish
Since there’s an overwhelming and downright confusing number of varnishes, picking one may be difficult. Thankfully, unless you’re a professional, companies have taken care of this by clearly labeling varnishes based on not just their formulations but also on the best applications to use them for. More often than not, cans of varnish will explicitly say what they’re meant for. However, for a better general idea, here’s a breakdown of what each type accomplishes.
Resins
Resins are one of the essential ingredients of varnish, although by themselves they’re more of an aesthetic cover rather than anything practical.
Shellac
Shellac is a “spirit varnish” that’s often mixed with a catalyst. It offers a clear finish, exposing the grain of the wood. It provides minimal water resistance, and for that reason, is better suited for indoor use.
Alkyd
This is the most common type of varnish you’ll find in paint and hardware stores. It’s usually just labelled as “varnish”. Alkyd is made with a synthetic resin and mixed with an oil. It’s usually a clear finish that offers good protection against sunlight, water, and temperature changes.
Lacquer
This finish is often used in industrial operations because it’s one of the fastest to dry. This product has a wide range of uses for larger-scale projects.
How to Apply Varnish
1. Clean the wood
Use a damp cloth to clean the wood before you get started with the varnish. Using a power washer is also a great option if you’re dealing with a large project. After giving it a good wash, let the wood dry, but be mindful about dust or debris falling on it.
2. Sand It
Always sand wood before applying any type of product on it. Use a 200-grit sandpaper to get rid of any imperfections or cracks. The easiest way to accomplish a good sanding is to work your way along the grain of the wood.
3. Use Thinner
If you’re using oil-based varnish, you may want to thin it slightly with some mineral spirits like turpentine or paint thinner. Follow the products instructions to know exactly how much varnish and solvent you need to mix. Remember that you are going to apply several layers, so don’t worry about going overboard with it.
4. Apply the Varnish
Apply the varnish to the wood with a brush. Just like with the sandpaper, work your way along the grain of the wood. Once you have a applied a thick layer, let the first layer dry for a couple of hours.
5. Apply More Layers
Once it’s dry, sand the wood again. It’s recommended you do this process two or three times. However, make sure it’s dry enough to sand it, otherwise It’ll get messy.
6. Let the Last Layer Dry
Apply the last layer of varnish, and let it dry for as long as the product label says. Make sure the room where you’re storing your project is well-ventilated as varnish can produce dangerous fumes.
Final Thoughts
Woodworking is by no means a simple hobby, and looking for information about the vast number of finishes is not a straightforward job, especially when all these products are so similar. However, it’s gratifying, and there’s nothing better than seeing something you built last for years with a nice and elegant coat of polyurethane or varnish on it.