From counters to cabinetry and bulky appliances to the kitchen sink, stainless steel is a steadfast staple of every modern home. And although the wonder material does a miraculous job at evading corrosion, it is susceptible to one common ailment: the scratch.
No matter how careful you are with your cleaning routine, you’ll inevitably scratch your stainless steel over time—wear and tear is an unavoidable occurrence in every kitchen.
But the good news is with the right cleaning product and a little know-how, you can get your stainless steel looking spick and span once again. We’ll teach you the tricks of the trade in this nifty how-to guide.
What Is Stainless Steel?
The name itself is a bit misleading as stainless steel is actually an alloy, which is a mixture of numerous different metal types.
Steel is still the primary ingredient, but other metals like nickel and chromium are blended into the mix through a process involving intense heat and pressurization. The result is a cost-effective, recyclable, heat-resistant, and non-corrosive metal—a true marvel of modern engineering.
How to Clean Stainless Steel Without Scratching It

The downside to stainless steel is it’s pretty easy to scratch; you need to be careful when cleaning to avoid leaving unsightly marks.
So, how can you clean it safely?
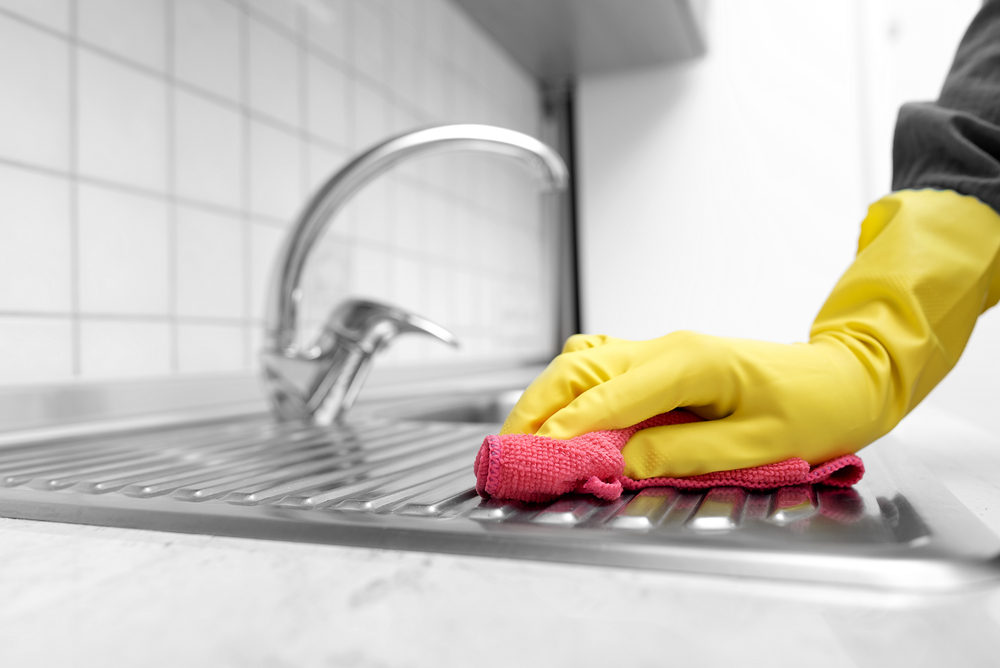
The all-natural approach is to concoct a homemade solution of bicarb soda and vinegar, then use a damp cloth or sponge to wipe off the grease and grime. Don’t be afraid to apply a vigorous dose of elbow grease when the caked-on gunk refuses to budge.
If vinegar and bicarb soda don’t achieve the desired result (or you can’t be bothered mixing up the two), you could try a household stainless steel cleaner. Look for a product specially formulated for the role, such as Weiman, and avoid using abrasive solutions or bleach.
The big no-no is scrubbing it with an abrasive material such as steel wool or a course scourer pad. If you do, you’ll leave noticeable scratches on the surface and instantly regret your decision.
How to Remove Scratches From Stainless Steel
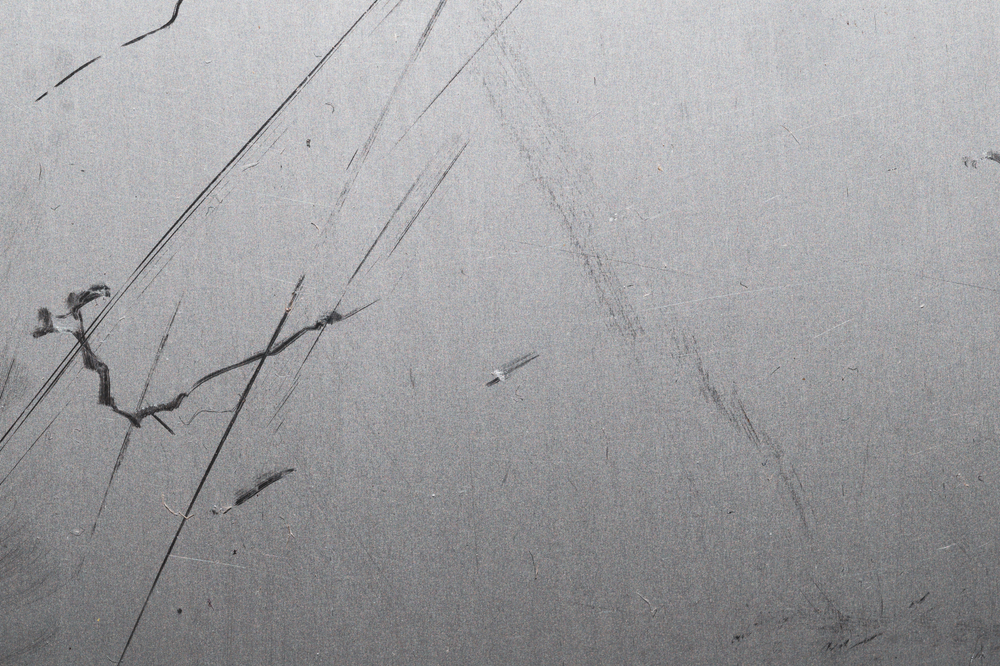
The ideal technique depends on the scratch severity; we’ll show you how to remove both light and deep scratches below.
But before we get stuck in, there’s one thing you absolutely must know: always rub in the same direction as the grain.
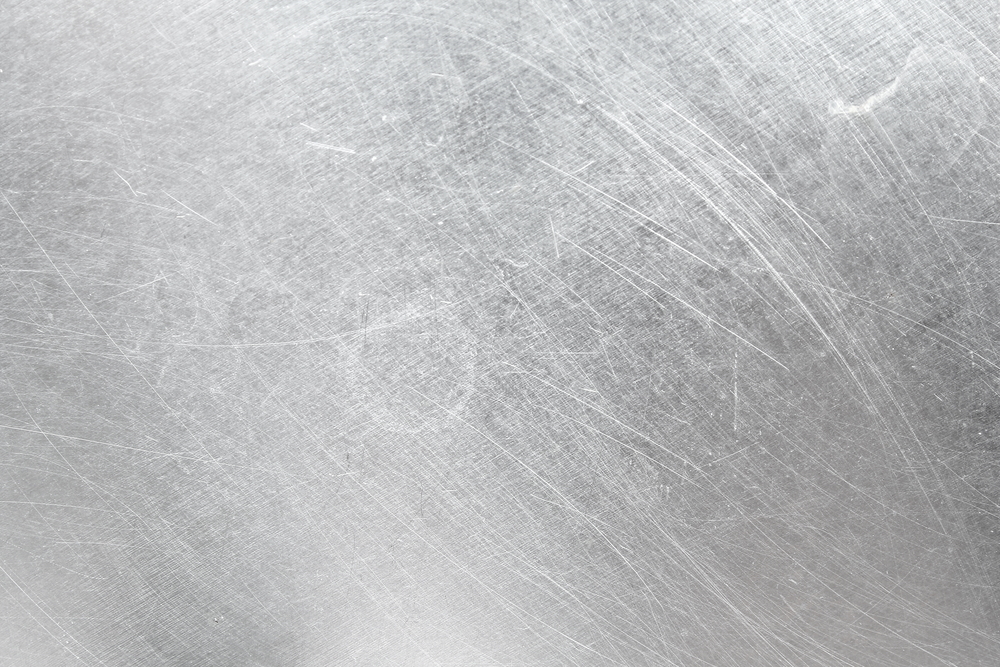
If you look closely, you’ll notice stainless steel has a bunch of brush marks on the surface, all of which run in the same direction. These marks are known as the grain and are a normal part of the manufacturing process. If you scrub in a different direction to the grain, you’ll only create more scratches—the steel will look even worse than when you started.
Another essential tip is these techniques are only suitable for uncoated stainless steel. If the surface comes with a protective film, then don’t follow the steps outlined below—again, you’ll only create new scratches. Instead, research tips on how to clean that specific type of coating.
Not sure whether your surface has a protective coat? Consult the “Cleaning Instructions” section on your manufacturer’s owner’s manual.
How to Remove Light Scratches From Stainless Steel

Removing light scratches for stainless steel is easy. All you’ll need is a non-abrasive compound and a couple of microfiber cloths.
Although stacks of options are available on the market, we rate Bar Keeper’s Friend as the best of the lot. If you’re on a budget, you could use whitening toothpaste instead.
- Add a small amount of water (follow the manufacturer’s instructions) to your powdered compound to create a gooey paste with a similar consistency to toothpaste. This step isn’t necessary if you’re using whitening toothpaste instead of Bar Keeper’s Friend.
- Examine the scratch closely and identify the direction of the grain.
- Dab a small gunk of the paste onto a microfiber cloth and rub it back and forth on the scratch in the same direction as the grain.
- Wipe the paste off in the same direction as the grain using a slightly damp microfiber cloth.
- Repeat the process one or two more times until you’re happy with the result.
- Soak up any excess water or paste with a fully dry microfiber cloth.
How to Remove Deep Scratches From Stainless Steel

If your stainless steel suffers from profound scratching, you’ll need to adopt one of two approaches: buffing it with wet sandpaper or using a scratch removal kit.
The Wet Sandpaper Method
Wet sandpaper is a quick and cost-effective way to remove deep scratches from stainless steel. But it does come with one challenge: working out which sandpaper to use.
Sandpaper comes in different grits, which refers to how fine or coarse the surface is. Use sandpaper that’s too fine, and you’ll barely banish any blemishes at all; too coarse, and you’ll add a series of unsightly new scratches.
The only sure-fire way to safely remove scratches from stainless steel with sandpaper is to check the appliance manufacturer’s manual. Most include cleaning tips that outline the ideal grit for buffing. If you can’t find this information, start with fine sandpaper and working your way towards something more course; or, switch tact entirely and go with the scratch removal kit instead.
- Identify and purchase the appropriate sandpaper grit.
- Wet the sandpaper in the sink.
- Gently buff the scratch with the wet sandpaper, working in the same direction as the grain.
- Switch to more coarse or fine sandpaper as needed and repeat the process.
- Dry the stainless steel with a dry microfiber cloth.
The Scratch Removal Kit Method
Although somewhat pricey, a scratch removal kit is a safe and effective way to buff deep scratches out of stainless steel.
Again, loads of different products are available on the market, the best of which is Scratch-Be-Gone. This comprehensive kit comes with everything you need to remove ugly scratches from non-coated stainless steel surfaces: a specially formulated liquid compound, multiple abrasive pads, and a microfiber cleaning cloth with a handy handle.
- Work out whether your stainless steel has a protective film (don’t use this kit if it does).
- Identify the direction of the grain.
- Read the manufacturer’s instructions to identify the appropriate abrasive pad.
- Apply the solution to the appropriate pad and patch test a small amount in a hidden section of the stainless steel (if it reacts badly, you’ve probably got a protective film and should abort the process).
- Use the abrasive pad to firmly rub the solution over the scratch in one direction, ensuring that it aligns with the grain.
- If you buff back and forth, the abrasive pad could create more scratches. Rub in one direction only.
- You will need to buff the surface firmly but not intensely. Rigorous rubbing could lead to further scratching.
- Change to a finer abrasive pad and repeat the process until you’re satisfied with the result.
- Use the microfiber cloth to wipe down the surface, soaking up all the solution.
Getting Professional Help
While the above methods work wonders at removing light and heavy scratches from steel, they’re not entirely foolproof. Depending on the severity of the scratch, you may or may not mask it altogether.
If you’ve tried all the above methods and you’re still not happy with the result, get in touch with a professional stainless steel restorer in your area. These guys dedicate their lives to masking metallic blemishes, and they’re your best bet when the DIY solutions won’t do.
Such professional services are quite expensive, though, so it’s only really worthwhile when a prominent surface becomes severely scratched.
Stainless Steel Scratch Removal: Final Thoughts
As rugged and durable as it may be, stainless steel has a bad habit of scratching, especially when you absent-mindedly scrub it with an abrasive scourer. But the good news is that with some relatively inexpensive cleaning solutions and a modest amount of effort, you can buff your scratched steel smooth to restore its former luster.
Our simple how-to guide contains all the necessary info the get the job done right. And remember: always rub with the grain.
