Who doesn’t love a steamy, comforting shower at the end of a long day to rejuvenate the body, spirit and mind? However, there’s nothing relaxing about getting into a shower enclosure that has cracking and crumbling caulk.
If you’re disgusted rather than delighted each time you use your bathroom, the good news is that it needn’t be as difficult as you think to restore your shower to its former glory. Replacing caulk around the tiles, door, drain and tub is a fairly simple DIY fix which will only take you a couple of hours to complete.
If you’re wondering how to caulk a shower, read on and get some expert advice!
Why Do I Need to Caulk My Shower?
Before we take a look at how to caulk a shower, it’s important to know why you need to do it. All too often, homeowners overlook this home maintenance task or put it off month after month. Yet, no matter whether you have a over-bath shower or a free-standing unit, sealing the joints around its showers and base is imperative.
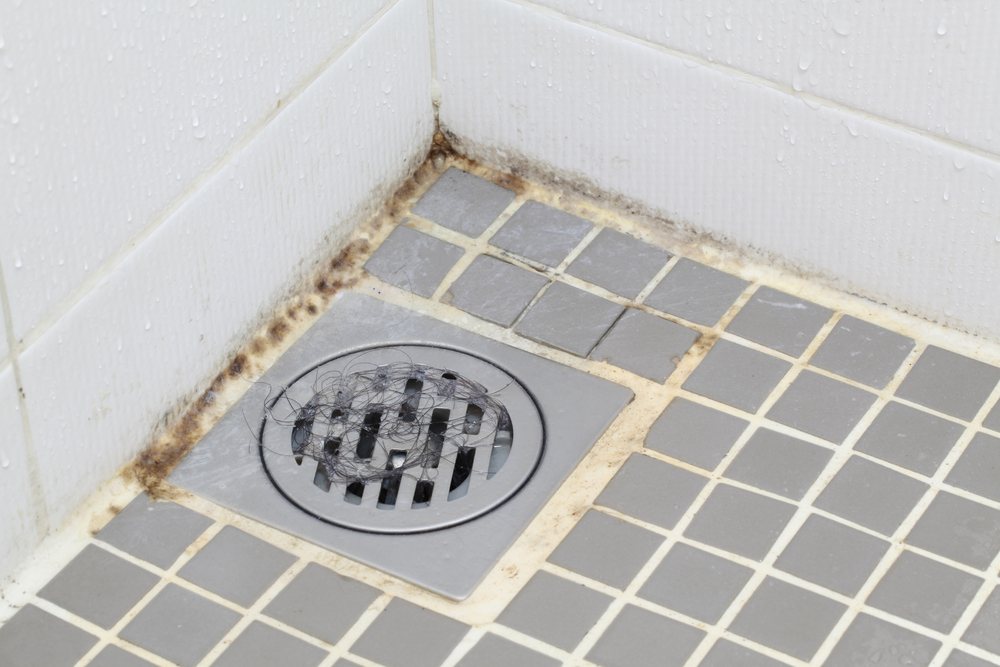
If you don’t caulk your shower correctly, water could seep through the joints and behind the tiled surface. In time, it could end up rotting the structure of the bathroom wall or exacerbating mold growth.
Bathrooms are especially prone to mold growth which can cause health issues over time. However, the walls of your shower stall are particularly susceptible to infiltration of moisture, so regular inspection of the joints is vital to ensure the caulk still does its job properly – blocking the water from getting through into the wall.
What Are the Signs That I Need to Caulk My Shower?
If you caulk your shower properly, it’s capable of lasting for as long as 5 years before needing to be replaced. But it’s still important to check the walls of your shower at least once a year so any problems can be caught before they get out of hand.
Some signs that indicate your caulk has gone bad include:
- The caulk pulls away from the shower’s base
- Mold is growing
- The caulk looks flaky
- Chunks of the caulk is missing from the joints
- Moisture is building on along the joints
- The tiles are starting to loosen
If you spot one or more of these symptoms you should immediate re-caulk your shower.
Which Type of Caulk Should I Choose for My Shower?
There are two kinds of caulk which can be found in most home improvement stores: Silicone-based and latex caulk.
When you’re caulking any area where moisture and water are prevalent, including your shower, you should always use a caulk that is 100% silicone-based. Latex caulk is useful for a wide variety of other projects, but isn’t the best option for bathrooms.
Silicone caulk is very waterproof, tough and flexible which makes it perfect for use in your shower stall. However, it’s harder to smooth than acrylic latex products and it can require you to use mineral spirits in order to clean away residue afterwards. There is also quite a limited range of colors available.
Acrylic latex caulk, meanwhile, is simpler to smooth, apply and clean up. As an added benefit, it’s also available in a broader spectrum of colors. There are some downsides though. It dries much harder and will shrink more than a silicone caulk product and therefore it tends to have quite a short lifespan.
Before you choose any caulk to use in your shower stall check its label carefully to ensure the product is suitable for use in bathrooms and kitchens. Products with these formulas will contain a special inhibitor to protect against mildew and mold – something that’s absolutely vital in your shower.
What Tools Do I Need to Caulk My Shower?
You’ll require the following materials and tools to get started with caulking your shower:
- Utility knife or oscillating tool
- Bathroom caulk
- Mold cleaner
- Caulk remover
- Painter’s tape
- Caulking gun
Removing Old Caulk
Before you can apply any fresh caulk to your shower you’ll need to remove any remaining caulk from the previous job. If you fail to do this, the fresh bead will not bond properly. You can do this by using an oscillating tool or utility knife.
Scrape the maximum amount of old caulk off the shower then use caulk removing product to get rid of any stubborn patches. Should there be any mold on your shower wall you should use a mold cleaning product. You can either use a commercially available one or a homemade alternative made from 2 parts water to 1 part bleach.
Make sure that you’ve covered all of the areas that are affected around your shower. These include the tub surface, tiles, wall panels that surround the joint, and the joints that are around the showerhead arm and shower valves’ escutcheon plates. If your shower stall is made from acrylic you’ll need to work especially carefully so you don’t accidentally scratch the surface.
After you’ve removed all the old caulk you should wipe the area down using a sponge or clean cloth and a household cleaning product uand leave it to thoroughly dry before you progress to the next step since caulk cannot stick to any wet surfaces.
Masking the Surface
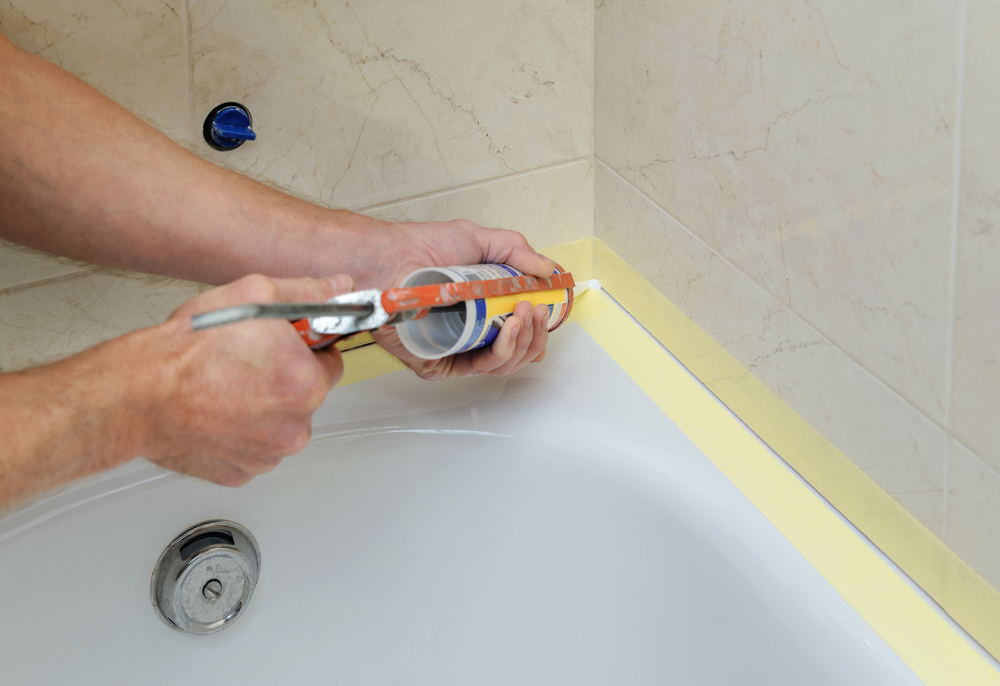
When you’re caulking a shower you need to be sure of a clean bead. You can achieve this by using painter’s tape. Simply use some long strips of painter’s tape, applying them so that they mask the surface on both sides of the line where the caulk will be applied.
Applying New Caulk
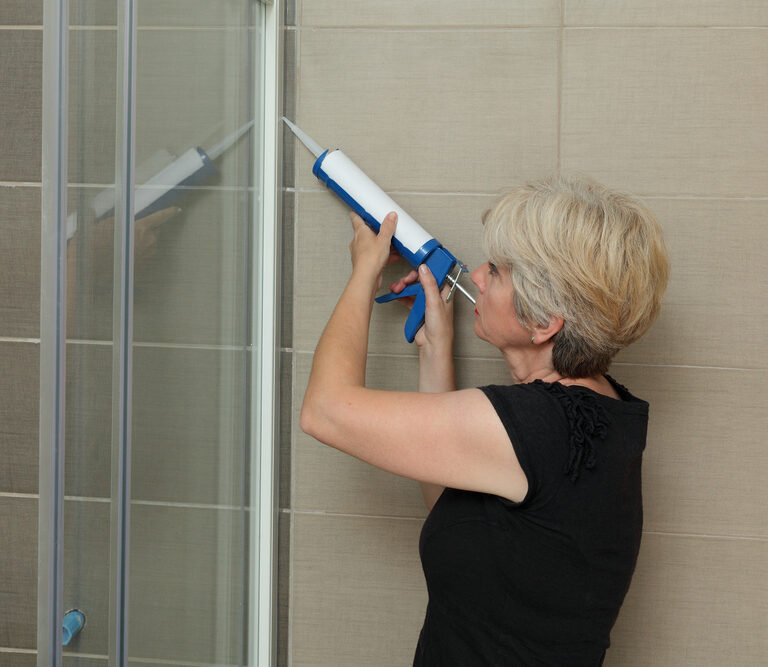
To start your bead of caulk, apply some pressure to the tube or caulk gun, either pulling the gun away from the starting point, or alternatively, hold the gun at an angle of 90 degrees, pushing the caulk forward.
Although it’s possible to simply squeeze caulk from a tube onto the wall, it’s always a good idea to use a good quality caulk gun instead. This allows you to manage its flow more easily and produce a more accurate result. When choosing a caulk gun, make sure the plunging mechanism is sturdy enough to allow an even and precise distribution of the caulk, and that the pressure release enables you to rapidly stop or pause your application.
When you’re loading your caulk gun, don’t cut off an excessive amount of tip from your caulk tube. If the opening is too wide, the bead may be too thick and hence the result could be sloppy and unattractive. Most caulk tubes have an indentation point where you should cut off the tip.
Carefully apply the caulk to the line in between the two pieces of painter’s tape.
Creating a Smooth Finish
After you’ve filled the gap, dampen your finger before wiping carefully along the line of caulk that you’ve just applied so excess caulk is removed. This allows you to create a rounded and smooth bead. After drawing your finger along the joint’s length, remove the excess caulk from your finger with a cloth or damp rag.
Don’t overwork the joint – you’re aiming for a slightly concave or angled caulk bead which will effectively repel water. Should you accidentally make the caulk bead too concave, it’ll just collect water which will promote the growth of mildew.
At this stage, if you spot any gaps in your caulk bead you should apply some additional caulk carefully, once again smoothing it into place using your finger.
Before the caulk dries, carefully peel the painter’s tape away then move onto the next section that is ready for caulking.
Even if you’re especially careful when applying caulk to your shower, it’s likely that some caulk will be left on the adjoining surfaces. This is nothing to worry about though. You just need a damp cloth or sponge which you can use to clean any caulk residue up. If you’ve used a latex caulk you can simply dampen your sponge or cloth with water, but if you’ve used a silicone caulk you may need to soak your cloth in some mineral spirits to clean your walls.
Take care not to accidentally touch the bead of caulk with a wet cloth or sponge though since this could ruin your hard work.
Curing the Caulk
Once the whole shower area has been caulked you can’t just jump straight in for a wash! You need to let the caulk cure for a minimum of 24 hours before you can use the shower again.
A Beautifully Caulked Shower
So, there you have it – you now know how to caulk a shower quickly and easily like a professional! Follow the steps outlined in this article and you’ll soon be enjoying a relaxing hot shower at home!