Refacing a fireplace can make the room feel like a whole new space. Whether the existing material is falling apart and needs to go, or you just want the fireplace to feel as updated as the rest of your renovation, the first step is learning how to reface a fireplace.
There’s no one-size-fits-all solution here, since the actual project will depend on what the current face is made of and what you want to replace it with. In this article, we’ll help you start that process by giving you some general steps and tips, so you know what to expect with your own project.
Refacing Your Fireplace
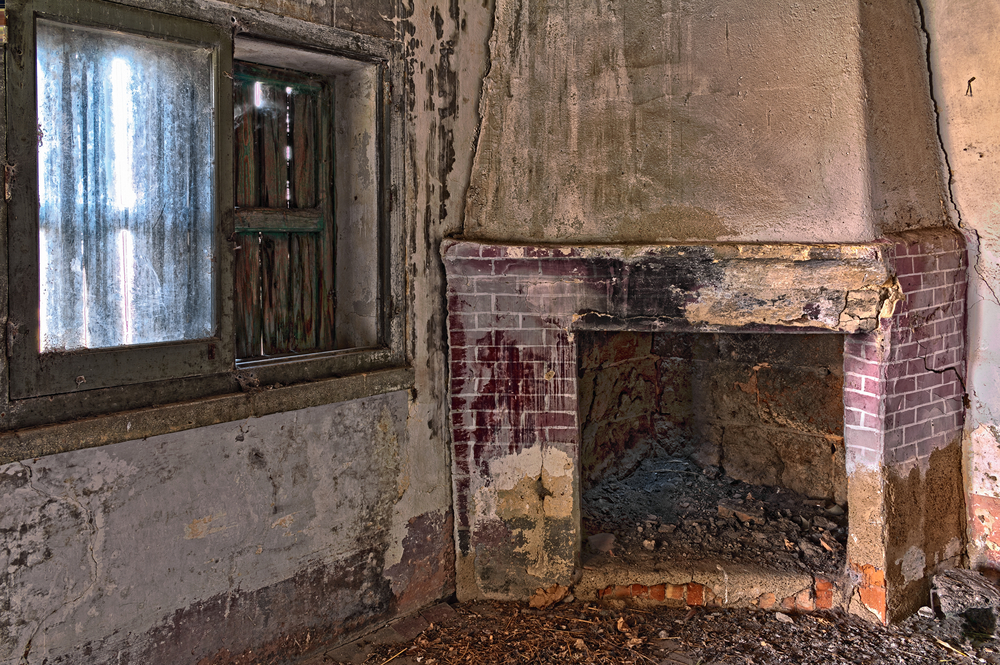
Step 1: Assess Your Existing Fireplace
If the face is in relatively good repair and you just don’t want to look at it anymore, you might be able to get away with leaving it there and simply covering it up with a new face. This will save you a lot of extra work.
However, if the current face has loose tiles, crumbling bricks, or otherwise seems to be falling apart, you need to get rid of it before you install something new. If you leave the damaged material there, you won’t be able to securely install the new face.
You’ll also need to remove it if you’re planning to make a significant change to the size —switching from a small brick fireplace to a floor-to-ceiling stone face, for example.
Step 2: Find Out What Fire Codes You’re up Against
When not built to code, fireplaces can pose a fire hazard —who would have thought? Fire codes differ from state to state and even from town to town, though. If you don’t figure out what codes apply to your home, you could end up doing a fabulous refacing job, only to have to tear it all down again and rebuild it to code. Even setting safety concerns aside, this will matter come time for your next home appraisal, or if you sell the house.
Contact your local building authority to ask what fire codes you need to keep in mind while renovating your fireplace. Typically, your main concern will be making sure any flammable pieces of the new face are the appropriate distance from the fireplace opening and that you use the right materials around that opening.
You can ask the friendly folks at the building code office to help you figure out exactly what measurements and material requirements your new face needs to meet. To do that, you’ll need to have an idea of what you plan to install, which brings us to step three:
Step 3: Choose Your New Face
You don’t want to put any money down until you contact the building authorities to find out your local fire codes. However, you should still shop around and come up with an idea of what materials and designs you like. Here are a few of your options:
Tile
Tile is a versatile and easy to install option. There’s tons of colors and patterns, so you can create a look fully unique to you.
Stucco
Stucco is really easy to work with, since you can just spread it directly over the surface —no mounting or leveling required. It also gives you a lot of styling options. You can create ultra-modern, clean lines or go for a more textured, vintage look.
Wood
A wood face can make your fireplace look stately, warm, or modern, depending on what design you go with. It can also be used to better incorporate it into the rest of room’s design, if you don’t want the exposed brick look.
Stone Slabs
A quartz or granite slab fireplace will add elegance to the décor. They’re pricey and not very easy to install. Given the price tag, it’s safer to hire professionals, so you don’t risk breaking the slab.
Stone Panels
These are a more DIY friendly alternative to slabs. The panels are designed to fit over the bricks and aren’t as heavy as actual stone. They aren’t quite as elegant, but you can still create an elevated look with them.
There are more options out there, but these are the most popular. Do some research and scroll through lots of pictures of fireplaces to find inspiration and get a sense of what kind of looks are possible with each material.
Step 4: Remove (Or Clean) the Old Face
When you have your new face selected and you know what you need to do to meet code, you’re ready to get started. If you’re just building over the old face, all you have to do here is scrub it down. Clean it well so that there’s no dust or debris to interfere with the installation.
If you’re removing the old face, here are a couple tips depending on what it’s made of:
Wood Molding
To remove wood molding, pry it off with a crowbar. Once all the big chunks are gone, check for nails and splinters that may have gotten left behind.
Stone/Brick
To remove stone or brick, use a sledgehammer and chisel (or a rotary hammer with a chisel attachment) to pry them off, one by one. Be sure to prep the space and protect anything you don’t want damaged by stray bricks. Watch this tutorial to get an idea of what this process involves.
Stucco
To remove stucco, you also use a hammer and chisel. Start in a hidden area and chip away a small portion to see what’s behind the stucco. You might luck out and realize the previous owner put stucco over perfectly good brick.
Tile
To remove tile, use a small circular saw to saw through the grout lines. With the grout lines removed or at least reduced, you can get a chisel or flathead screwdriver underneath the tile to pry it off.
If your fireplace is not made of any of these, look for specific removal instructions based on the material. In some cases, it might be easier to call in a professional (at least for the demolition). While it’s tempting to just let loose with a sledgehammer, a facelift requires a little more precision. You want to remove the face without damaging the surrounding area or the material behind the face that your new one has to mount itself to.
Step 5: Clean Up
Before you can start the installation, the surface you’re mounting to needs to be dust and debris free. Make sure there are no lingering bits of grout or wood, no stray nails, and no patches of stucco. You need a clean surface to work with.
Step 6: Put On Your New Face
The installation process depends on what material you went with. Here are a few tips to give you an idea of what the process is like for different materials:
Stone Slabs/Tile
For stone slabs or tile, you will first lay down a layer of mortar to mount the pieces to. The mortar needs to be the right kind for the material you’re mounting to it. When you apply it over the masonry on your fireplace, make sure it’s flat.
Stone Panels/Veneers
For stone panels or other veneers (materials that can adhere directly to the masonry underneath), you just need veneer mortar. This is an adhesive compound you’ll brush over the masonry before sticking a panel to it. Make sure your panels are level before you stick them on.
Wood Paneling
For wood paneling or boards, you need to mount “batts” to the masonry first. Batts are just thin boards screwed onto the masonry that give the wood something to mount to. Then, you mount the panels to those. If any nails or screws are visible after, you can cover them up with wood putty.
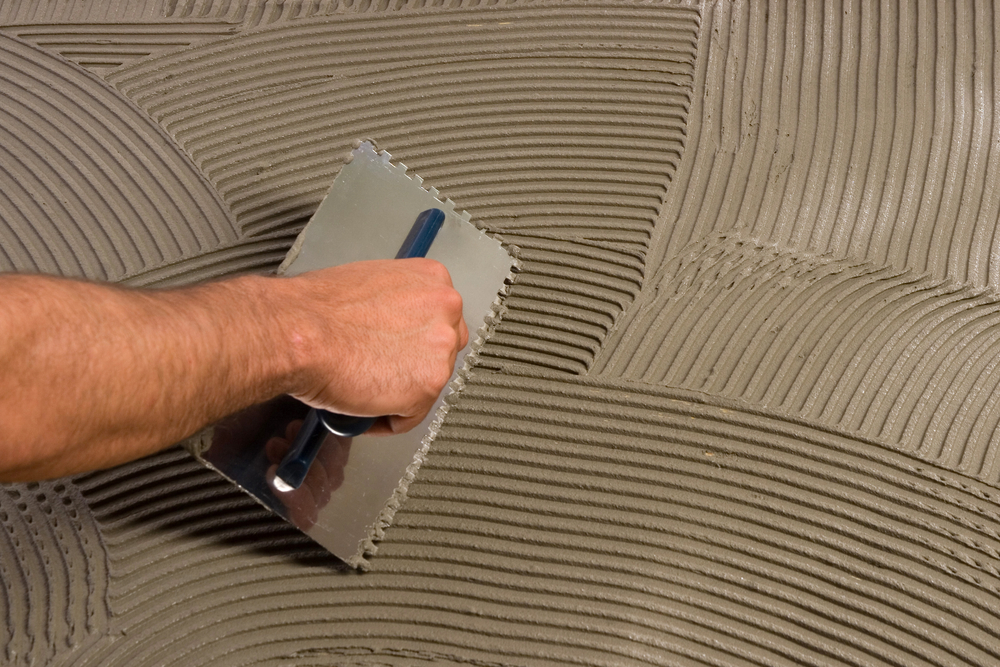
Stucco
For stucco, you’ll apply a concrete bonding agent to the masonry. This is sort of like the veneer mortar. It’s an adhesive that helps the stucco stick to the brick. Once the bonding agent has dried a bit and become tacky, apply your stucco with a trowel. Smooth it down into the shape you want.
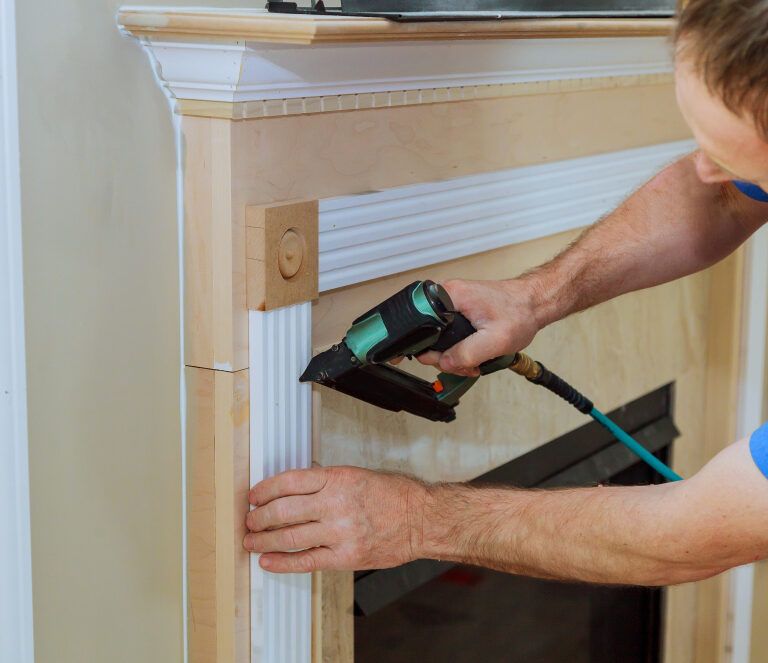
Step 7: Install Your Mantel
If you’re adding a mantel, you can install it after the mortar or stucco or other material you put up has dried fully. Give it a few days to be sure. Then, make sure you measure out the correct distance to meet fire code and mount your mantel.
Then, you’ll likely install a mounting bracket. Make sure you screw it into the studs inside the wall, so your mantel doesn’t collapse. To find a stud, try these tricks:
- Look at your baseboards. These are attached to the studs so if you can pinpoint where the baseboard has been nailed to the wall, you’ve found a stud.
- Look at light switches and outlets. The electrical boxes they’re attached to are mounted to studs. To find out which side of the outlet your stud is on, knock on the wall on each side (left and right). The higher pitched sound is the stud.
- Knock on walls until you find them. If you can’t identify any good visual cues, just start knocking along the wall until you hear a higher pitched sound. Once you find one, use a pen to mark where the screw will go.
Once your mounting bracket is up, you just have to mount the mantel to that, and you’re done!
Pro-Tip: If you’re renovating a house from the ground up, take a picture of your walls before you put up drywall or plaster. That way, you have a reference when you need to find studs in the future.
Final Thoughts
And there you have it, our in-depth guide on how to reface your fireplace. While this task requires a fair amount of effort and DIY expertise, hopefully our detailed instructions have helped to simplify and demystify the process.