
It’s a problem shared by people who just bought a flat screen TV and those browsing Tinder late at night: just what in the world do you have to do to find a stud around this place?
Locating a stud in your walls can be surprisingly difficult, even if you have a stud finder handy — and it can seem downright impossible if you don’t. However, there are a few tricks you can use to quickly and reliably find a beam when you need one.
What’s a Stud and Why Are They Important?
The walls of your house are basically drywall laid over a wooden (or sometimes metal) frame. Within this frame, you’ll find a series of evenly-spaced vertical boards — these are studs.
Studs are designed to make walls stronger and sturdier, and they have room between them in order to leave space for wires, pipes, and insulation. The space between studs is usually 16” or 24”, either of which allows them to line up perfectly with 4×8’ slabs of plywood and drywall. Once you have located a stud, you can quite often simply measure 16 inches over to find the next one. As a fun fact, most tape measures have arrows or red callouts every 16 inches just for this reason!

Studs are the bones of your home, they hold up the walls, and depending on the walls, they also support the roof structure, windows, and doors! If you are on the search for a stud, the odds are good that you are trying to hang something. While drywall can support the weight of a light painting, anything heavy should be secured directly to a stud!
How to Find a Stud in Your Walls: 11 Reliable Ways
Here are the most reliable ways to find a stud in your walls.
1. Use a Stud Finder
This is the simplest method AND it’s also the most effective — they’re called “stud finders” for a reason, after all.
However, despite the device’s simplicity, many people don’t know how to use them properly. To use a stud finder correctly, place it on the wall before pressing the button — if you press the button prematurely, it will give you incorrect readings.
Also, understand that the stud finder is designed to find the edge of the stud, not the dead center. You’ll have to find both edges of the stud to determine where the middle is.
Many people move it around too much, as well. Keep it straight up and move it from side to side; there’s no need to move up and down. Use slow, steady movements so as not to throw off the sensor.
Now, this is all well and good, but what are you supposed to do if you don’t have a stud finder and don’t want to buy one? Don’t worry, we’ve got you covered there as well.
2. Look for Electrical Boxes, Switches, or Outlets
Electrical components are almost always attached to a stud, so look along the wall to see if there’s an outlet or switch on it. If there is, then you can be confident that there’s a stud there, too. You’ll see these as blue boxes in the above photo! Just make sure you you know which side the stud is on, this can be a great place for the knock test.
At that point, it’s simply a case of measuring off the distance from the electrical component (remember, most studs are 16” or 24” apart).
3. Look for Windows
This method is not as reliable as the outlets because a window may not be at he standard 16″ but is a decent approach if all else fails.
There will be a stud on either side of a window — that’s what’s holding the window up, after all (along with boards running along the top and bottom).
Once you’ve found a window, simply measure off distances like you would with an outlet or switch.
4. Examine Your Molding
Look at the molding running along the base and top of your wall. It will be nailed to the wall in a few locations — and since molding is always nailed to a stud, you can use those nails to reveal the presence of a board behind your walls.
You might not actually see the nail head itself, as it’s likely been caulked and painted over. Instead, look for little dimples where the surface isn’t completely flat. They’re not always easy to find, but if you can spot one, you’ll know where the stud is.
5. Start in the Corner
Always start with what you know — and you know there are studs in each corner, right? After all, the frame has to start somewhere. Armed with this knowledge, you can start measuring from a corner until you find what you’re looking for.
This method isn’t perfect, though, as not every room is built to be perfectly divisible by 16 or 24. As a result, there may be one or more studs that are less than 16” or 24” from the corner. Still, it’s worth a shot if you have no other options.
6. Try the Knock Test
This is probably the most famous method of finding a stud without a stud finder. It involves knocking on the walls and listening to the sound that your knock makes. If the knock sounds hollow, then that means there’s probably nothing behind the drywall; a solid sound indicates the presence of a stud.
This method is reliable — assuming you know what you’re listening for. The difference between the two knocks can be subtle, and it may take some trial and error before you’re able to distinguish the two noises reliably.
7. Grab Some Magnets and Dental Floss
This method might seem like old-school witchcraft, but it can work surprisingly well. Grab the strongest fridge magnet you have and wrap dental floss or string around it so that it hangs from one end.
Then, hold the string up against the wall and let the magnet swing back and forth while it dangles. If it suddenly latches onto something, that means you’ve found a nail — and a nail will only be sunk into a stud.
8. Use a Flashlight
This is one of the hardest and least-reliable methods because it is completely dependent on how well the wall was finished, but you’ll feel like a wizard if you can actually pull it off.
Turn a flashlight on and place it parallel to the wall. You may be able to spot little dimples in the wall where the drywall was nailed to a stud — much like the dimples in your molding. These dimples will be very hard to see, and might not be visible at all.
Be very careful with this method, though, because if you pull it off, you’ll be so impressed with your own handiwork that your family will likely never hear the end of it.
9. Drill a Hole
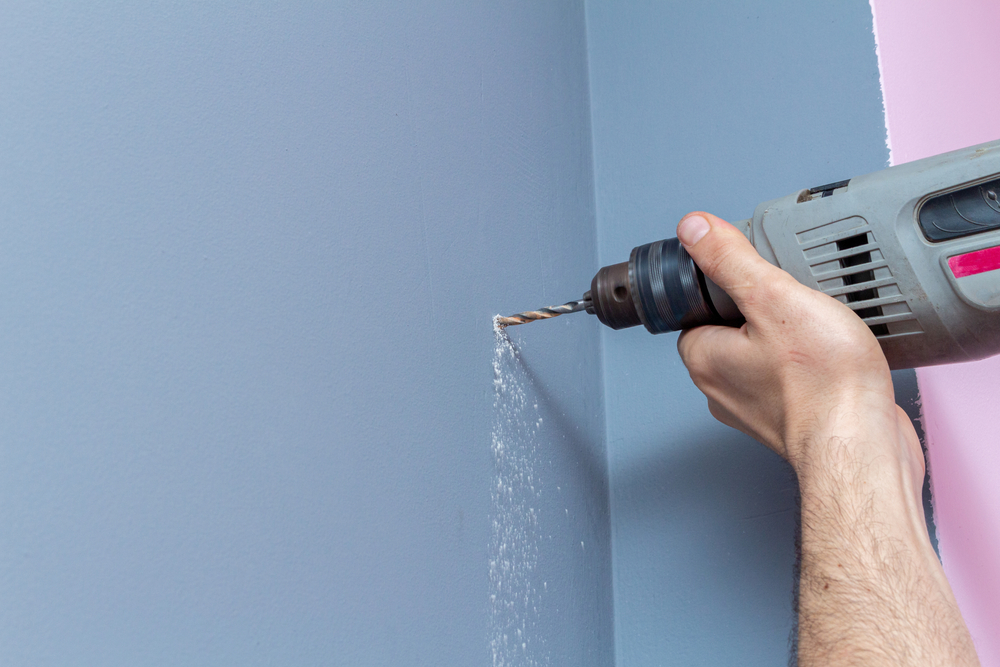
At some point, you have to test out whether or not you’ve been successful in your stud-finding efforts. This will involve drilling a hole into your wall, so good luck.
If you’re not completely sure that the stud is where you think it is, you can try drilling a tiny hole close to the baseboards, where it’s unlikely to be seen. If the drill encounters resistance once it penetrates the drywall, then congratulations — you’ve found a stud.
If, however, it sinks in with ease, you’ve missed completely. Your family will likely never let you hear the end of it.
If you need a high-quality drill to get the job done, check out our guide to the best cordless drills.
10. Try Using a Wire Coat Hanger
You missed when drilling into the drywall, so now you just have a gaping hole in your wall. All is not lost, though — you can use that hole to your advantage.
Straighten out a wire coat hanger, then bend it at a right angle. Feed it into the hole you drilled until you get to the bend in the wire, and then spin it in a circle. It should hit something — a stud. Now you know exactly where to drill next.
Better yet, you can tell your family that the “missed hole” was all part of the plan. Who’s laughing now, huh?
11. Download an App on Your Phone
There are several stud finder apps you can download to your phone. They use the magnetometer sensor in your phone to find nails and other pieces of metal in the stud, so they’re like a high-tech version of the magnet trick we showed you above.
This method is listed last because most of these apps still have some kinks that need to be ironed out. They aren’t as reliable as some of the other methods shown here, but they can work in a pinch.
Final Thoughts
Finding a stud is a task you must accomplish before you hang anything substantial from your walls, but that doesn’t mean it needs to be difficult. Using the tips and tricks above, you should be able to locate a board behind your walls in no time.