If you’re looking to give your MDF furniture or cabinetry a fresh new look, then you’re in for a treat. The smooth wood fiber material is free of visible grain and super easy to paint—a perfect DIY mini-project destined to yield stunning results.
Although the process is relatively straightforward, MDF does have a few key differences to other similar materials like plywood. In this step-by-step MDF painter’s guide, we’ll walk you through the entire process from start to finish so you can splash some color into your furniture like a pro.
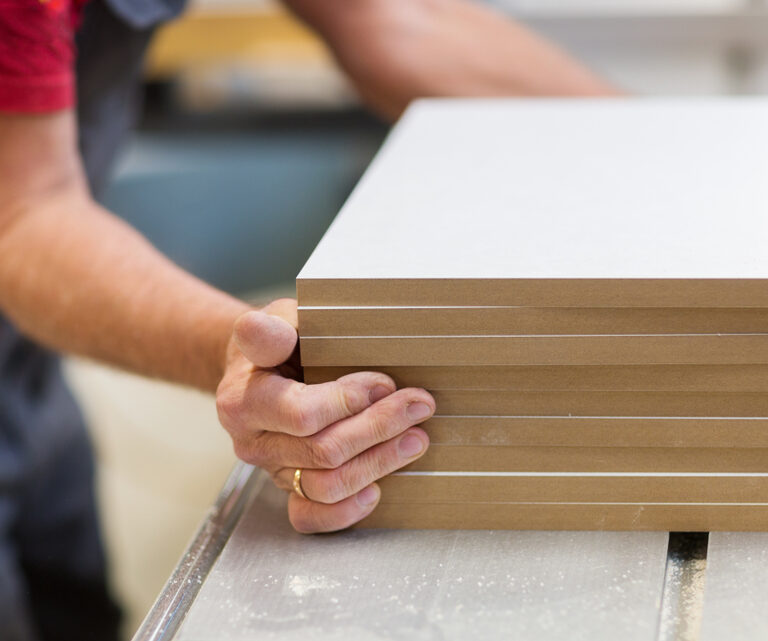
What Is MDF?
Before we get dive in, it’s worth understanding the basics of the material. MDF is the common abbreviation for medium density fiberboard, a specially engineered blend of wood fiber and wax. The ubiquitous low-cost construction material is created by fusing these key ingredients in an intensely hot, high-pressure environment.
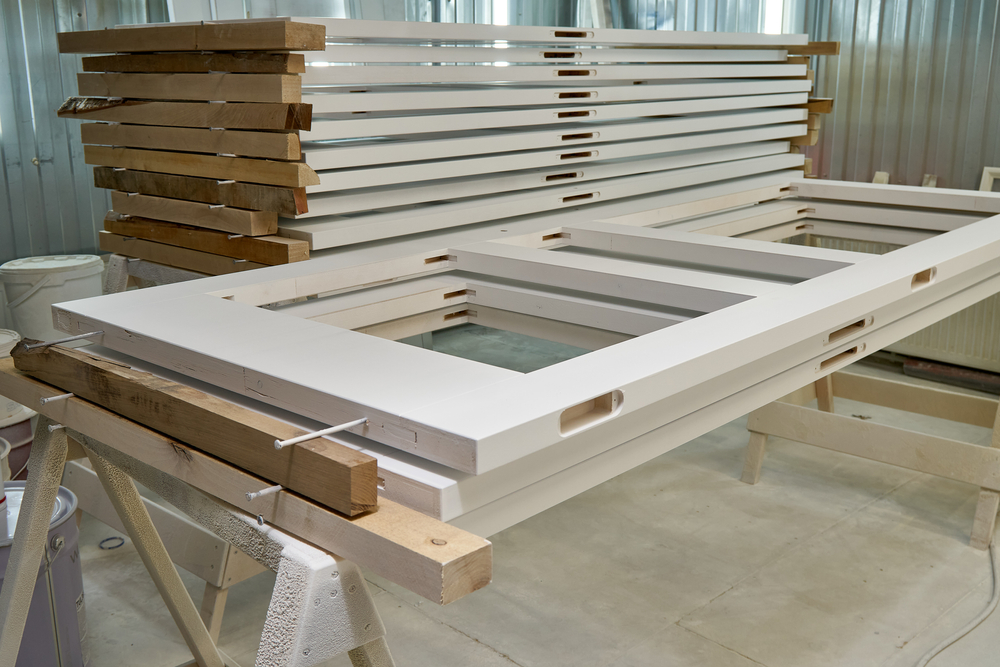
Unlike plywood, MDF doesn’t come with any grains, knots, or rings, making it super easy to slice through and a brilliant option for numerous applications. From trim work to cabinetry and everyday household furnishings, this durable material is something most carpenters love.
But it does come with some downsides, too. MDF warps with excessive water exposure, so you’ll need to keep the stuff relatively dry. While you can apply a water-resistant primer and sealant, it’s best to avoid using MDF outdoors or in the wetter areas of the home (the bathroom, namely).
Its fine fibrous particles can also irritate the eyes and throat—remember to wear protective equipment when sawing or sanding it down. What’s more, while the surface ships from the factory pre-sanded with a 150-grit finish, the edges aren’t quite as nice. You’ll need to smooth these down before painting to achieve the desired look.
How to Paint MDF: A Simple Six-Step Guide
Now you’re up to speed on the material, it’s time to gather the tools of the trade and begin the painting process.
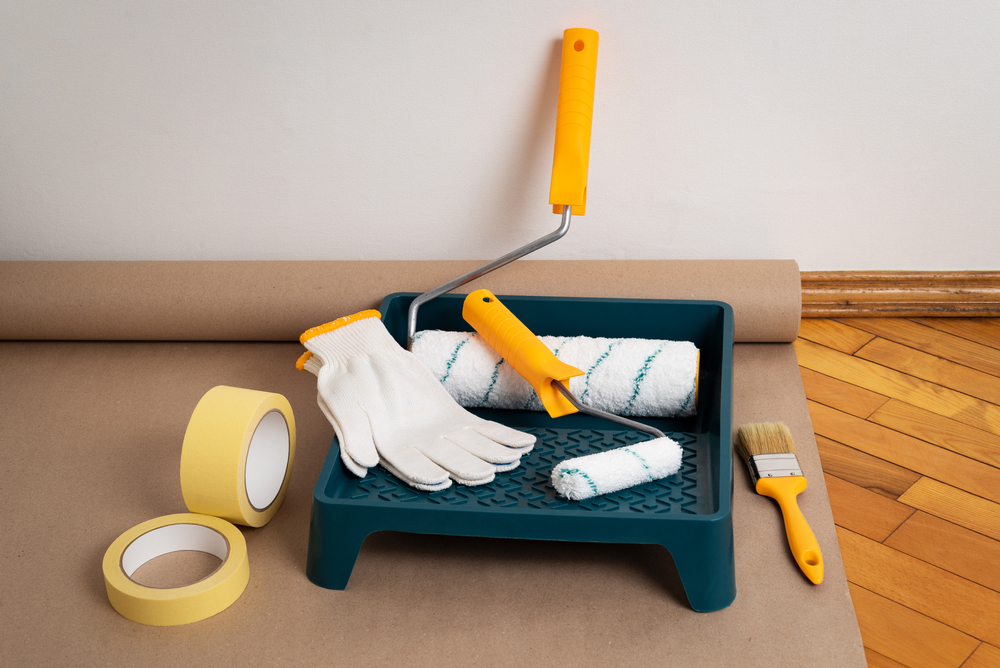
Acquire the following:
- Painting overalls (old clothes will do in a pinch)
- Drop sheets
- Painter’s tape
- 150-grit and 220-grit sandpaper
- Cleaning cloth
- Dust mask
- Safety goggles
- Drywall compound or shellac
- Primer
- Acrylic latex paint
- Paintbrushes
- Protective finish
Step 1: Prepare the Workspace
If you’ve ever undertaken a painting project before, you already know it’s messy work. Putting a little effort into protecting your workspace will save you a laborious clean-up at the end.
- Find a flat, well-ventilated area to work in
- Throw down some drop sheets to protect the ground/floor
- Cover anything you don’t want to paint with painter’s tape and/or drop sheets
- Gather your tools and materials within easy reach
Step 2: Seal the Edges
While an MDF surface is good to paint right off the bat, the edges are too coarse and porous to absorb the paint properly. If not treated, you’ll end up with a non-uniform texture on the sides that will spoil the entire look.
For best results, we recommend adding a dab of drywall to the edges to seal them. Alternatively, shellac works quite well.
- Dip your finger into a wet tin of drywall compound.
- Rub your finger over each MDF edge to apply the compound smoothly.
- Wait 24 hours for the drywall compound to dry.
If you notice any nicks or scratches on the MDF surface, rub a small dab of drywall compound into the mark. When left as is, these imperfections become super apparent after applying a fresh coat of paint.
Step 3: Sand the Edges
Now your edges have a smooth layer of sealant, it’s safe to start sanding them down.
- Sand the drywall compound with 150-grit sandpaper until smooth.
- Polish the area off with 220-grit sandpaper.
- Wipe off all the remaining dust with a damp cloth.
Step 4: Prime the Surface
The edges and scratches in your MDF are now lovely and smooth, so it’s time to prime.
As MDF is a porous material, the right choice of primer is imperative. An inappropriate primer will prevent the paint from properly penetrating the surface, leaving you with a lackluster result—think peeling skin and an uneven finish. You’ll need to avoid any water-based or latex primers as these cause the wood fibers to expand and ruin the texture.
So what’s the perfect primer?
We recommend a solvent-based option such as KILZ, which is specially formulated to work with MDF.
- Apply the primer evenly over the entire surface with a brush.
- Wait one hour for the primer to dry (always check the “in-between coats” time on the tin).
- Apply a second coat of primer to the surface area.
- Leave the primer for at least one hour to dry.
Even though one primer coat is enough for most paint jobs, it’s a good idea to apply two, or perhaps even three, on MDF. Extra primer helps the paint bond to the porous surface, especially around the edges.
You can lightly sand the surface between primer coats for optimal results, although this will add extra time to the project.
Step 5: Paint the Surface
Water-based paints are a big no-no as moisture can warp the porous fibers in the MDF sheets. And while oil-based paints work well, they require mixing with paint thinner to achieve the ideal consistency, which adds time and expense to the project.
We recommend using acrylic latex paint for optimal efficiency and results. Remember to factor in the finish, too—either matt, satin, or gloss.
- Apply a thin, even coat with the applicator of your choosing (brush or roll-on).
- Wait for the paint to dry (check the “in-between coats” drying time on the tin).
- Apply a second coat.
- Wait for the paint to dry.
- Apply a third coat if necessary.
Acrylic latex paint tends to smell a bit while drying, which is why we recommend working in a well-ventilated room.
Step 6: Apply a Protective Coat
Your fresh new paint has thoroughly dried, and your MDF furniture is looking slick—but your work is still not done. It’s a good idea to apply a protective coat to MDF after painting to prolong its like-new appearance, especially if the surface prone to wear and tear.
Polyurethane, lacquer, and wax all work well at sealing MDF, and you can apply them quickly in one coat with a painter’s brush (don’t use the same one you’ve sullied with primer or paint).
- Ensure the paint has had time to dry (consult the recommendations on the tin).
- Apply one thin coat of sealant with a brush.
- Allow the coating to dry before using touching or using the MDF piece (again, consult the tin for the recommended dry time).
If you’ve painted an MDF surface that won’t come into contact with anyone—for example, MDF crown molding—then the final protective coat isn’t strictly necessary.
Painting MDF: The Final Word
You’ve sealed, sanded, primed, painted, and coated. Now your MDF piece is finally done, it’s time to stand back and admire your handiwork.
If you followed all the steps in this guide, then your fresh lick of paint will look slick for years to come. Be sure to place the piece in a prominent position where others will get to admire your creation.