Laminate is all the rage in the budget furniture business these days, especially now big guns like Ikea are building the stuff by the container load. But while their smooth surfaces can look slick with the right artificial wood grain, sometimes a laminate finish just doesn’t blend with the rest of the room.
The good news is that with a bit of preparation and insider know-how, you can paint over any laminate surface for a fresh new look.
We’ll run you through the relevant steps so you can revitalize your laminate furniture or cabinetry in record speed.
What Is Laminate Furniture?
First things first, as with any DIY project, it’s worth understanding the material you’re working with.
Laminate furniture is a substrate of particle board or plywood with a thin layer of printed plastic resin plopped on the top. This plastic—usually Melamine or Thermofoil—helps protect the plywood from scratches or stains and makes it extra easy to clean.
More importantly, however, is that the manufacturer can print any design they wish on top. Most choose a beautiful life-like wood grain, which makes ugly old plywood appear (almost) like a real hardwood surface.
Because laminate furniture is mainly comprised of a cheap substrate, it’s super economical to produce, hence all the bargain basement furnishings at big-brand outlets like Ikea.
Be careful not to confuse laminate furniture with veneer. Although the concept is similar, veneer furniture is covered with a thin layer of real wood, which means the surface properties (and painting process) are entirely different.
How to Paint Laminate
Laminate furniture is specially formulated to be non-porous and easy to clean—perfect for wiping off those inevitable spills on your tabletops and whatnot. But these properties also make the stuff challenging to paint, because liquid won’t seep into the pores as it would with natural wood.
But don’t fret, because painting laminate isn’t difficult—the process is just different.
Here’s what you need to do, step-by-step.
Step 1: Prepare Your Work Space
As with any painting gig, things are going to get messy. Throw some drop sheets down onto the floors and use them to cover anything you don’t want to ruin with wayward splotches.
Grab a roll of painter’s tape to fix the sheets in place and cover the smaller items or trimmings you can’t protect with the drop sheets.
Step 2: Sand the Surface
As we know, paint and primer will struggle to stick to slick laminate. The best workaround is to sand down the surface to make it all rough and porous again.
Pop on some protective goggles and a dust mask (you don’t want plastic particles all up in your face), then sand down the laminate surface. Opt for 150-grit sandpaper and start rubbing in nice circular motions.
Keep sanding until the surface is scuffed and coarse. If certain sections still appear shiny and smooth, then sand them down some more.
Step 3: Clean the Surface
As always, the surface needs to be squeaky clean before you can start priming.
Use a vacuum cleaner to hoover up all the dust or sweep it off with a soft-bristled brush. To ensure you get every last bit, run a damp cloth over the surface several times.
Give the laminate time to dry, or wipe it off with a dry cloth. Run your finger over the surface to check whether there’s any remaining dust—if there is, keep brushing and wiping until it’s properly clean.
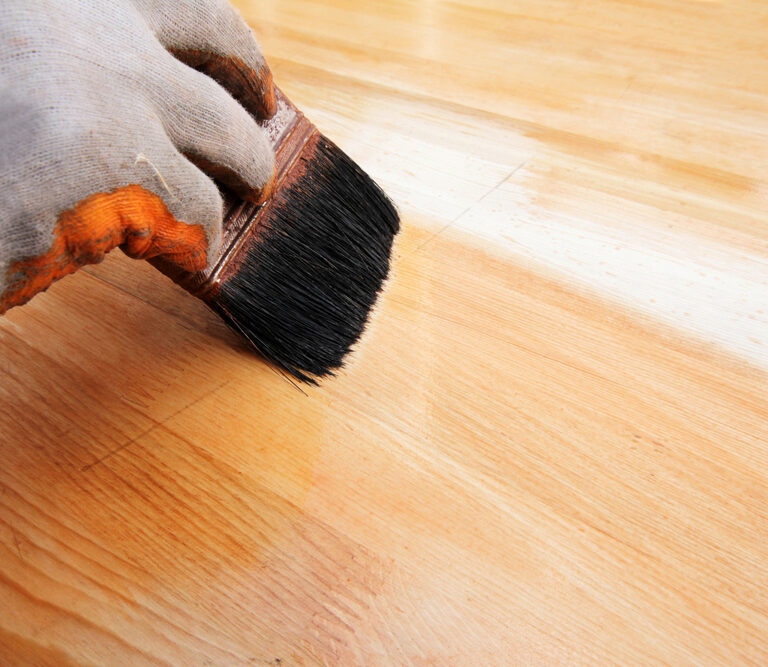
Step 4: Prime Time
If you’ve never done a painting gig before, a primer is a special formula that helps paint stick to a surface. And because laminate is super slippery (even though we’ve sanded it down), priming is of the utmost importance.
The most cost-effective primers tend to come in tins, which you’ll need to apply manually. If you’re covering a large area, use a paint roller to lather on the primer, then cut in around the edges with a brush.
Another option is your spray-on primer, which is quicker to apply and tends to work slightly better with laminate. The downside is that it costs more, although we feel the investment is worth it.
Once you’ve applied your primer, check the “in-between coats” time on the label and wait the recommended period before applying a second coat. It’s always worth doing two coats of primer on laminate, because the paint would otherwise struggle to stick to the non-porous surface.
- Having trouble picking a primer? Zinserr Bullseye is an excellent spray-on option, and Zinserr Oil Primer works well if you’d rather paint it on yourself.
Step 5: Sand the Surface Again
You’ve applied your second coat of primer, but you can’t start painting straight away. Check the “dry time” on the label and wait for the recommended period to pass.
Next, break out some coarse sandpaper—400 grit will do—and sand over your brush marks until they’re nice and smooth; otherwise, you might notice them through the final coat.
Clean the surface again by brushing it down and wiping off any remaining dust with a damp cloth.
Step 6: Paint the Laminate
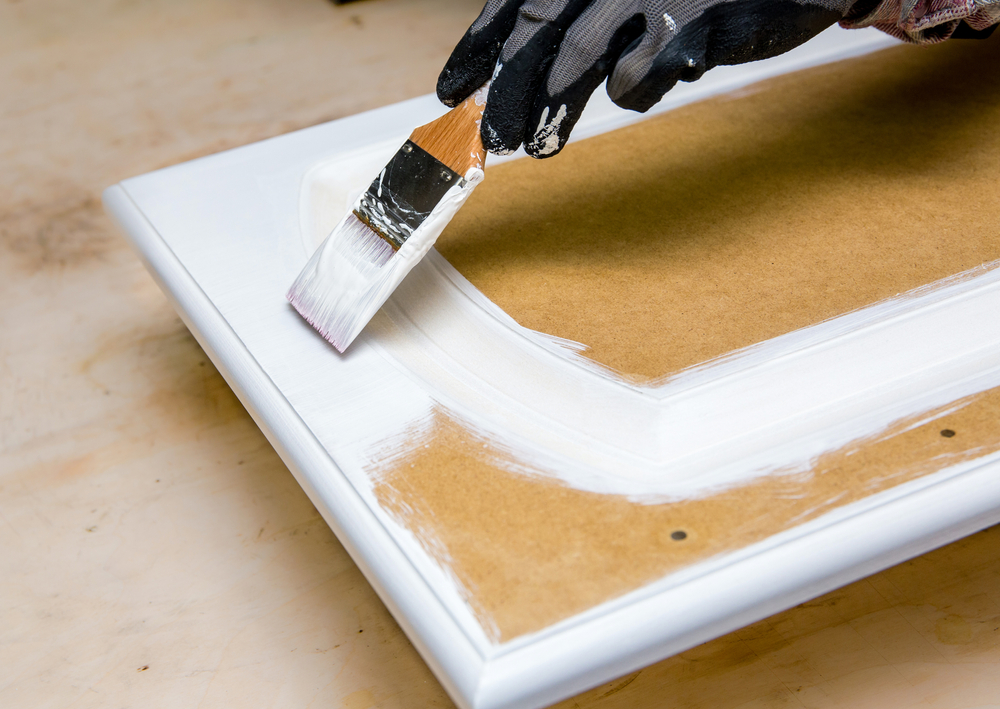
Your laminate piece is now ready to paint.
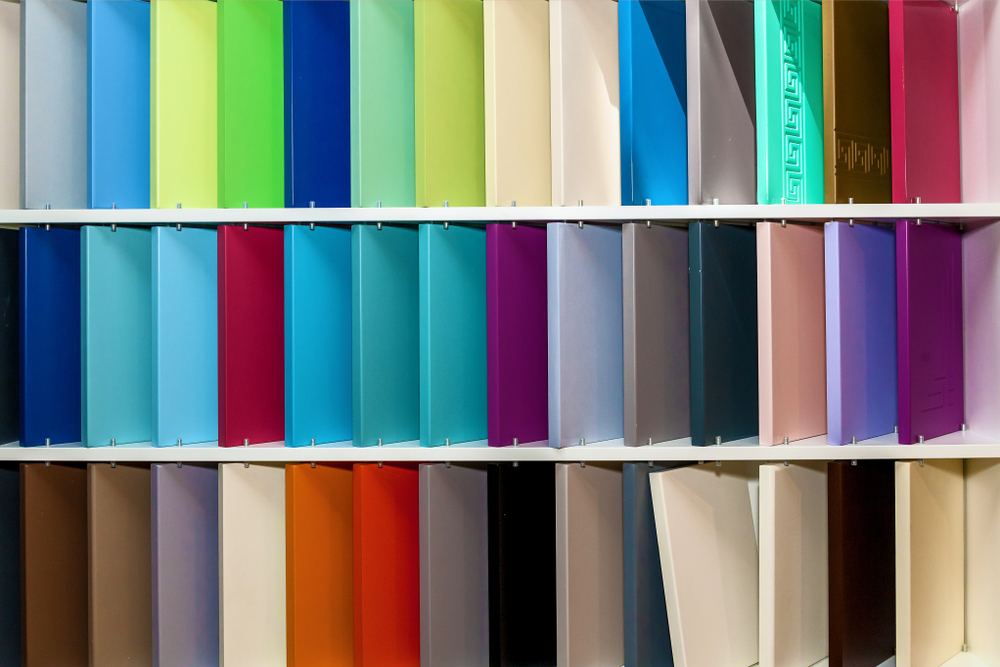
General Finishes Water Based Milk Paint works well on laminate and comes in various colors and sizes. The great advantage of this product is that it’s self-sealing, so you won’t have to bother applying a topcoat once you’re done.
It’s not the only effective option, however, so feel free to use the paint of your choice.
The best way to paint laminate depends on the size of the surface you need to cover. For a small or curvaceous piece of furniture, you’re best off just using a brush. For larger areas, a roller will save you time and achieve a smoother look—remember to cut in around the edges using a brush.
If you’ve got a lot to paint, you could even consider using a paint sprayer. Although expensive, these devices can cover large areas at lightning speed and achieve a nice, uniform finish.
Whichever application method you opt for, it’s best to apply at least three coats. Remember, laminate isn’t as porous as other materials, so extra coats can help you achieve a more durable, long-lasting finish.
Be sure to wait for the recommended “in-between coats” time listed on the label before applying each subsequent coat. You’ll also need to wait out the “dry time” before you start using your cabinetry or furniture.
Be patient. Paint takes time to dry, and the last thing you want is unsightly stains all over your clothes.
How to Paint Laminate: Final Thoughts
Although the plastic resins that comprise a smooth laminate surface aren’t ideal for painting, the process is still possible with some extra sanding and priming work. By following the steps outlined in this in-depth how-to guide, you’ll add a fresh lick of paint to your laminate with minimal fuss.