
Laminate cabinets and countertops have been a staple in kitchens and bathrooms across America for generations. The Formica brand, in particular, boasts high-quality materials in colors that pop and designs that awe.

While avocado-colored cabinet doors or boomerang-patterned countertops might have seemed like a good idea way back when, such finishes now look incredibly dated. Thankfully, there’s an easy way to bring the heart of your home into the 21st century, and it doesn’t demand a major remodeling project. After all, who wants to drop tens of thousands of dollars just to live in a construction zone for weeks on end?
With the right tools and supplies, you can revive the laminate surfaces in your kitchen and bathrooms. When you’re ready to dramatically improve their aesthetic appeal, gather the following items:
- Drop cloth
- Painter’s tape
- Degreaser
- 150 grit sandpaper
- Orbital sander
- Epoxy putty
- Putty knife
- Paintbrushes with synthetic bristles
- Foam paint rollers
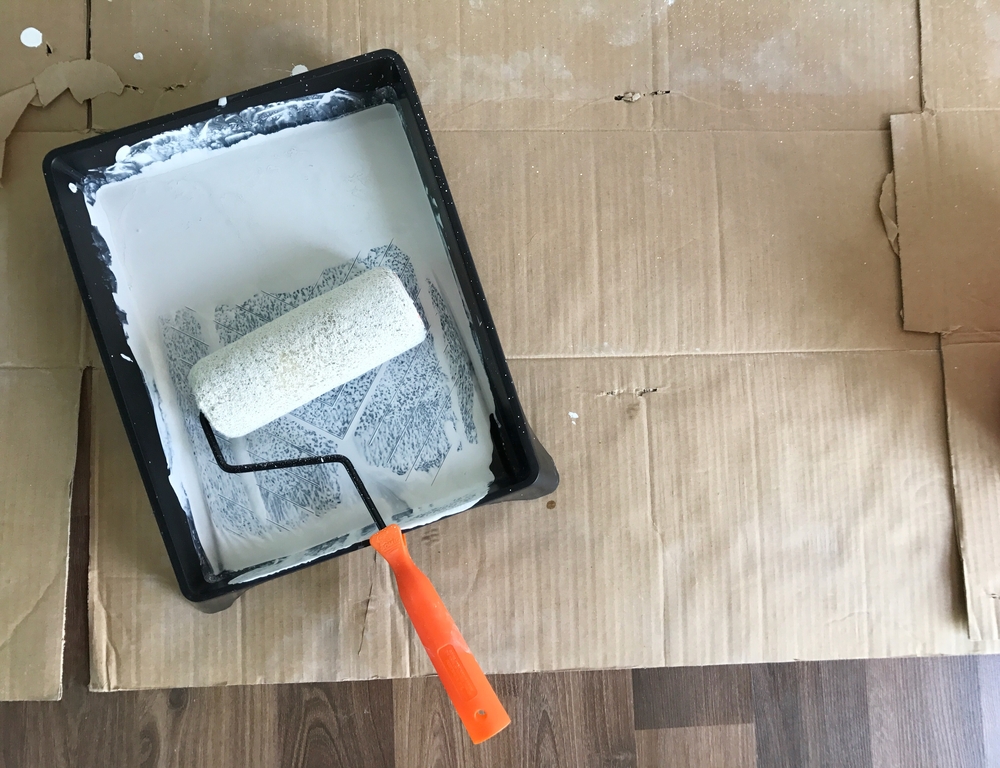
- Rolling tray
- Water-based bonding primer
- Acrylic paint
- Clear gloss acrylic topcoat
Then, take these simple steps to paint the Formica surfaces throughout your home so that it no longer resembles a retro—albeit cozy and welcoming—1970s roadside diner.
Step 1: Prepare the Area
To keep any stray drops of paint from marring the floors or fixtures in the vicinity, cover them with the drop cloth. Available in large rolls at your local hardware store, a plastic drop cloth is ideal because you can cut it as needed. Secure each protective piece with painter’s tape.
The painter’s tape will also help you ensure clean lines. Simply apply it along the backsplash, sink, wall, and any other surface that runs adjacent to the laminate.
If you’re painting cabinetry, the cleanest way to do so is by removing the doors and drawer faces entirely. After unscrewing them from their hinges, remove their handles or knobs and place them on top of a drop cloth in your workspace.
Tip: Mark the back of each cabinet door lightly with a pencil so that there’s no question as to what goes where when you’re done.
Once everything is prepped, follow the instructions on the degreaser’s packaging to remove any grime from the surface’s to be painted. Follow with a wet rag and finish by wiping down the laminate with a clean, dry cloth.
Step 2: Sand the Surface
After donning a facemask and protective goggles to keep the dust out of your eyes, nose, and mouth, use an orbital sander fitted with 150 grit sandpaper to scuff the surface of the laminate. Since the material is non-porous, paint won’t adhere to it properly if you skip this step.
If there are any corners that the sander can’t reach, you’ll have to scuff the surface manually using a piece of sandpaper or a sanding block (and perhaps a little elbow grease).
While you work, keep in mind that Formica is comprised of layer after layer of laminate. As such, you need to be careful that the sander doesn’t get away from you. Apply gentle, even pressure across the entire surface so that you only scuff the topmost layer. This will ensure the finished product is perfectly level.
Step 3: Fill Any Nicks
While you were sanding, did you notice any imperfections? If so, now is the time to address them.
Using epoxy putty, fill in any dings, nicks, and scratches. Follow the instructions on the bottle and let the putty cure, making sure to smooth it with a knife so that it’s perfectly flat before it hardens entirely. Then, sand it gently until it’s indistinguishable from the surrounding material.
Finish by wiping all the surfaces to be painted with a wet rag so that there’s no dust to muck up the paint.
Step 4: Apply the Primer
Open the windows and turn on the ceiling fan or exhaust fan to facilitate ventilation before cracking into the primer. Since bonding primer tends to be thick, it’s best to use a high-quality foam roller, which will ensure a nice, even application. You may need to supplement with a brush, however, to apply the primer in the corners.
Review the manufacturer’s directions and wait the recommended amount of time before applying a second coat.
Step 5: Apply the Paint
Once the second coat of primer has dried, you’re ready to actually paint the Formica. Open the can of paint and stir it before pouring it into a rolling tray. It’s generally best to apply paint to laminate using foam rollers because brushes can leave stroke marks; however, like the primer, you may need to use a small brush on occasion to help the paint reach the corners.
If you’re painting a countertop, start at the back, closest to the wall, and work your way forward. If you’re painting cabinet doors, start at the top, and work your way down.
Review the manufacturer’s instructions and let the first coat of paint dry according to their guidelines before applying the second. In most cases, two coats of primer and two coats of paint should yield exceptional results. If you’re trying to cover especially dark laminate with a really light color, though, a third coat of paint may be necessary to achieve the desired look.
Step 6: Remove the Tape
After the paint has dried, but before it’s cured—in other words, once it’s no longer wet to the touch, but it’s still tacky—remove all the tape you used to protect the adjacent surfaces. Waiting too long to peel off the tape can cause excessive sticking and subsequent tearing. It could even remove some of the paint from the outermost edges of the laminate.
Step 7: Let the Paint Cure
It’s imperative that you wait for the paint to cure before sealing it. Applying the topcoat to a tacky surface can result in bubbling and other imperfections.
To determine how long the paint needs to cure, review the manufacturer’s guidelines. If you applied acrylic paint—which is ideal for “high-traffic” areas like countertops because it’s so durable—be prepared for it to need a week or more to cure fully.
Step 8: Apply the Topcoat
Once the paint is no longer tacky, apply the clear gloss acrylic topcoat. For the smoothest results, use a brush with synthetic bristles.
After applying the first coat, wait the recommended time for the sealant to dry before applying the second coat. As long as you choose a high-quality product, two coats of sealant should be adequate.
After the second coat has dried, you can reassemble your kitchen or bathroom and use the space as you normally would.
Frequently Asked Questions
If you have more questions after reviewing our step-by-step guide, we’re here to help. Check out the answers to some of the most frequently asked questions on the subject below.
How Much Primer, Paint, & Sealant Will I Need?
Generally speaking, one gallon of paint covers roughly 400 square feet. Since primer is thicker, one gallon is usually enough to coat about 300 square feet. Sealant, on the other hand, is thinner and may be stretched to cover as much as 500 square feet.
To determine how much primer, paint, and sealant you’ll need, estimate the rough square footage of the countertops or cabinets to be updated, and then multiply the figure by two (since you’ll be doing two coats of each). That’s how many square feet you need to cover.
If it’s less than 300, one gallon of each will suffice. If it’s more, you’ll need to do a little math. Thankfully, you can simply input the numbers in a handy paint calculator to figure out just how much primer, paint, and sealant you should buy.
How Long Does It Take To Paint Formica?
From start to finish, it can take a couple of weeks to refinish laminate surfaces. Thankfully, most of this is inactive time as you’re just waiting for the paint to cure. Plan on spending about four afternoons working on the project. For example, you’ll likely spend one weekend prepping, priming, and painting, and the following weekend sealing.
How Do You Care For Painted Formica?
As long as you use high-quality products, your new countertops should be incredibly durable. They’ll be able to withstand years of heavy use from everyone in your household. However, that doesn’t mean that they’ll be indestructible.
To ensure your upgraded countertops last, avoid cutting directly on them. Use a cutting board instead. Additionally, don’t place hot pans or hair appliances on them without putting down a protective mat first. Finally, avoid using abrasive cleaners or scrub brushes as they could wear down the sealant over time. Instead, use a wet, soapy rag or soft sponge to wipe up spills.
Finishing With a Flourish
We hope our comprehensive step-by-step guide has given you the confidence to paint all the Formica throughout your home so that it’s better suited to your personal tastes. While the job demands a little creativity and a lot of elbow grease, it’s one of the easiest DIY tasks you can tackle. Even if you don’t consider yourself all that handy, you should be able to revive your kitchen or bathroom with ease if take your time and follow every step meticulously.