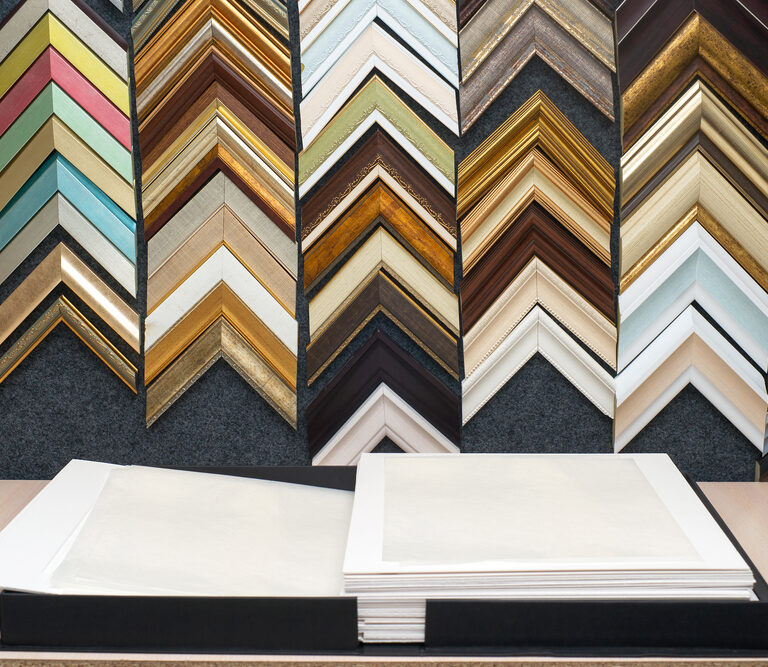
Why make a picture frame when they are so much easier to buy? One reason is that making a picture frame allows you to customize the measurements. Most bought frames come in specific sizes and ratios, generally based on standard paper measurements.
However, you might have a long, thin painting that doesn’t fit into a regular frame; building your own allows you to get a perfect fit. Or perhaps you do a lot of woodwork and have spare lumber lying around. You already have the tools and materials, so why not?
Whatever your reasons for wanting to make a picture frame, the process is simple and not much more expensive than buying a ready-made frame.
Tools and Materials
If you do a lot of DIY projects, you’re likely to have most of these items already. If you don’t, they’re easy to source and can usually be found in your local hardware store.
You will need:
- Wood or picture frame moulding
- Ruler or measuring tape
- A saw and miter box
- Wood glue
- Nails
- Hammer
- Corner/angle clamps
- Table saw (optional)
- Router (optional)
- Thin picture glass
- Thick cardboard or thin plywood – to fit in the back of your frame
The wood or frame moulding is the most important item on this list as it is the main basis of your frame but having the right tools can also mean the difference between success and failure. As you go through the steps below you can see for yourself which items on this list you think you’ll need the most and which ones you can do without.
Framed! The Step-by-Step Process
Gather all your materials together and make sure you have a clear, flat workspace. An uneven surface can prevent accurate measurements and get in the way when you are trying to glue up your frame.
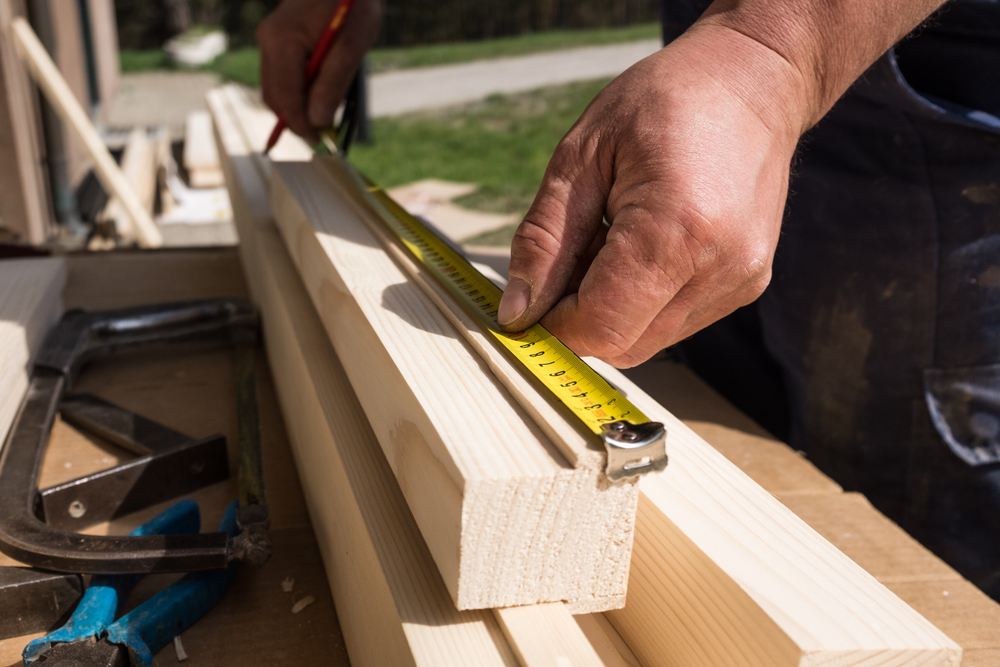
Step 1. Measure the Wood
If you are creating a custom frame, you can use the painting or picture as the basis for your measurements. The measurement of the paper edge should be the same or a little more than the length of the inside edge of the frame. If you are using moulding, this is the side with the groove or routered edge. The most important thing is that the parallel edges of your frame are exactly the same length. If they are even slightly off, you will end up with gaps in the corners. As the adage says: measure twice, cut once.
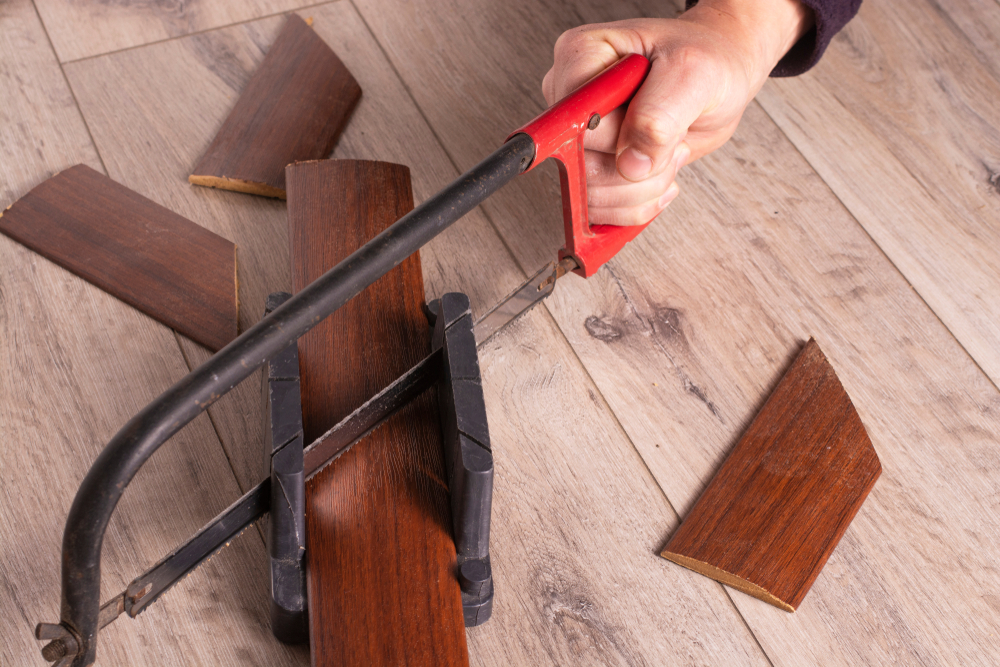
Step 2. Cut the Pieces to Size
If you are using rough lumber, cut it to size using a table saw. Thicker pieces of wood can be trimmed to the right dimensions, or you can save yourself some effort and use pre-cut lumber like a 2×2 or 2×3 and cut it to the required length.
Use a router to cut a groove for glass and backing to sit in. If you do not have a router you can glue or nail thin strips of wood onto the back of your frame for a similar effect, keeping in mind that this will affect how the picture sits on the wall once it has been hung.
Alternatively, you can use picture frame moulding which already has a routered edge. Picture frame moulding usually comes in large bundles ranging from plain or simple patterns to more elaborately decorated moulding which tends to be more expensive.
Whether you prefer to use power tools or saw by hand, you need to make sure you have a perfect 45-degree angle. Miter saws and other electric saws can be set to this angle so you can cut the wood without taking too much time to line it up.
A miter box does the same job for hand-sawing. There are grooves in the side of the box to hold your saw at the correct angle, all you need to do is hold the wood steady while you saw. One advantage of a power saw over a miter box is that you can cut larger pieces of wood that might not fit into a miter box. However, if you are making smaller or thinner frames, this won’t be an issue.
The thinner corner of the wood indicates the outer edge of your frame, making the inner edge the shorter side. This is known as a miter joint (as you “miter” guessed) and is most commonly used for picture frames as it is the simplest to make. However, it often needs reinforcements like nails as explained in step 5, especially if the frame is particularly large or heavy. There are other types of joints you can use but they are a little more complex and need tools like a router that you might not be able to access.
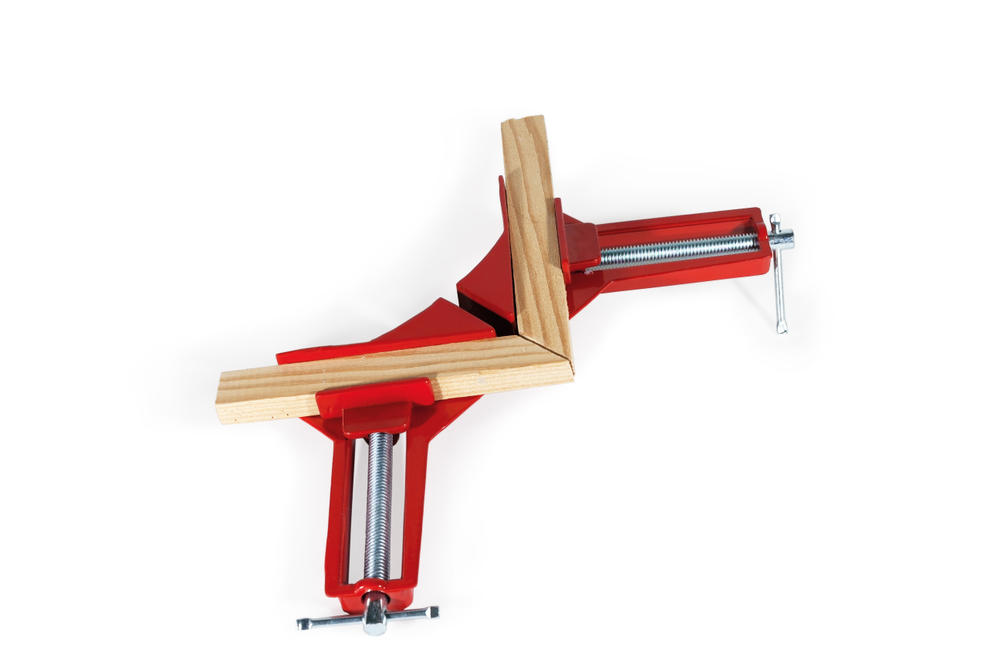
Step 3. Glue the Pieces Together
Once you have cut the pieces of your frame, place them together to check that they meet properly in all the corners. If you see gaps you might need to recut your pieces or use some wood filler later if the gap is not too obvious.
If the corners do meet up well, apply a small amount of wood glue and secure the pieces until dry using a corner clamp. You can do this one corner at a time, or you can do several simultaneously if you have more corner clamps.
Check the bottle of glue that you are using for the recommended drying time. It often ranges from a few hours to overnight.
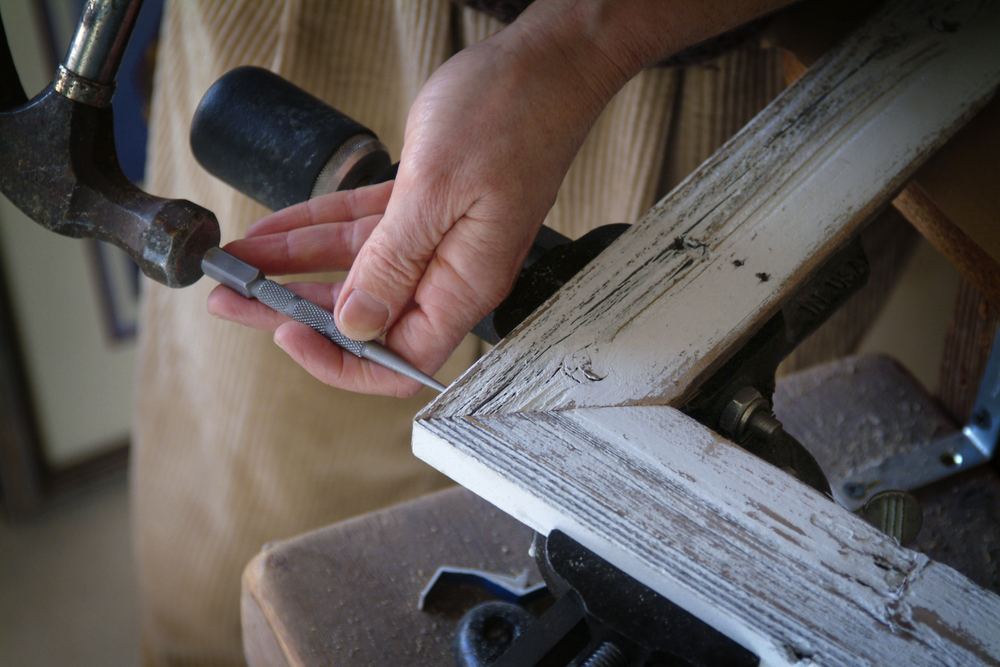
Step 4. Reinforce the Corners
Once the glue has dried, remove the clamps and drive a couple of small nails into each corner for extra strength. This is optional but will help your frame to last a long time, especially if it is a large, heavy frame. Miter joints alone are very weak, as there is not much surface area for glue to adhere, the glue tends to get absorbed more on the end grain of the wood as it dries, and there is very little mechanical strength to the joint.
Other reinforcements you can use to strengthen your miter joint include splines or biscuits, both of which are small pieces of wood inserted into the joint to increase the surface area of the glue and mechanically strengthen the joint.
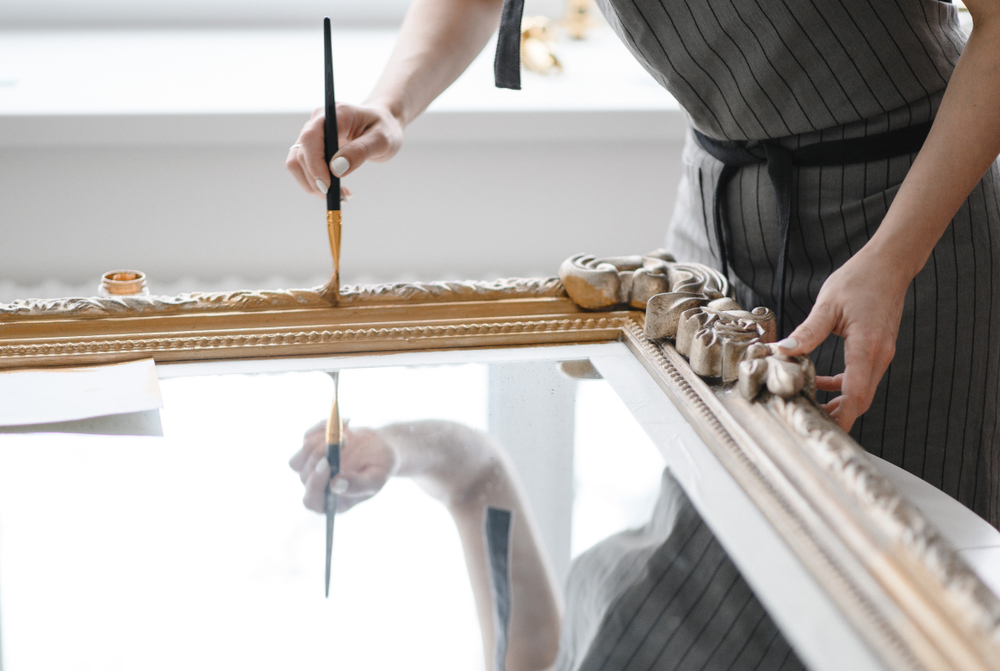
Step 5. Seal and Decorate the Frame
Your frame is finished! If you have used lumber to make your frame you will need to seal the wood. You can use something simple and inexpensive like boiled linseed oil, or you can varnish or paint your frame depending on whether you want to see the wood grain or not.
If you want a more elaborate frame you can decorate it with beads/faux flowers or paint a pretty pattern onto it. If you have used picture frame moulding this is unnecessary but how you decorate your frame is up to you. A picture paints a thousand words, but the frame draws your attention to it.
Mounting and Hanging Your Picture
Now that you know how to make picture frames, you need to get your pictures on the wall. Securing the picture in the frame is known as mounting. This is an important step to ensure your picture doesn’t fall out of the frame and get lost or damaged.
Cut the Glass and Backing Materials
Picture glass is much thinner than window glass. You can either order it to your custom size from a glazier or cut it yourself at home using a glass cutter. This is a fairly simple process but does need a bit of practice if you’ve never done it before so get a few practice pieces of glass as well.
Thick cardboard or thin plywood are good backers to put behind your picture to protect it from scratches and dust.
Mount and Secure Your Picture
To mount your picture, first place the glass in the frame followed by the picture and backing. Make sure your picture is the right way up, although if you haven’t attached a hanger yet, this isn’t important as you can determine the top of the picture afterward.
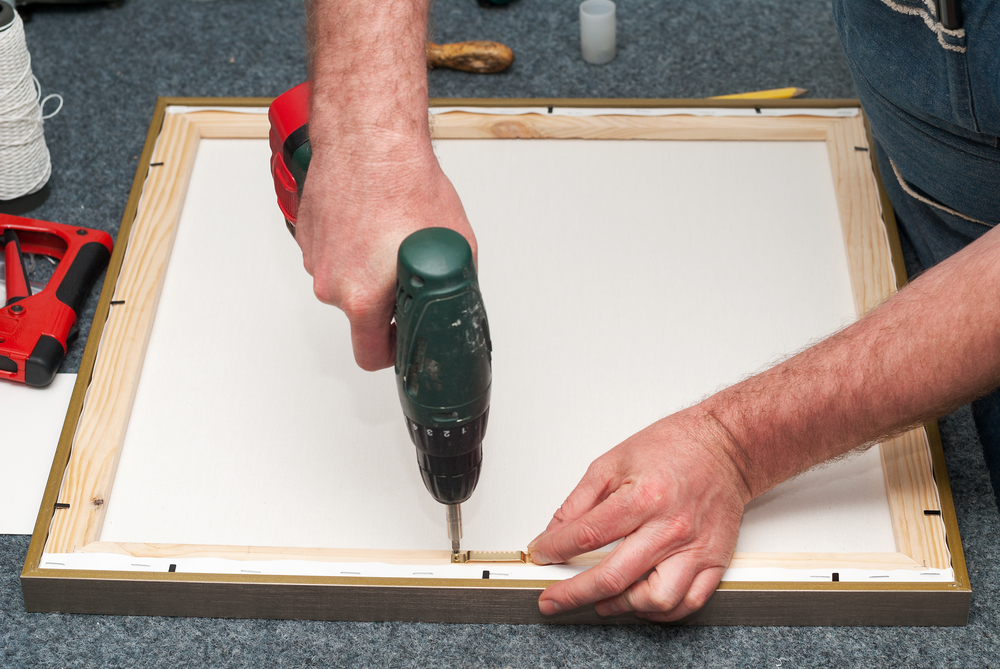
There are several methods to secure the backing in the frame so it doesn’t all fall out. The most professional is to use a point gun or fitting tool which inserts small metal tabs into the wood as you find on bought frames. This is a great option if you plan on making many frames. However, you can also tape it in-place, or use turn buttons, both of which are much cheaper and better options if you are only making one or two frames.
Hanging Your Picture
On the back of your frame, you will need to secure a hanger or d-rings and wire to hang up your picture. With a nail, attach a hook to the wall that you can use to hang your picture. You can buy all these pieces together in a picture hanging kit, or you can go the easy route and use command strips, provided your picture isn’t too big and heavy.
Use a spirit level to ensure your picture is level.
Picture Perfect
Congratulations, you now know how to frame things! Pictures, not people preferably (That skill needs a different set of instructions that probably shouldn’t be written). If you are willing to put in a bit of time and effort, you can easily create a custom frame for any artwork or print that you might come across.
It does need some concentration to get accurate corner angles but using a jig or a miter box decreases the difficulty and from there it’s smooth sailing. Before you know it, your friends will be asking you to make picture frames for them too.