Also known as acrylic, plexiglass is a flexible, durable, and shatterproof substitute for the real thing. Those desirable qualities, along with a temptingly low price tag, make it the ideal see-through material for an array of applications, from countertops to picture frames and everything in between.
Unlike real glass, which requires special equipment and training to slice in half, you can cut plexiglass with standard workshop tools. And that’s why it’s the transparent material of choice for DIYers looking to undertake a project at home.
Whether you’re working with a thin, medium, or thick sheet, we’ll cover the most effective way to cut your plexiglass to the perfect size and shape. And because you’ll inevitably leave a few rough corners at the end, we’ll also teach you how to sand them down for a nice smooth finish.
What You Need to Know Before You Start Cutting Plexiglass
As strong and durable as it may be, plexiglass tends to scratch easily, which is why the stuff gets shipped out of the factory with a thin protective film on it. To avoid accidentally lacerating your pristine plexiglass, it’s best to leave the film on until the final phase of the project. Plus, peeling it off at the end is a rewarding way to finish the gig.
Another downside is that cutting plexiglass never results in a nice, clean edge. If smooth aesthetics are essential to your project, you’ll have to spend some time sanding it at the end.
The Tools of the Trade
- Gather the following items before getting to work.
- Yardstick
- Dry erase marker
- Clamps
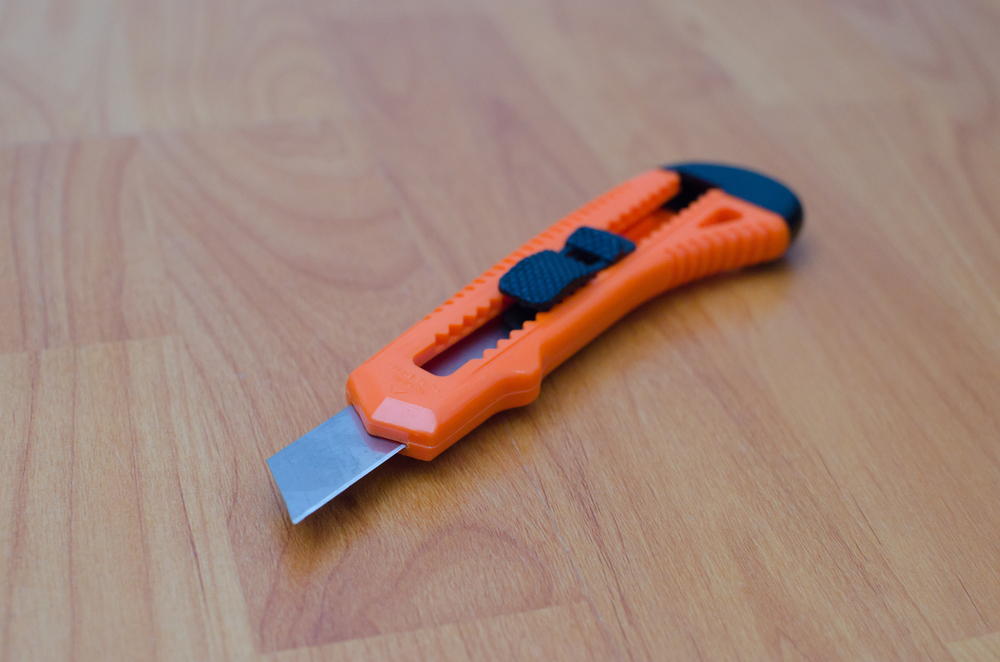
- Utility knife(thin plexiglass only)
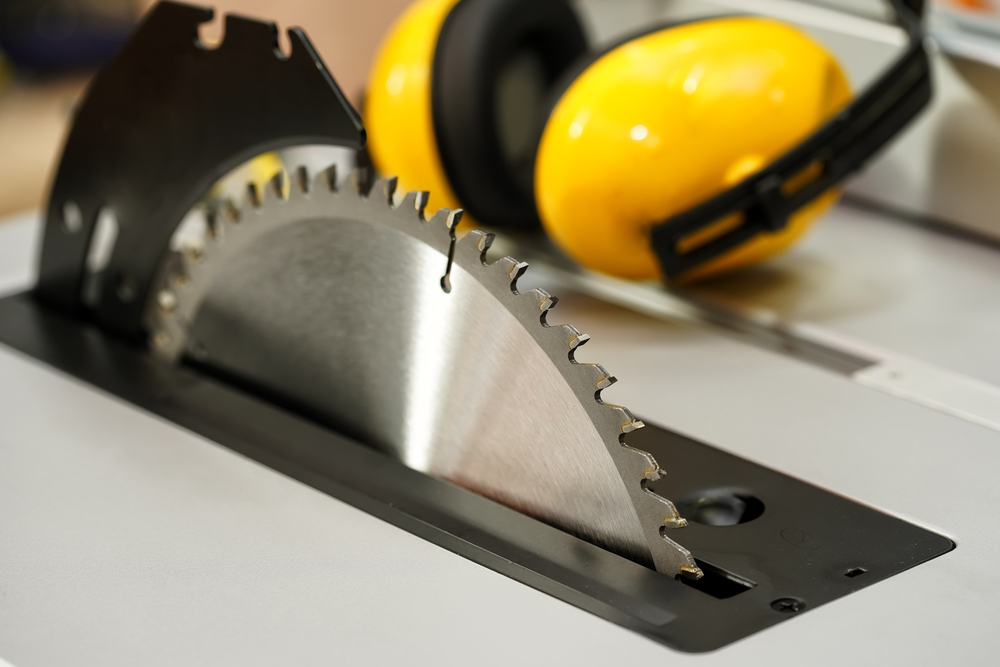
- Table saw or circular saw (thick plexiglass only)
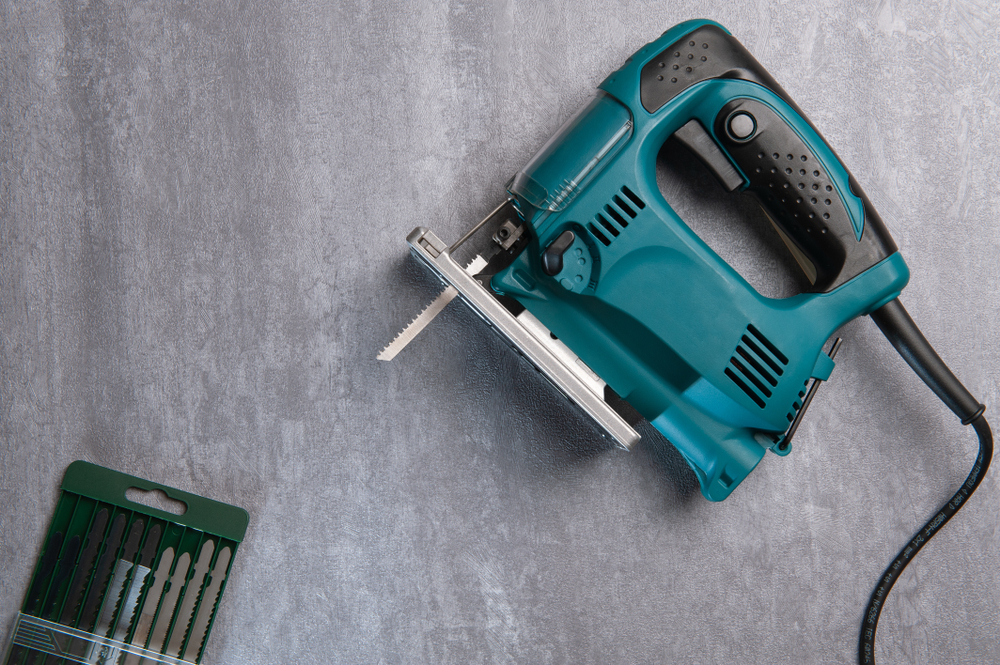
- Jigsaw (thick curved plexiglass only)
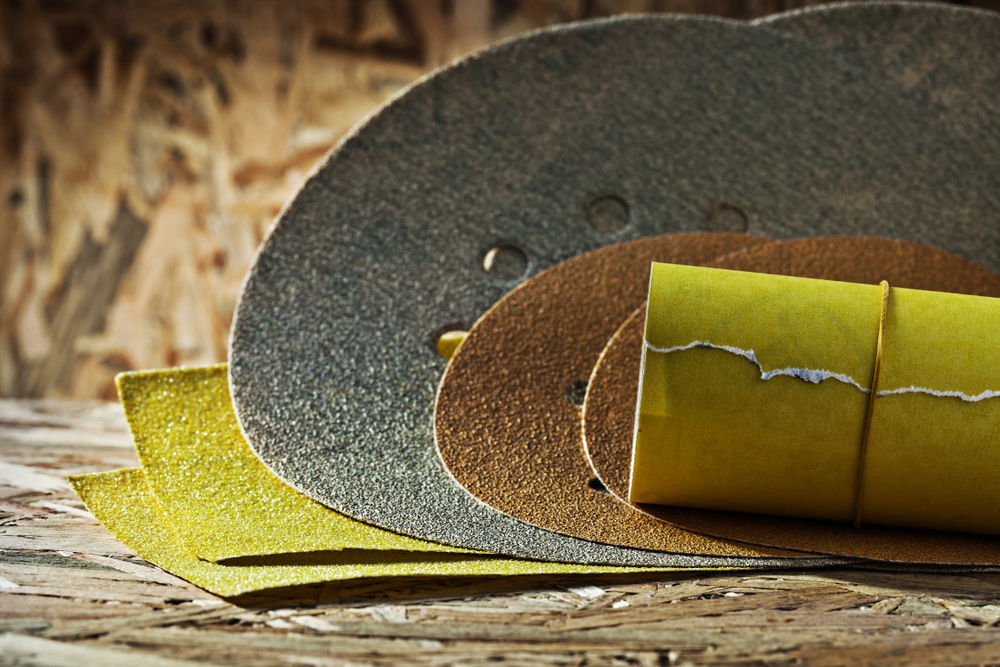
- Assorted coarse sandpaper
- Assorted fine sandpaper
How to Cut Plexiglass: Sawing or Scoring a Nice Clean Cut
The most appropriate method for cutting plexiglass depends on the thickness of the sheet and the shape of the cut.
Ultra-fine acrylic can be scored with a utility knife and then snapped off, while moderate to thick sheeting requires the use of a power saw. If you’re keen to throw in a few fancy curved corners, then you’ll need to opt for a jigsaw, instead.
Scoring Fine Plexiglass With a Utility Knife

Slicing through ultra-fine plexiglass (under 3/16 of an inch) is super easy and doesn’t involve any special tools. The process is called “scoring,” and requires repeatedly cutting into the surface to create a deep groove.
Step 1.
Lay the sheet of plexiglass down flat on a smooth surface like a workbench (Ensure no edges are hanging over the edge of the workbench).
Step 2.
Use a yardstick and a dry erase marker to measure and mark the area you wish to cut.
Step 3.
Repeat the process on the other side of the plexiglass.
Step 4.
Hold the yardstick along the first line to be cut.
Step 5.
Run the utility knife along the edge of the yardstick to score the plexiglass sheet.
Step 6.
Repeat the process 10-15 times until you’ve scored a deep groove into the plexiglass.
Step 7.
Turn the plexiglass over and align your yardstick with the corresponding line on the other side.
Step 8.
Score the line 10-15 times until you’ve cut a deep groove into the sheet. The plexiglass is now scored on both sides and ready to be snapped off.
Step 9.
Position the scored line of the plexiglass over the edge of your workbench.
Step 10.
Fasten the plexiglass in place with a clamp.
Step 11.
Push firmly downwards to snap off the protruding plexiglass.
If you plan to re-use the excess plexiglass, place something soft like a matt underneath. Otherwise, it’ll get scratched when it hits the floor.
Sawing Moderate to Thick Plexiglass With a Power Saw

While you could score and snap thick (greater than 3/16 inch) plexiglass with a utility knife, the process would take all afternoon. A better alternative is to spring for a power saw—a table saw or circular saw will do the trick.
If you don’t already have one, you can pick them up pretty cheaply online. Or, if you don’t expect to be doing much sawing in the future, you can save even more money by hiring one from your local hardware store.
Regardless of which type of saw you use, you need to insert an appropriate blade. Specially designed acrylic blades work best, although any metal-cutting blade with a carbide tip will do in a pinch. Another critical factor to consider is the teeth, which need to be of an identical shape and evenly spaced. Avoid any blades that come with a “rake”.
Step 1.
Pop on a pair of safety goggles (you don’t want a wayward plexiglass shard in your eye).
Step 2.
Lay the sheet of plexiglass down flat on a smooth surface like a workbench.
Step 3.
Use a yardstick and a dry erase marker to measure and mark the area you wish to cut.
Step 4.
Clamp the plexiglass onto your workbench.
Step 5.
Turn on the saw and wait for it to start rotating at full speed.
Step 6.
Push the saw slowly through the plexiglass at a steady pace to avoid jamming it. If the jaw stutters, you’re probably pushing it too fast. Bring it back and let the blade get up to speed before trying again.
Every saw operates differently, so read the manufacturer instructions carefully if you’re unfamiliar with the device. Work slowly and always cut away from your person.
An overheating blade can cause plexiglass to chip and crack. If you’re sawing for an extended period, take intermittent breaks to let the saw cool down. It helps to spray water over the cut point, too.
Sawing Moderate to Thick Plexiglass in a Circular Pattern With a Jigsaw

While table saws and circular saws are great for cutting in a straight line, a jigsaw is the tool of choice when you need to slice in some curves. As with the others, be sure to use a suitable acrylic blade with fine, evenly spaced teeth.
Step 1.
Put on your safety glasses.
Step 2.
Lay the plexiglass down on a sawhorse and clamp it in place.
Step 3.
Mark your shape using a dry-erase marker. If you don’t have a steady hand, consider using a stencil to mark the lines.
Step 4.
Drill a hole larger than the width of the jigsaw blade where you plan to begin sawing.
Step 5.
Drill more similar-sized holes on any tight turns. These holes give the blade room to rotate when you need to turn a tight corner.
Step 6.
Insert the jigsaw blade into the first hole and turn on the drill.
Step 7.
Wait for the drill to reach maximum speed.
Step 8.
Apply steady pressure to push the saw slowly through the plexiglass at a constant pace.
Step 9.
Follow the line you marked with the dry-erase pen.
Sawing irregular shapes is trickier than a simple straight line, so don’t expect a perfect result on your first attempt.
The secret is to go slow and steady, especially once you hit corners and curves. If the blade starts to stutter, pull it back a notch and allow it to get back up to speed.
Smoothing Down the Edges

Whether you’ve scored or sawed through your freshly cut plexiglass, you’ll end up with edges that aren’t exceptionally smooth. That doesn’t matter if they aren’t visible, mind you. But if the edges will sit proudly on display, it’s worth taking the time to smooth them down.
Step 1.
Use 120-grit sandpaper to sand down the edges.
Step 2.
When the edges start to become smooth, switch to a finer grit of sandpaper (up to 600-grit is okay).
Step 3.
Use an electric drill with a buff attachment to polish the edge.
How to Cut Plexiglass: Final Thoughts
Plexiglass is a versatile and flexible material that’s ideal for a whole host of exciting DIY projects, making it an excellent and cost-effective alternative to glass. Given the vast array of applications available, it’s well worth taking the time to learn how to cut plexiglass.
By following the simple steps outlined in this guide, you will be able to cut the stuff in your home workshop without any specialist tools.
