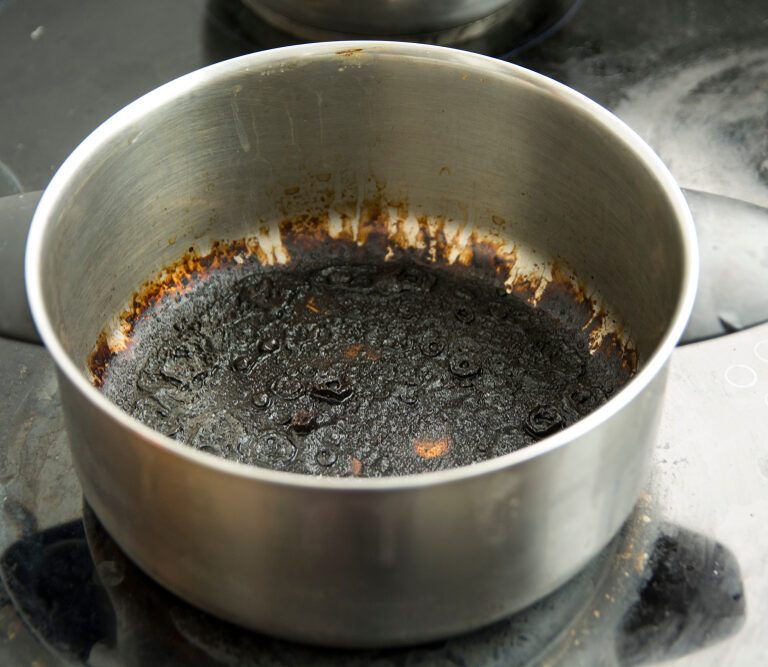
Anyone who knows their way around a stove knows the woes of boiling something for too long–only to get stuck with a crusty, burnt pot after. Suddenly the sooty black residue is the crowning feature of this piece of cookware. And as for the smell? Hopefully you can crack your windows to air out your kitchen a bit.
But not all hope is lost for scorched pots; in fact, there are several great home remedies to get your burnt pots back to (almost) new. We’ll also dive into a few essential details about cookware, such as common materials it’s made from, common cleaning agents, and which DIY remedies you can use on each type.
Home Remedies for Cleaning a Burnt Pot
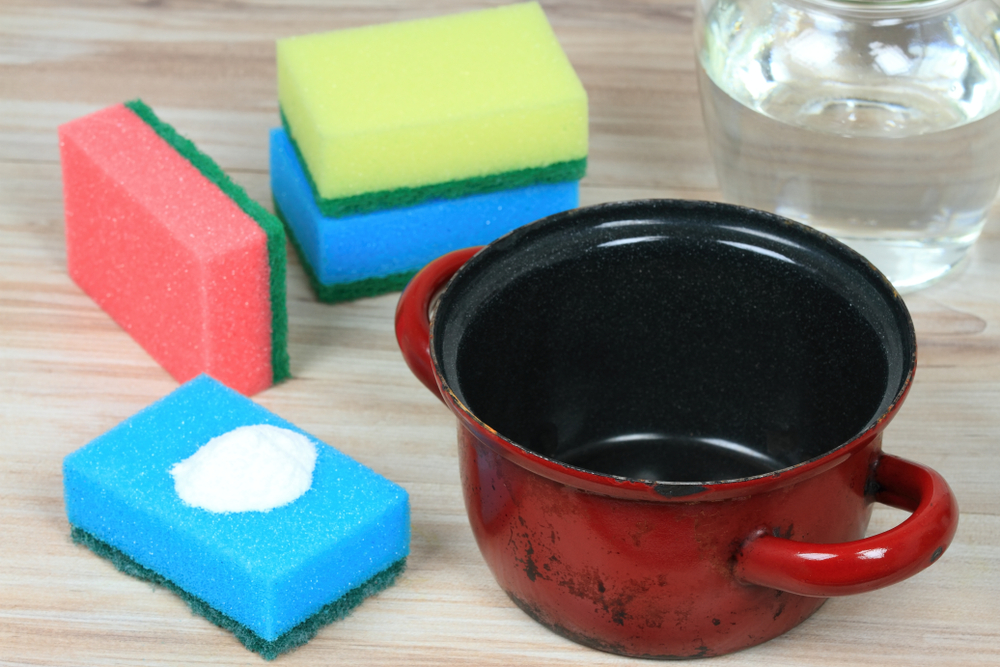
You’ll be delighted to discover that you probably already have most of the cleaning items on this list. Whether it’s distilled vinegar, baking soda, or a fresh lemon, our tips are affordable, accessible, and environmentally-friendly.
Soak ‘n’ Scrape
Most of us learned how to clean a burnt pot from whomever the principal chef of our household was growing up: just fill it up with water and let it soak overnight. Of course, this grownup was onto something–this is the time-tested method of cleaning most burnt pots–but you should follow a few variations according to your cookware material.
This method is great for stainless steel and scratch-resistant aluminum cookware, so don’t be afraid to get in there with some steel or copper wool to really give it a good scrubbing. However, you might find that you’ll need something extra to get the more stubborn spots off.
Warm Water and Baking Soda
Soaking a pot in water and giving it a good scrub with baking soda is another time-tested DIY remedy that delivers results without damaging either you or your pot. Use equal parts warm water and baking soda to create an abrasive scrub that isn’t too harsh on your pot.
Simply scrub the paste on the burnt spots, wash it off, and repeat until your pan is looking spic and span again.
Hot Water and Baking Soda
Turning up the water temperature a bit will send stubborn burnt spots packing; the increased heat will soften remaining food particles and make them easier to clean. Simply fill your pot with water, pour in a half cup of baking soda, and bring it to a boil. Boil for five to ten minutes and use a wooden spoon or spatula to slough off the burnt spots.
Hot Water and Vinegar
Our most intense soaking method uses hot water to loosen anything on the bottom and vinegar to get into its tough-to-clean spots.
First, preheat your pot until water droplets start sizzling on it, then pour in a cup of both water and vinegar and let it simmer for ten to 15 minutes on medium-low heat. After that, use a wooden spoon or nylon spatula to get the rest of the gunk off.
The only downside to this method is your kitchen is going to smell strongly of vinegar for at least a couple hours afterward, so sensitive noses beware.
The soak-and-scrape method isn’t great for copper, non-stick, and ceramic pots, or any other pots that are vulnerable to scratching. And even though ceramic pots can withstand a good scrubbing down or two, the silicone finish will only erode faster this way.
Dishwashing Soap
This handy cleaning method is friendly for pots of all kinds. Just fill your pot with half an inch of water and add a squirt of dishwashing soap and to bring it to a low boil.
Like the oil method, simmer it on low heat until it starts to bubble, at which point you can take a nylon spatula or wooden spoon and scrape off the softened remaining food particles.
Salt, Lemon, and Vinegar
This method is also safe for all pots. However, they’re especially good for copper and low-grade aluminum or stainless steel pots, which are prone to scratching and not great for the oil heating method.
In addition to the dishwashing soap method just above, you can also use three household items to get those stubborn burns off the bottom of your copper, aluminum, or stainless steel pot.
First, cut a fresh lemon in half and dip it in kosher salt. You’ll use this as a natural abrasive to work both the lemon juice and salt into the burnt spots. Rinse with water after scrubbing. Alternatively, you could give the pot another go-over with a traditional dish scrubber to make sure the lemon juice and salt are really in there. However, try to only use as much force as necessary to prevent any scratches.
As for the especially stubborn spots, you might need to soak your copper pan in enough white vinegar to cover it and then let it soak for ten minutes. Hopefully, all you’ll need to do is give your pot another light scrub to slough off the remaining bits.
Vegetable Oil
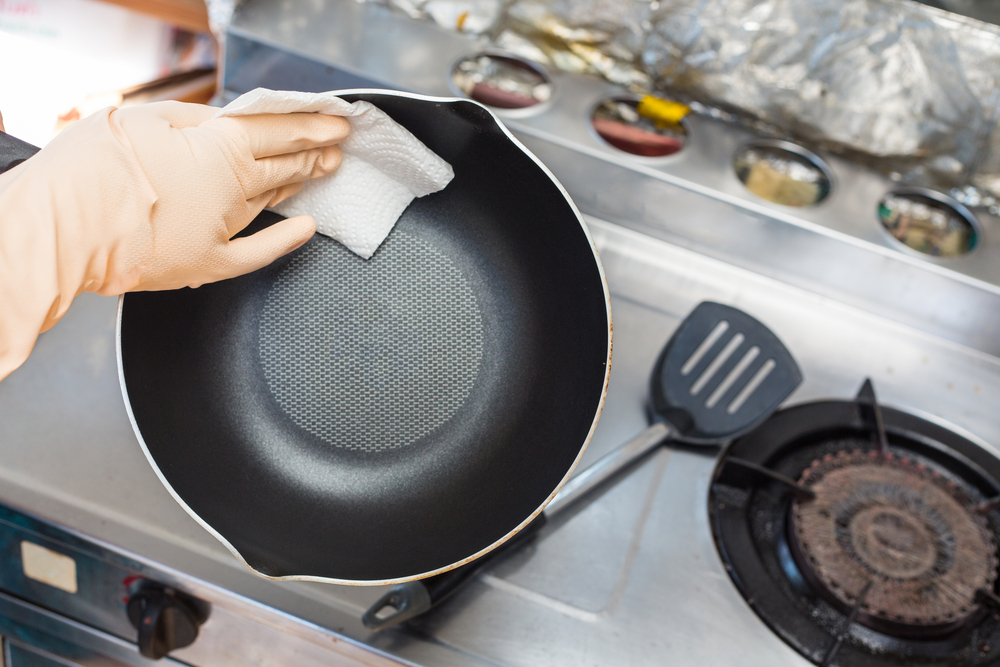
For non-stick pots, a little oil will actually go quite a ways when it comes to cleaning off stubborn burnt spots. Fill your non-stick pot with vegetable oil about a half-inch deep and simmer it on low heat for an hour. The hot oil will loosen food particles and give them a hydrophobic coating, making them easy to wash off in the sink after.
You can also use this method for ceramic pots, whose silicone finish behaves like the coatings found on non-stick pans. Just try not to use this method with aluminum, copper, or stainless steel pots, as you’ll be more likely to burn the oil and add the problem you’re trying to solve.
Lots of Pots: Common Cookware Materials
Now let’s talk about some different materials you’ll commonly see cookware made out of. Each has its own pros and cons, and naturally, different cleaning methods.
Stainless Steel
As one of the most popular materials in the kitchen, you’ll see stainless steel in pots, fridges, microwaves, sinks, and ovens. Not only is it relatively inexpensive, dishwasher-safe, and quick to heat, its non-reactive properties won’t interact with food and alter their taste.
But the downside is it’s tough to clean; foods love to latch onto lower-end stainless steel cookware and stay put, so you’ll have to get creative when it comes to making it shine again.
Copper
Copper pots not only look nice, they boast great heat retention as well, which translates to more evenly-cooked food. Lots of stainless steel pots and pans feature a copper core for this reason.
But copper cookware has its drawbacks, too. Despite its chic appearance, copper cookware reacts with alkaline and acidic foods, therefore giving them a slightly metallic taste during cooking. Some of the copper may even cook into the food itself–meaning you might want to steer clear of it if you have young children in the house.
Aluminum
You’ll usually find two types of aluminum cookware on the market: regular aluminum and anodized aluminum. The former retains heat well and is quite affordable, whereas the latter is more scratch-resistant than its counterpart, and therefore more likely to last longer.
However, anodized aluminum has the edge when it comes to cooking: unlike regular aluminum, it won’t react with certain alkaline or acidic foods. Even though it’s more expensive than regular aluminum cookware, it may be worth it to pay more so there’s less of a chance of your food tasting like metal.
Ceramic
Most ceramic cookware on the market is actually aluminum-treated with a silicone, ceramic-like finish. Its claim to fame is non-stick properties without the harmful chemicals, and is generally more environmentally-friendly.
Unlike traditional non-stick pans, though, the silicone finish can gradually wash off over time, especially in the dishwasher. If you’re looking to preserve your ceramic cookware, you’ll have to be extra mindful of the kinds of cleaning agents you use on it.
Enameled Cast Iron
Traditional cast iron cookware has been around for ages, and rightfully so: it’s affordable, almost indestructible, and serves up some seriously tasty flavors when properly cared for. It also distributes heat pretty evenly and can go from stovetop to oven and back again, making it one of the most versatile materials for cooking. However, its kryptonite is water, meaning washing cast iron cookware in water will gradually cause it to rust and ruin.
Fortunately, enameled cast iron cookware solves this problem. Its porcelain finish prevents rust, yet still allows the cookware to maintain all the properties of its traditional cast iron cousins. Better yet, you can soak it in the sink, making cleanup a breeze for you.
Non-Stick
Despite its popularity, non-stick cookware has faced some backlash since its potential effects have come to light. What gives non-stick cookware its signature quality is a concoction of toxic chemicals, known colloquially as Teflon. Fortunately, more and more non-stick pans are being created without the chief culprits, PFOA and PTFE, but they’re typically more expensive as a result.
Non-stick pots also require a little more attention to care. You can’t heat them without oil or use metal utensils in them (many non-stick pots and pans scratch easily). However, they’re extraordinarily easy to clean, especially compared to some other materials.
What Can I Do About the Smell?
Not only is the smell of something burnt unpleasant, it has a tendency to linger long after it arose. For communal spaces like kitchens, this can be pretty uninviting–but fortunately, there are a few ways to help nix that stench even earlier than you thought.
First, it’s important to understand what makes a burnt smell so unappealing. When something starts burning, a number of unpleasant-smelling compounds are released into the air. The trick, then, is knowing how to neutralize these compounds so they can go undetected.
Boil Lemons
Besides getting the pot off a hot stove and cracking all the windows, you can also bring a(nother, unburnt) pot with one and a half cups of water and some chopped up lemons to a boil.
Let the lemons steep for 30 minutes, and soon you will start to notice a fresh, lemony scent wafting about the area. Lemon scent is an intense astringent that “pierces” odorous compounds and breaks them up, leaving a fresh, citrusy aroma in their wake.
Soak Bread in Vinegar
Wait, what? Yep, it’s true: vinegar and bread are a surprisingly dynamic duo when it comes to nixing bad odors.
To get it started, bring a pot of a gallon of water and two cups of vinegar to a boil. Once it’s simmered for 15 minutes, dunk half a loaf’s worth of white bread slices in. Once they’re nice and saturated, place the slices on or near the burn site and let them sit.
If you don’t have bread, then fill several small containers with the water and vinegar mixture and let them sit out around your kitchen for a few hours or so.
Pour Out Some Baking Soda
Baking soda strikes again–this time, as a natural deodorizer. Again, fill several small containers with baking soda and set them out around your kitchen. Within several hours, you should start to notice a much milder odor coming from your kitchen. Just make sure to keep the containers out of reach of children or pets, as pure baking soda can be harmful if ingested.
Final Thoughts
Burning a pot always has the potential to ruin your day, but it doesn’t have to. Whether you’ve fused spaghetti sauce to your fancy copper pots or forgot to flip a steak for so long that your cast-iron pan is now half cow, we hope this guide makes things a little easier