One of the many ways to upgrade the look and feel of your home is to repaint the walls, but if you’re living in an old house, chances are that the inside is painted with lead paint. If that’s the case, you’ll need to be extra careful when removing it. While lead paint removal is a meticulous project and is often best left to the professionals, it’s not impossible to DIY. You just need to know a few important things about lead paint and learn the removal process by heart before embarking on that paint removal project.
What You Should Know About Lead Paint
During the colonial era, the use of lead in paint was popularized, since lead accelerated the drying times of paint and even made it more durable. Centuries later, by the mid-1900s, health experts discovered that lead poisoning was a danger to public health, and so by 1978 lead paint was banned.
While houses originally painted with lead paint might’ve already been repainted in recent years, there’s a chance that lead paint remains in these houses. However, the presence of lead paint in your home alone shouldn’t cause you to worry too much. Unless it is inhaled or ingested, lead paint isn’t likely to cause any health problems. That said, you’ve got to watch out for deteriorating lead paint and avoid it as much as possible, since it can be very harmful to you and your family.
About Lead Poisoning
Health experts say lead poisoning can cause a lot of problems in various age groups. Children are more likely to be affected since they tend to put anything in their mouths. Deteriorating lead paint can fall on their toys, bedding, or on the floor where they pick it up. Continued exposure to lead in children can cause brain and nervous system damage, kidney damage, slowed growth, hearing problems, headaches, behavioral and learning difficulties, and bone marrow problems.
Adult bodies don’t absorb as much lead as children’s bodies do, but long-term exposure can still bring some problems, such as anemia, fertility problems, kidney damage, impaired hearing and vision, nerve disorders, high blood pressure, muscle and joint pain, and memory and concentration problems.
Unborn babies can get lead poisoning through their mothers, as well, which can cause premature birth and low birth weight, as well as brain and nerve damage.
How Do You Know if You Have Lead Paint?
If your house was built before 1978, it’s recommended you conduct an inspection to know if the interior is painted with lead paint. There are three ways to do this.
Lead-Based Paint Inspection
This kind of inspection primarily aims to determine whether there’s lead in the house before it is repainted or renovated. It doesn’t, however, indicate if it poses any health risks to the residents.
Inspectors will test painted surfaces inside and outside the house using a portable X-ray fluorescence (XRF) machine. If an XRF cannot produce conclusive results, samples can be sent to the U.S. Environmental Protection Agency’s (EPA) National Lead Laboratory Accreditation Program (NLLAP) for analysis.
Risk Assessment
This method finds the areas where lead hazards exist and provides ways to correct them. This can be done alongside the paint inspection method described above.
It involves locating deteriorating paint and determining the cause and extent of the deterioration. Deteriorated paint, as well as painted surfaces that a child can reach with their mouth, are tested for lead. Dust samples taken from floors and windows are also tested.
Hazard Screen
A hazard screen also checks for lead hazards, but it’s not as extensive as a risk assessment. It inspects the same areas and tests the same surfaces as the method above. Soil samples can also be collected if paint chips are evident.
While home test kits are available for DIYers, lead paint inspection is best entrusted to certified lead inspectors or lead assessors. They are better trained and equipped to accurately determine the presence of lead paint and assess the potential health risks it can cause.
DIY Lead Paint Removal

If you still want to try your hand at lead paint removal after learning all these things about lead paint, you may do so, but you have to follow the instructions below. These are based on EPA recommendations, and should be followed strictly to avoid potential mishaps and poisoning.
Before You Start
There are a few things you need to do before you start removing lead paint from your house’s interior. You’ll need to do these things in order to prevent lead poisoning that could happen during and after the removal process.
Step 1: Get a HEPA Vacuum
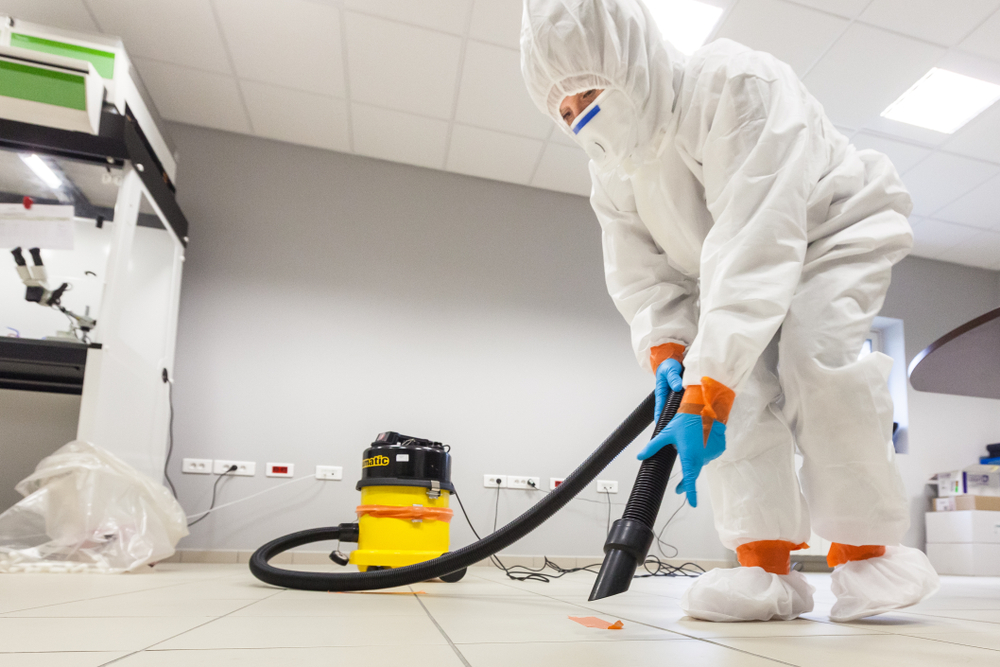
It’s very important that you have a HEPA vacuum on hand before you begin, as you will be using this for proper cleanup, as well as to vacuum lead dust as you work. Don’t confuse it with vacuums with HEPA filters; it has to be a certified HEPA vacuum. You can buy one for a few hundred dollars, or rent one from a rental store.
Step 2: Identify the Cause of Lead Paint Deterioration
This could be a leak in your roof or gutter. Make sure to have that fixed before removing deteriorating lead paint.
Step 3: Cover HVAC Openings With Plastic
Turn off the heating, ventilation, and air conditioning (HVAC) systems, then cover the vents and registers in the room you’ll be working in with 6 mm plastic sheeting. This will prevent lead dust from infiltrating your home’s ventilation systems.
Step 4: Cover the Floor With Plastic
Remove all furniture and rugs from the room. Cover the floor with 6 mm plastic sheeting and fasten it using duct tape attached at the edges. Make sure to cover the floor all the way to the bottom of the walls or baseboards.
Step 5: Seal All Openings
Close all doors and windows, and seal all openings where air can pass through. If possible, use 6 mm plastic sheeting and duct tape to seal these openings after bringing the tools and supplies you need into the room. This will prevent lead dust from being distributed inside the room and blown out towards other areas of the home.
How to Safely Remove Lead Paint
Now that you’ve prepped the room, you’re ready to begin the project. Make sure to follow these instructions step-by-step to ensure proper and safe removal.
Step 1: Protect Yourself
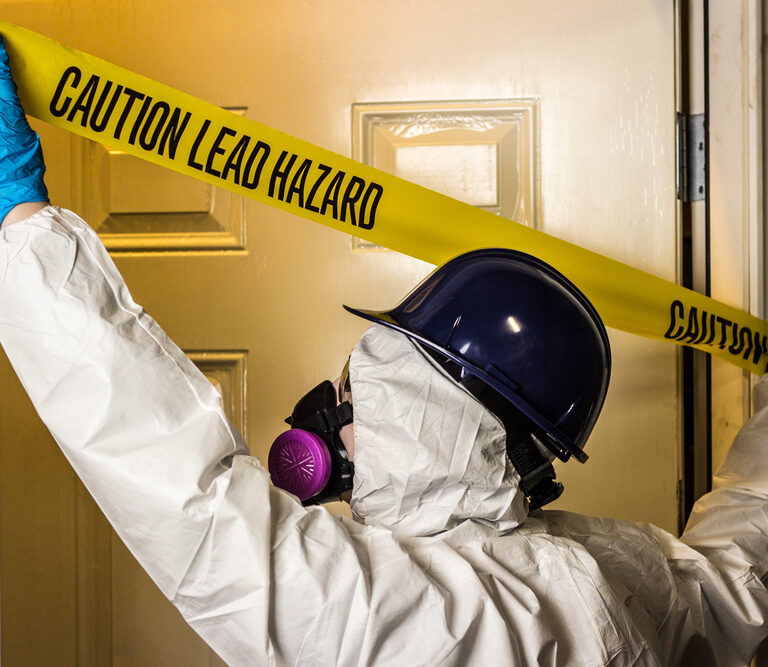
Make sure to wear protective gear before removing lead paint. Wear an old long-sleeved shirt and a pair of pants that you can dispose of after the job. Make sure to wear rubber gloves to protect your hands, as well as safety goggles to protect your eyes. Lastly, wear a lead-rated half-mask respirator with an approved HEPA filter.
Step 2: Prepare the Materials You Need
Next, get a large bucket half-filled with clean warm water, some rags, some sanding sponges, and a spray bottle, and take them to the work area.
Step 3: Wet the Surface
You’ll need to keep the work surface wet while working in order to prevent lead chips and dust from spreading. To do this, fill the spray bottle with water and spray it on the surface before scraping. Keep your work area small—about 2 to 3 feet—as this makes it easier to keep surfaces wet.
Step 4: Scrape the Paint
Get a paint scraper and scrape loose (peeling or deteriorating) lead paint, working from top to bottom. Paint that remains firmly attached to the wall, even after scraping, can be left and repainted over without worry.
Step 5: Sand the Surface With Wet Sponges
Next, spray water on the work surface again and use a sponge to smoothen it after scraping. Again, paint that remains firmly attached to the surface after sanding should be left and repainted over.
Step 6: Clean As You Go
Quickly wipe paint flakes, dirt, and debris using wet rags right after scraping and sanding. Wring dirty rags directly into the bucket. Replace the water as needed to keep work surfaces clean. You can also use the certified HEPA vacuum to remove dirt quickly after scraping and sanding.
Step 7: Vacuum the Area Using a HEPA Vacuum
Use the HEPA vacuum, with the wand and nozzle attachment, to remove loose dust and debris from the plastic sheeting you placed on the floor. Then, remove the plastic sheeting, carefully folding the contaminated sides towards the center to avoid spilling remaining lead dust and debris to the floor, before rolling it up.
Use the HEPA vacuum to clean the area again after removing the plastic sheeting. Take extra care to vacuum gaps and cracks on wood floors, as these might accumulate dust.
Make sure to check with your local waste authority before disposing of the plastic sheeting with lead dust in it, as they might have different ways to properly dispose of it.
Step 8: Wet Clean All Surfaces
Wet mop hardwood floors and wipe other surfaces with wet cloths. If this is a large-scale lead paint removal project, wet wash every surface you’ve worked on every day to remove lead dust until the entire project is over.
Step 9: Vacuum Again
Vacuum the entire work area again using the certified HEPA vacuum.
Final Thoughts
Lead paint removal is a meticulous process and can be nerve-wracking for those who have zero experience removing lead paint, since it’s dangerous if not done correctly. If you don’t have the confidence to do every single step right, it’s definitely worth it to hire a professional to do it for you. Not only will they do it properly and efficiently, but you’ll also have peace of mind knowing you and your family will be protected.
