
Nothing ruins the look of a kitchen or bathroom more than grimy grout. And it’s an all-too-common conundrum—the little lines between your tiles have a tendency to stain and are a pain to scrub clean. But there is one sure-fire way to ward off the discoloration and simplify your everyday cleaning routine: adding a fresh coat of sealant.
Sealing your grout protects the porous material from moisture and makes wiping away debris a breeze. It may take a little effort upfront, but it’ll save you stacks of cleaning time in the future, and your tiles will retain their sleek like-new look for years to come.
In this post, we’ll teach you the tips of the trade for sealing grout and show you how in our five-step guide.
Why You Need to Seal Grout
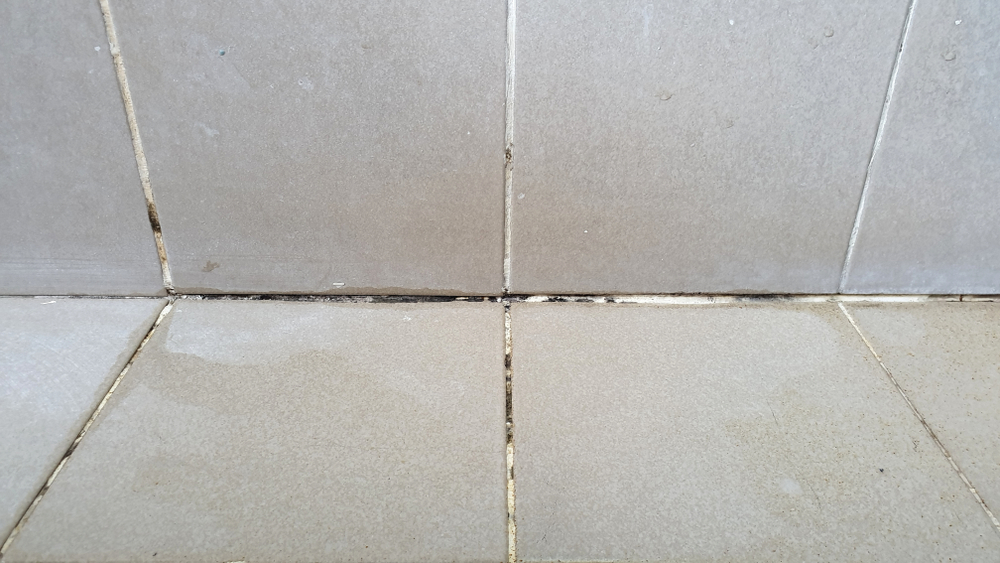
Sealing grout is a bit of a chore; is it truly essential? Absolutely, unless you want your tiles to look dingy, become infested with mildew, and eventually crack.
Grout is essentially a mixture of cement and sand, which means it’s super porous and will absorb liquids like a sponge. And considering we tend to install tiles in the wetter, messier areas of the home, grout soaks up all sorts of funky fluids over the years.
At best, unsealed grout will become discolored and ruin the aesthetics of your tiles. At worst, it’ll harbor colonies of harmful bacteria or fungi like mildew and mold; or, it’ll crack the tiles as it expands upon absorbing moisture.
If you take the time to seal your grout, you’ll make it easier to clean, prevent fungal growth, and prolong its lifespan.
The Epoxy Exception
While sealing grout is generally a ‘no-brainer,’ there is one exception to the rule: epoxy grout.
This robust variation already boasts powerful water-repellent and stain-resistant properties, so it’s unnecessary to add a sealant of your own. It’s also super flexible and malleable, which means you needn’t worry about it expanding and cracking your tiles.
Epoxy grout is considerably more expensive than your bog-standard, cement-based grout, which is why you won’t find it everywhere in the home. The substance is typically reserved for water prone areas like the inside of your shower or the backsplash by your sink.
How Often Should You Seal Your Grout?
Ideally, aim to seal your grout every 12 months or so. While you could put it off for up to two years, you’d run the risk of stains and mold affecting the grout. Most grout sealants recommend reapplication every 12 months.
If you’ve just had a sleek new set of tiles installed, it’s best to seal the grout (almost) straight away. Give it time to cure first, which typically takes around 72 hours (check the label for the precise curing time).
Although it may seem like a hassle to seal your grout every year, the process is much easier than trying to scrub off stains and mildew—or in the worst-case scenario, having to re-grout your tiles completely.
How to Tell if Your Grout Needs Sealing
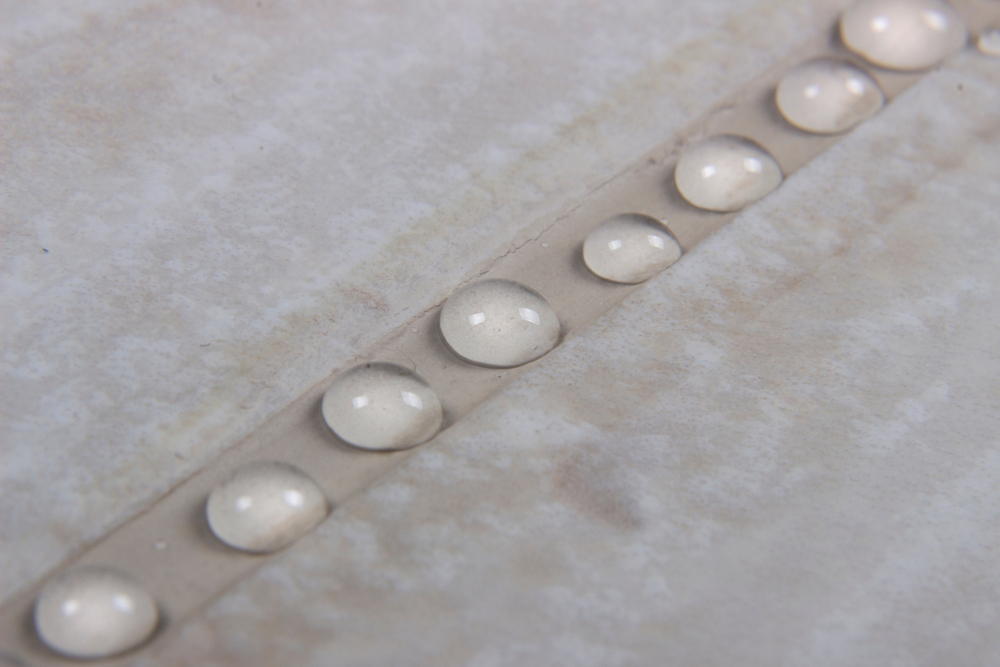
Unsure whether your grout needs sealing? There’s a simple test to determine how porous it is.
Pour a few drops of water onto the grout and observe how it reacts. If the grout appears to absorb the water, it’s perilously porous and requires a fresh coat of sealant ASAP. Should the water bead on the grout or trickle down the tiles, the grout is either epoxy or still retains sufficient sealant from the previous application—no need to apply more just yet.
Is Sealing Grout Difficult?
The amount of time you should dedicate to the task depends entirely on your tiles’ surface area and size. Bigger tiles have fewer grout lines and take less time to clean.
The good news is sealing grout is super easy; even a novice DIYer can get the job done. Although somewhat tedious and time-consuming, it’s worth the effort and doesn’t require professional help.
What You Need to Know About Tiles
Most homes come clad in non-porous tiles such as glazed ceramic or porcelain, neither of which requires sealing.
But some tiles are porous and do require sealing, such as unglazed terracotta and natural stone. Sealing a tile is a different process from sealing grout, so you’ll need to research this one separately.
Important: Be extremely careful when using grout sealant on unglazed porous tiles as you could stain them.
How to Seal Grout: Five Simple Steps
Follow these five easy steps to seal your grout and protect your tiles for years to come.
1. Choose the Appropriate Sealant Type
There’s a vast variety of grout sealants available to choose from, each with unique pros and cons. Some work better in wetter areas, while others are designed for specific types of tiles.
In any case, grout sealants come in two main varieties: permeating and membrane-forming.
Permeating sealants are specially formulated to include little latex or silicone particles that penetrate deep into the pores for optimal water resistance. As they’re superb at keeping moisture out, a permeating sealant is ideal for water prone areas like showers and backsplashes.
- Homax Series does a superb permeating grout sealant.
Membrane-forming sealers don’t seep into the pores—instead; they create a water-resistant coating on the surface of the grout. While fine for the kitchen, avoid using these in the bathroom. The water-resistant coating doesn’t allow moisture underneath to escape, potentially resulting in a build-up of mildew.
- MORE does a great membrane-forming sealant.
2. Choose the Appropriate Sealant Application Method
Expect to come across pens, aerosols, sprays, and big bottles—a whole host of different ways to apply a coat of sealant on your grout. All work pretty well, but some are more suitable than others in certain situations.
If you’ve got sealed tiles such as porcelain or glazed ceramic, you don’t need to stress about staining them with sealant. Simply spray it over the whole surface and rub it in with a sponge to save time.
But should you have unsealed tiles like terracotta or natural stone, you’ll need to be a bit more precise. Use a pen or rolling wheel to apply the sealant to the grout, being careful not to let it come in contact with the tile.
- Another option is a sealant that won’t seep into porous tiles. Miracle Sealants offers an excellent solution.
3. Clean the Grout
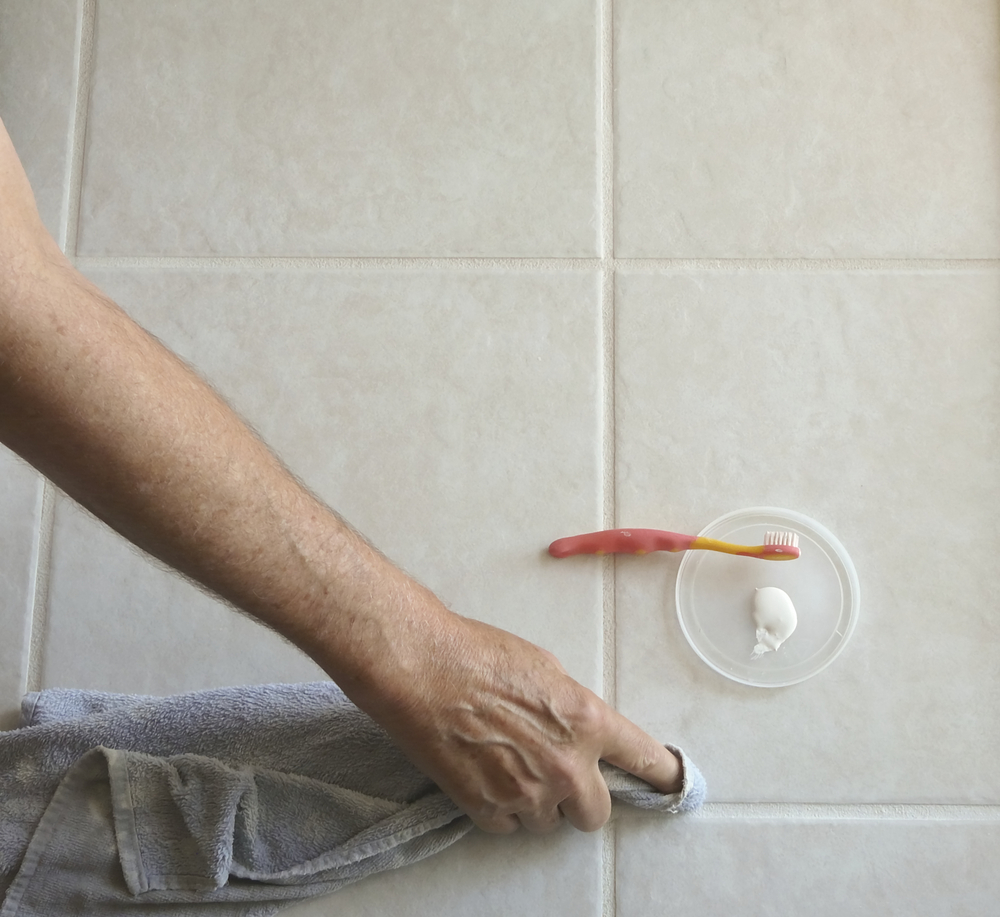
Grout needs to be spotlessly clean before applying a sealant; otherwise, it simply won’t stick.
- Prepare a solution of warm soapy water (or 50/50 warm water and vinegar for stubborn stains).
- Scrub the grout lines thoroughly with a toothbrush soaked in the solution.
- Clean all the grout in one go and leave it for an hour to dry.
Once dry, you’re ready to start lathering on your sealant of choice.
4. Apply the First Coat of Sealant to Your Grout
For non-porous tiles, the spray-on and sponge method works best.
- Spray the tiles in a small area and use a sponge to force the sealant deep into the grout.
- Wipe any sealant off the tiles quickly to avoid leaving a foggy layer.
- Work in a systematic pattern to ensure you don’t miss any spots (left to right from top to bottom works best).
For porous tiles, you need to carefully apply the sealant to the grout with a pen or roller while avoiding contact with the tiles.
- Work your way across the tiles in a methodical pattern to ensure you don’t miss any.
- Immediately wipe off any sealant when you accidentally let it get into contact with the tiles.
5. Apply Additional Coats of Sealant to the Grout
You’re not done yet. Most sealants require two or more coats for optimal efficiency. Check the manufacturer’s instructions to determine how many you need.
- Wait for one hour to allow the previous coat to dry.
- Apply the sealant in the same manner as the first coat.
To determine whether another coat of sealant is necessary, you can do the water test as mentioned above.
Once you’ve done your final coat and your satisfied the grout is sealed correctly, you’ll need to give it time to cure, which could take up to 48 hours. The exact duration varies, so check the label on your grout sealant of choice.
Sealing Grout: The Final Word
Although cleaning and applying sealant to your grout is an arduous task, it’s well worth the effort. Unsealed grout will inevitably stain, crack, or harbor mold and mildew, and it could get so bad you’re forced to rip it out and replace the lot.
Follow our simple step-by-step guide to safeguard your grout and protect the sleek aesthetics of your lovely household tiles.