Maybe you’re serving friends some cold lemonade on a hot day. A stack of coasters sits at the center of the table, but even those guests with the best intentions overlook them. After clinking their glasses together and sipping your fresh-squeezed concoction, they put their drinks down without a second thought.
As everyone chats, beads of condensation slowly form and begin to run down the glass. The water slowly coats your table’s perfectly weathered rustic cherry surface, and you’re too busy with hosting duties to notice.
Or perhaps your dog knocked over his water bowl while you were at work, and the puddle sat untouched for hours. Or maybe your toddler learned how to pop the lid off her sippy cup and proceeded to dump its contents on your mahogany coffee table.
Unfortunately, there are countless ways for water to find its way onto antique furniture and hardwood floors. Upon noticing the stains, though, there’s generally only one reaction: “It’s ruined!”
Thankfully, this is a common misconception. In most cases, it’s entirely possible to remove water stains and restore wood to its former glory. Here’s a handy guide for doing just that, so you can preserve your furniture and flooring no matter what life throws your way.
Are There Different Kinds of Water Stains?
When it comes to water staining, there are different levels of severity. It’s important to first determine the kind of stain you’re dealing with, so you can take the right approach to remove it.
White or Light Stains
Light stains are indicative of lesser damage. They develop when water permeates the surface’s protective sealant, causing the once-clear finish to turn white or cloudy. Most often caused by condensation from glasses, these stains are fairly easy to remove because they’re essentially superficial.
Dark Stains
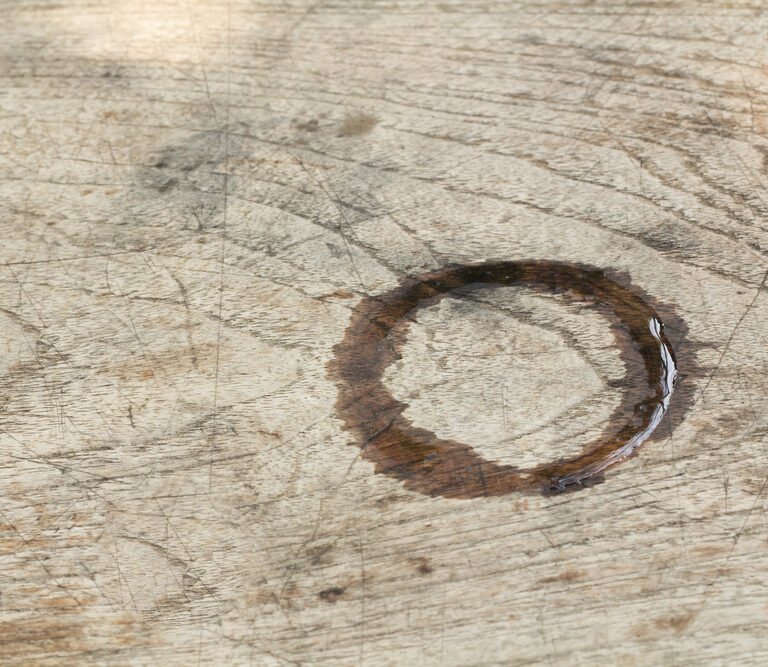
Dark stains develop when the water penetrates the wood itself—as such, removing them is a bit more challenging. In most cases, however, wood that’s tarnished with dark stains can be restored. As long as the planks haven’t started warping or rotting due to saturation, they can usually be saved.
How to Remove Water Stains From Wood
When it comes to water stains on wood, it can be hard to gauge the extent of the damage simply by looking at it. In other words, there’s no way to be certain which approach will be most effective before getting started.
To avoid causing additional damage—and to save yourself some hassle—we recommend starting with the least invasive method. If you don’t get the results you want, try an approach that’s a little more intensive, and so on, until you’re satisfied.
We’ve arranged the following methods in this order. If you’re trying to remove white stains, start with the iron approach, and work your way down the list. If you’re trying to remove black stains, start with the bleach method before proceeding to sanding.
An Iron & a Cotton Cloth
If the stain is still damp, you may be able to get it out using an iron and a clean cotton cloth that hasn’t been dyed. Here’s how.
- After draining all the water from the iron, turn it on to its lowest setting.
- Place the cloth over the stain, and then pass the iron over it a few times.
- Lift the cloth after several seconds and inspect the stain.
- If any portion remains, put the cloth back and repeat as needed until the stain is no longer visible.
Lemon Juice & Steel Wool
If the iron method didn’t work—or the stain has had time to dry—you may need to apply some gentle abrasion.
- After slicing a fresh lemon into thick wedges, squeeze a few drops of juice over the stain.
- Rub a piece of very fine steel wool across the surface in the direction of the grain.
- Inspect the stain, and carefully repeat, as needed, until it disappears entirely.
A Bleach Solution
If you need to remove stubborn black stains, bleach may be the answer. Here’s how to apply a bleach solution to water stains on wood furniture or flooring.
- Dilute the bleach: after donning a pair of gloves, create a solution that’s exactly half bleach and half cool water.
- Apply the solution: Dip a dense sponge into the solution, and then squeeze it out. This will ensure you don’t drench the wood in bleach.
- Dab the stain: Once the sponge is no longer dripping, dab at the stain gently until the entire affected area is moist.
- Air dry: Let the bleached wood air dry fully. This could take anywhere a few hours.
- Repeat if needed: Once dry, evaluate the results. If you can still see some discoloration, repeat with a solution that’s 75% bleach and 25% water.
Keep in mind, however, that such a solution could lighten the surrounding surface, so apply it delicately.
Sanding & Refinishing
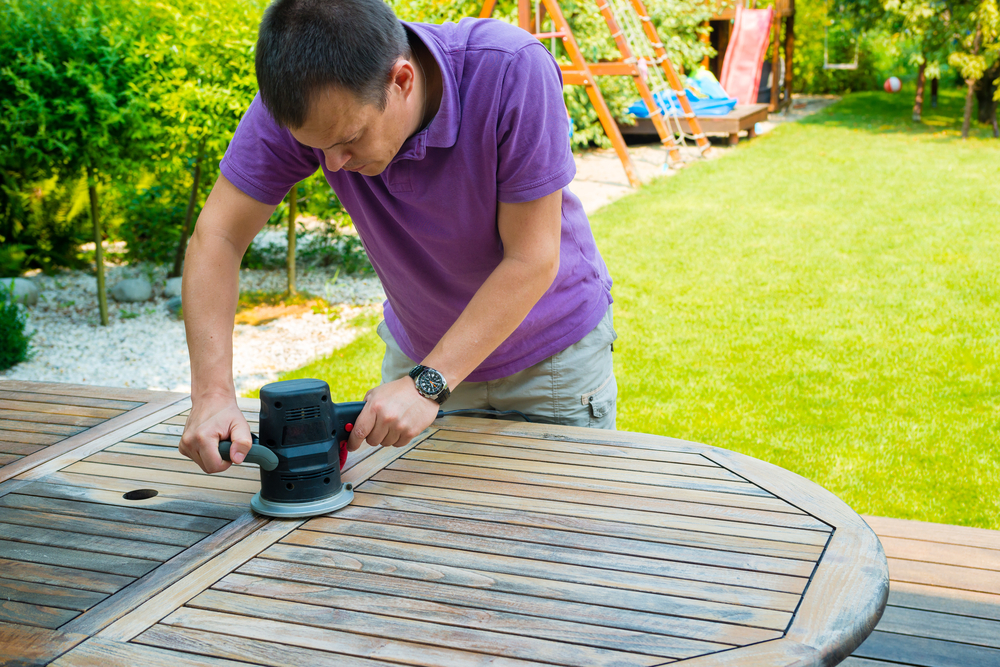
When it comes to removing water stains, sanding should be a last resort. Because of its abrasive nature, sanding will actually remove the surface’s protective topcoat, exposing the layers of natural wood below it.
While this is the only way to access stains that have actually penetrated the wood and not just the finish, it’s an intensive job. For example, you’ll want to sand the entire piece—and then stain and reseal it—to ensure a uniform appearance. If you sand and reseal only the affected area, it will likely look and feel marred compared to the rest of the surface.
Refinishing Hardwood Floors
Refinishing hardwood floors is a really big job, and it’s not one you should take on without doing your research—or perhaps even deferring to a professional.
Fortunately, if your flooring was laid in the last ten years or so, the manufacturer may still produce the particular stain that you have. Should this be the case, it may be possible to replace only the affected planks, which will be a lot less work than sanding, staining, and resealing the entire floor.
Refinishing Furniture
As for refinishing furniture, whether it will take a few hours or a few days—or perhaps even longer—depends on a variety of factors. Examples include the size and configuration of the piece, as well as how many surfaces you want to address.

If you want to sand, stain, and reseal just the top of your coffee table, for example, you could probably get the job done in a matter of hours. Keep in mind, though, that this will have to be done over the course of several days—each coat of stain and sealant needs to cure before additional applications.
If, on the other hand, you want to refinish your dining room table, legs and all, be prepared to spend a lot longer on the project. For optimal results, you’ll want to disassemble the entire thing and then sand, stain, and seal each individual piece.
Final Thoughts
If you notice water stains on your furniture, it may be tempting to cover them strategically with placemats or magazines—or better yet, to throw your hands in the air and head to a local home goods store to pick out replacements.
Equipped with this handy guide, though, you can remove the stains instead, thereby restoring your furniture to its former glory.
