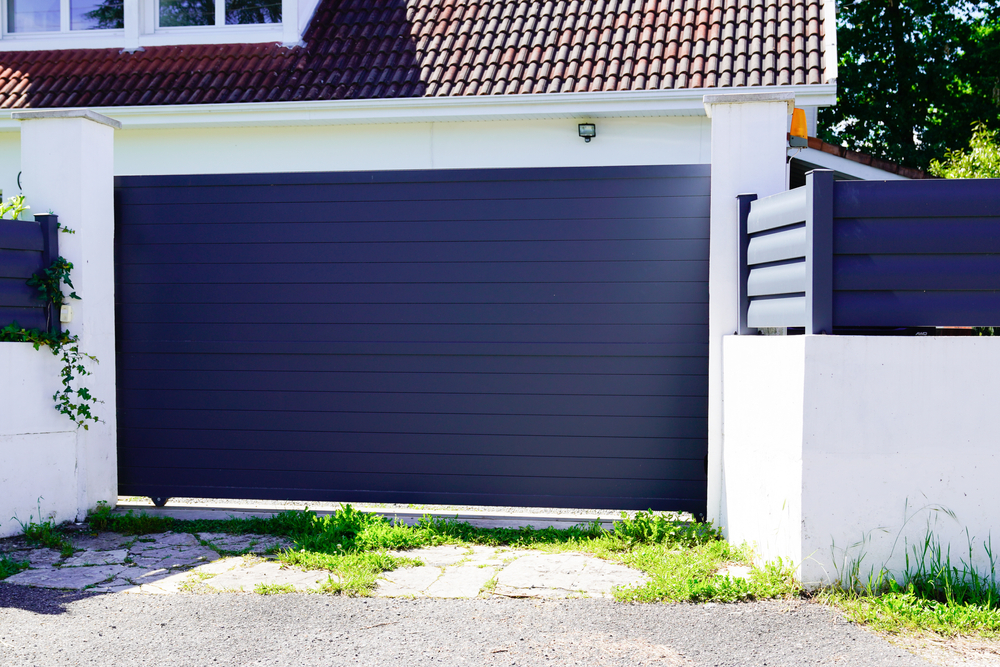
Famed for its lightweight yet durable nature, aluminum is a common construction material that appears in everything from window sills to automobiles and power lines. There’s a good chance you’ve got aluminum furniture in your home, be it a filing cabinet or an outdoor entertainment set.
Although the silvery-white metal has a sleek aesthetic, the appearance of bare aluminum isn’t suitable for every space. The good news is that with a little effort, you can add a fresh lick of paint to create a whole new look.
It’ll take some time, but the process doesn’t require any special equipment or skills. Follow our step-by-step guide to refresh the look of any aluminum item or surface in your home.
The Tools of the Trade
You’ll need a range of basic tools and materials to get the job done, many of which you probably already have tucked away in the garage. If not, you’ll find these available at your local hardware store or online.
- Plastic sheeting
- Bucket
- De-greasing detergent
- Wire brush
- Paint stripper, paint scraper, and after wash (optional: to remove existing paint, if any)
- 80-100-grit sandpaper
- 400-grit sandpaper
- Power sander (optional: useful for bigger jobs)
- Gloves
- Goggles
- Dust musk
- Self-etching primer
- Acrylic or latex paint suitable for metallic surfaces
- A flat, broad paintbrush made from synthetic fibers
- Paint sprayer (optional: useful for bigger jobs)
- Enamel sealant
How to Paint Aluminum: Six Simple Steps
Once you’ve gathered all the necessary gear, you’re ready to go. Follow these six simple steps to paint your aluminum furniture or surface.
1. Prepare Your Workspace
You’ll need a spacious, well-ventilated area to work in, preferably outside if the weather is fine.
- If working outdoors, wait for an appropriate day (no rain or excessive heat and humidity)
- Gather your tools and materials.
- Put down a layer of plastic sheeting to absorb any wayward paint splatters.
2. Clean the Aluminum
The aluminum needs to be squeaky clean before you can set about sanding, priming, and painting it. Otherwise, the liquids won’t stick to the surface, and you’ll be left with a substandard result.
- Fill a bucket with warm water.
- Spray in a decent dose of de-greasing detergent.
- Swish the mixture around until it’s nice and frothy.
- Dunk a rag into the bucket and wipe down the aluminum.
Should your aluminum have a flaky layer of paint or rust, you’ll need to scrub it off before you can move onto the next step.
- Use a wire brush to scrub off any rust or paint.
- Ensure you remove all rust from the surface.
If your aluminum already has a thick layer of paint, you’ll need to remove it using a paint stripper. The exact application process varies between products, so read the instructions carefully.
- Pour the paint stripper onto the metal.
- Wait five minutes.
- Scrape away the paint with a paint scraper.
- Apply an after wash to remove the paint stripper residue.
- Rinse the surface clean with fresh water.
- Dry the surface with a rag.
3. Sand the Aluminum
Although it requires a bit of elbow grease, sanding gives the primer a nice smooth surface to stick to. We recommend sanding down the aluminum twice with different grades of paper.
Safety gear is crucial here because you don’t want to be inhaling tiny particles of aluminum, nor is it safe to get in your eyes.
- Put on your gloves, dust mask, and goggles.
- Sand the entire area in circular motions using 80 to 100-grit sandpaper.
- Wipe the dust with a cloth or rag.
- Sand the entire surface again with a 400-grit or higher sandpaper.
- Clean the surface with water from your soapy bucket.
- Rinse off the soapy water with freshwater.
- Allow the freshwater to air dry.
4. Prime the Aluminum
Now your surface is smooth, dry, and spotlessly clean, it’s time to prime.
You can’t use any old metallic primer on aluminum as it won’t bond. A self-etching aluminum primer, on the other hand, is specially formulated to attach itself to the surface through a process called micro-etching.
- Cover any areas you don’t want to paint with masking tape.
- Shake the can thoroughly for 30 seconds or so.
- Position the can about eight inches from the aluminum surface.
- Spray a light and even coat onto the surface, either side to side or up and down.
- Wait approximately 15 minutes (check the label for the precise “between coat” drying time).
- Apply one or two more light and even coats.
- Allow the primer to cure for approximately one hour (check the label for the exact curing time).
- Gently buff the surface again with 400-grit sandpaper
- Wipe off the dust with a cloth or rag.
The application process may vary between different self-etching primers. Always check the instructions on the can beforehand.
5. Paint the Aluminum

Before you start slathering on a fresh lick of paint, double-check you’re using the appropriate product.
You need an acrylic or latex paint listed as suitable for metallic surfaces. If your painting an exterior surface or outdoor furniture, make sure it says “exterior-grade” on the tin. Opt for a matte or satin finish. Gloss looks awful on aluminum as it highlights any dents or scratches in the surface—and there are always plenty of those on lightweight metals.
If Using a Brush:
- Spray on a thin, even layer of paint.
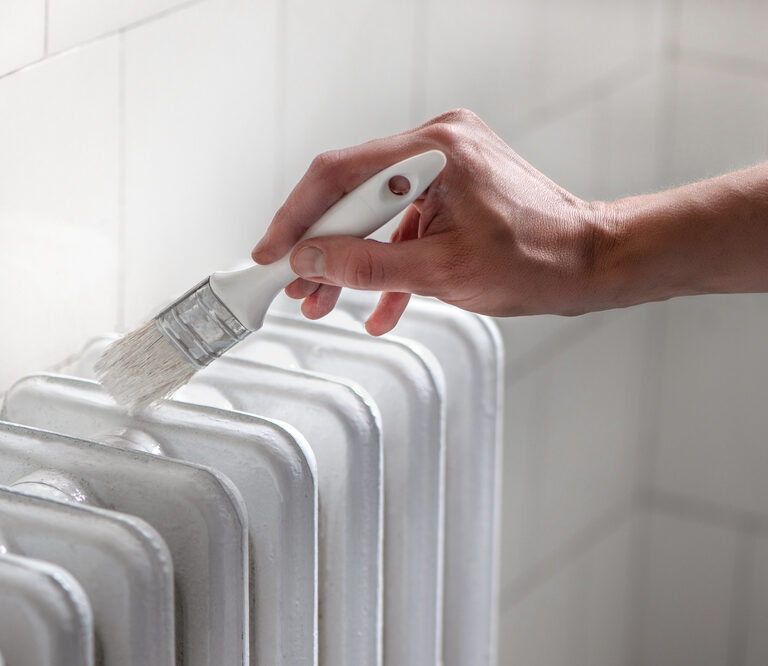
- Apply the paint in either horizontal or vertical strokes (the direction you choose doesn’t matter, but you need to stick with the same one).
If Using Spray Paint:
- Shake the tin vigorously for 30 seconds or so.
- Position the tin around eight inches from the surface.
- Apply a thin, even coat over the entire surface.
If you’re painting a surface with multiple sides, start on the upper end, then move onto the sides, and then the bottom.
- Wait approximately 15 minutes for the paint to dry (check the label to determine the “in-between coat” time.
- Apply one or two more coats, allowing each subsequent coat enough time to dry (check the tin to determine the appropriate number of coats).
Curing is the easiest part of the process; you don’t have to do anything but wait. As watching paint dry isn’t the most exciting activity, find something else to do in the meantime.
- Check the curing time on the tin.
- Wait 24-72 hours (as per manufacturer recommendations) for the paint to cure.
If the paint feels dry, don’t assume it’s dry the whole way through. You need to wait out the recommended curing time to ensure the lower layers are fully dry as well.
6. Seal the Aluminum

Once you’ve waited the recommended curing time, you can safely apply a sealant to finish the job. Sealant is specially formulated to safeguard your paint against scratches, chips, and fading—and that means you won’t have to repaint the aluminum any time soon.
Although it requires a bit more effort up front, the time investment will be worth it in the long run. Sealants come in either spray or brush-on forms—choose the option that best suits your budget and painting preference.
- Apply a thin, even layer of sealant as you did with the paint, using consistent horizontal or vertical strokes.
- Wait the recommended “in-between coat” time, as per the label.
- Apply one or two additional coats as per the recommendation on the label.
- Wait 24-72 hours, as per the label, for the curing time to elapse.
- Remove any masking tape.
If you sit on or touch the aluminum before it has cured, then you could ruin the finish.
How to Paint Aluminum: Final Thoughts
Although it takes quite a bit of time to complete the process—especially with all the waiting around for various coats to dry—painting aluminum is a simple and worthwhile endeavor.
By following the instructions in our six-step guide, you’ll end up with a beautifully painted piece that will continue to look fantastic for years to come.
