Metal interior doors are sturdy and perfect for insulating your home thanks to their material, but they can also be a pain when it comes to giving them a new paint job. Extra steps need to be taken to ensure that the door is cleaned and that the paint goes on smoothly, leaving you with a fantastic-looking door.
If you have a metal interior door you want to paint, but don’t know where to start, don’t worry! Below we’ve put together a step-by-step guide that will help you with painting, listed all the materials you need, and given you some help troubleshooting common painting issues. Read on to find out all you need to know about painting a metal interior door!
Why Do Metal Doors Need Special Painting Care?
You may be wondering why metal doors need much more specialized painting care than a regular wooden door. This is because of the nature of metals. With regular wooden doors, you don’t run a risk of the material gathering rust or the paint peeling from it. You can also paint wooden doors without much preparation.
Due to their material, metal doors need to be completely cleaned and evened out before painting. This helps the paint stick to them, resulting in an even coating and will remove any traces of rust or oil that may stop the paint from looking good.
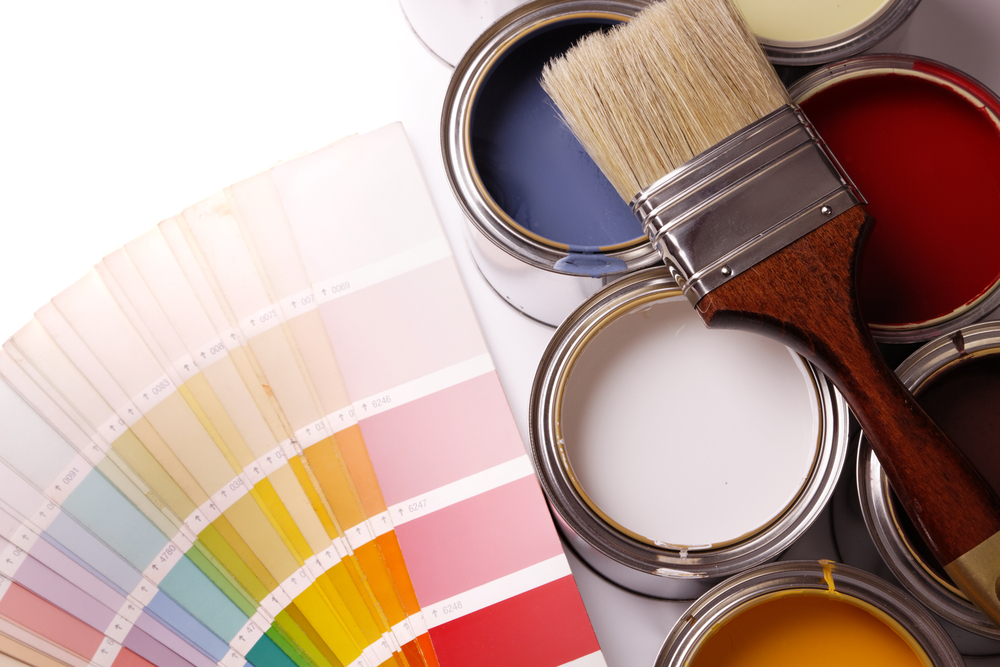
Materials You Will Need to Paint Your Metal Door

Before you get to work painting your metal door, you will need to gather these materials to help you complete the process properly.
- Degreaser: For removing stains and oils from your door.
- Paint stripper: To remove any old paint.
- Painter’s tape: To protect any areas you don’t want to be painted. Our favorite is ScotchBlue.
- Sandpaper: For evening out the surface of your door and ensuring a smooth paint coating.
- Primer: This ensures your paint will stick to the door smoothly.
- Paintbrush or paint roller: To apply coats of paint to your door. Depending on the size of the door you are painting, you can use either or both.
- Exterior paint: Exterior paint will provide your door extra protection from rust, scratches, and other damages.
- Screwdriver: You can use a screwdriver to remove the hardware from your door, safely taking it off the hinges.
Steps for Painting Your Metal Interior Door
When you’ve gathered all your painting materials, follow this step-by-step guide to successfully paint your metal interior door.
1. Remove the Door From Its Frame
For easier access and to create an even finish on the door, use your screwdriver or other tools to remove the door from its frame. You should also be removing any hardware (hinges and doorknobs) that you don’t want to have to paint around; if the hardware cannot be removed, tape over it with painter’s tape.
It may be easiest to paint your door in a garage with an open door or outdoors, somewhere the fumes from paint, degreaser, and paint stripper can ventilate. You can either place your door on the ground or lay it flat across a couple of bricks.
2. Prepare Your Door
Preparing your door for painting includes taping any areas you don’t want to get paint on. If there is a window or multiple windows on your door, you may want to cover them with protection paper such as this to prevent them from getting stained.
3. Clean Your Door
Once your door is covered up and prepared, you can get to work cleaning it. This should be done with a degreaser first; take an old rag or cloth and completely wipe down one side of the door. After it is clean, wipe it with a dry cloth and leave it to dry for an hour. You can then repeat this same step on the other side of the door.
4. Strip Old Paint
Before giving your door a fresh coat of paint, you need to strip any old paint or rust off. You can use a paint stripper like this one, a heat gun, an electric paint stripper, or a combination of the three. Just be sure not to use anything with metal in it or an abrasive scrubber to strip paint, as metal scrubbing on a metal door will likely cause scratches to your door.
Make sure to use your paint stripper in a well-ventilated area, and consider using a mask to protect your lungs from any fumes that it gives off. Strip the paint on one side of the door, wait an hour for it to dry, and then repeat the process on the other side of the door.
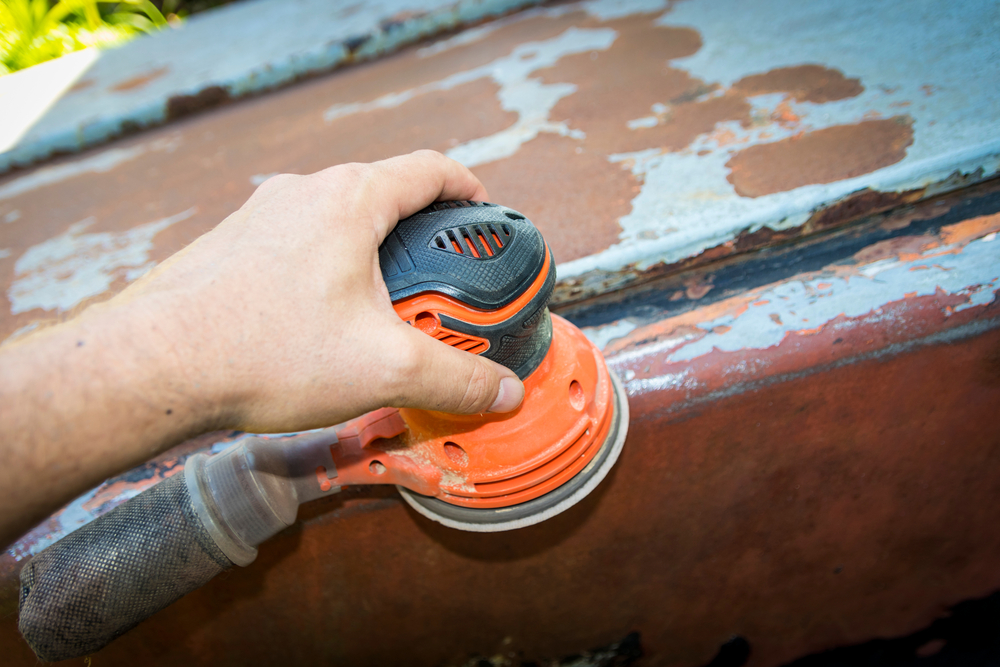
5. Sand Your Door
As soon as your door is free of old paint, you should sand down the surface to make sure it is even. This will help your primer and paint go on smoothly and leave you with a professional-looking painted door.
A good place to start is 400 grit sandpaper; be sure to take your time when sanding and wear the proper safety equipment over your eyes and mouth. Sand the door from top to bottom, ensuring every area is even and then wipe it down with a wet cloth. Follow up with a dry cloth and then flip the door over and complete the sanding process on the other side.
6. Prime Your Door
Once your door is sanded down, the next step is to prime it. You can use something like this all-purpose primer. Primer will protect your door and ensure that whatever paint you use goes on smooth and doesn’t flake off. Keep in mind that different primers are sometimes needed with different types of paint, so you should double-check what paint you are using before purchasing a primer.
Apply the primer evenly using either a smaller paintbrush or a paint roller. You may need to use an angled brush to get a proper coating in the panels and corner areas of your door. Check the instructions on the primer you are using to determine if you need to apply more than one coat and how long the primer takes to dry. Once one side of the door is completely primed and dried, flip the door over and repeat the process.
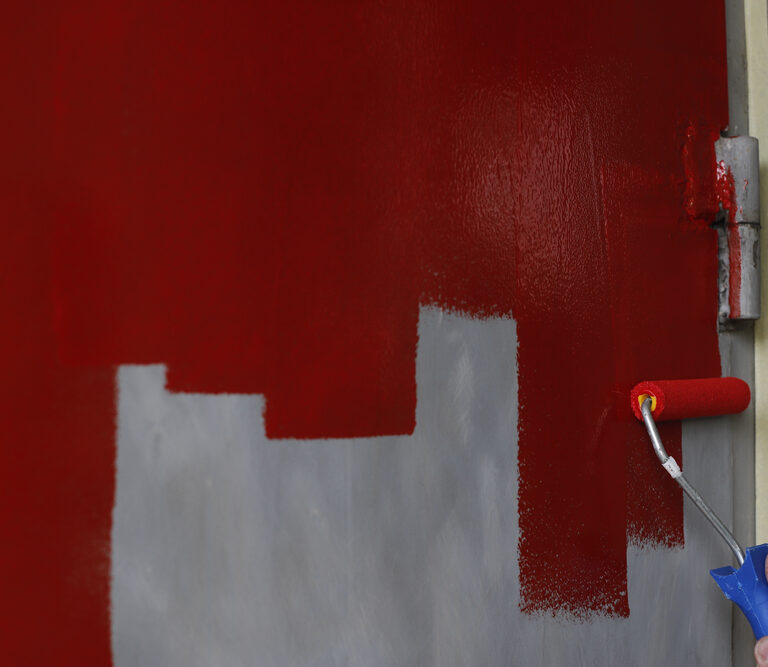
7. Paint Your Door
After all the prep work is done, it’s time to paint your door. Take your exterior paint and apply it carefully to the door using your paint roller or other paintbrush. Let each paint coat dry at least 3 hours before applying the next one. Once the front side of the door is painted and has dried, flip the door over and complete the process on the other side.
You should leave your door to dry for at least 12 hours once both sides are completely painted before reinstalling.
8. Replace Your Door
Once both sides of your metal door are painted and completely dry, it’s time to put the door back into the frame. Remove any painter’s tape or window protections carefully; if they show signs of taking the paint off the door with them, your paint is not dry enough and you should wait another couple of hours.
Replace any hardware on the door, including hinges and doorknobs, and then attach the door back into the frame. If you have any weather stripping on your door, you can go ahead and put that back too.
Troubleshooting the Painting Process

These common painting issues might trip you up, but they can easily be fixed with simple solutions.
Rust on the Door
If you want to paint your metal door but are put off by the presence of rust spots, have no fear. Rust spots can be removed during the cleaning process. Sand away the rust spots, then clean the door again. After that, treat the spots with a rust inhibitor and prime and paint the door according to the steps.
Flakey Paint
Flakey paint typically occurs when the door was not cleaned or sanded enough before the primer and paint application. If you are experiencing flakey paint, you may want to start back at step one and completely clean, degrease, sand, and prime the door all over again before repainting it. In most cases, simply applying more paint on top of flakey paint will create even more of an issue and leave your door looking messy.
Paint Smudges
Paint smudges or other marks on your coat of paint generally indicate that the paint hasn’t dried enough before you start handling the door. Make sure to wait at least 3 to 4 hours between coats of paint before applying a new one or flipping the door over to paint the other side. If you are very worried about smudging or damaging your coat of paint, wait at least 6 hours between applications. The longer, the better.
Should You Call a Professional to Paint Your Metal Door?
If you still aren’t sure about painting your metal door or you are intimidated by the process, you can call a professional to help you out with the project. This is also a good option if you don’t have many of the materials need to paint your own door; the cost of purchasing some of these materials can be weighed against the cost of a professional completing the project for you.
Keep in mind when looking for a professional that smaller projects might be a bit more expensive. Do your research and ask for referrals from people or neighbors you trust.
Spruce up Your Home
While fantastic at keeping your home well insulated, metal doors can be a pain to spruce up with a coat of paint. If you have a metal door that needs painting, be sure to follow the steps and properly sand down your door so that the paint sticks to it without issue. Use patience during the process of painting your door, and before you know it, you will have a fresh-looking metal door that spruces up your home.
