An uneven yard can be a huge source of frustration. For one, it’s unsightly, and it’s probably messing up your property’s landscaping. It can be a pain in the rear to mow, and it’s probably caused several trips and falls by now. And, depending on what’s causing the unevenness, you might also get annoying puddles and standing water issues when there’s heavy rain.
The good news is, you don’t have to hire a professional right away. You might be able to remedy the problem using tools you may already own.
Prepping Your Lawn
You’re probably raring to go, but it’s important to do some prep work to ensure the success of this project.
Step 1: Mow Your Lawn
Cut the grass slightly shorter than normal. This will help you identify the sections that need to be leveled.
Step 2: Determine Which Areas Need Work
Once you’re done mowing, take a walk around your yard and find the problem areas. Make sure to mark them so you don’t miss them later.
Step 3: Examine Your Thatch and Dethatch As Necessary

Learning how to level a yard involves learning about thatch and dethatching. Thatch is a mixture of organic matter that lies on top of the soil. When it’s thicker than half an inch, it can block sunlight and prevent water and fertilizer from reaching the soil. It can also create an uneven lawn, so there’s a chance that it’s what’s causing the unevenness of your yard.
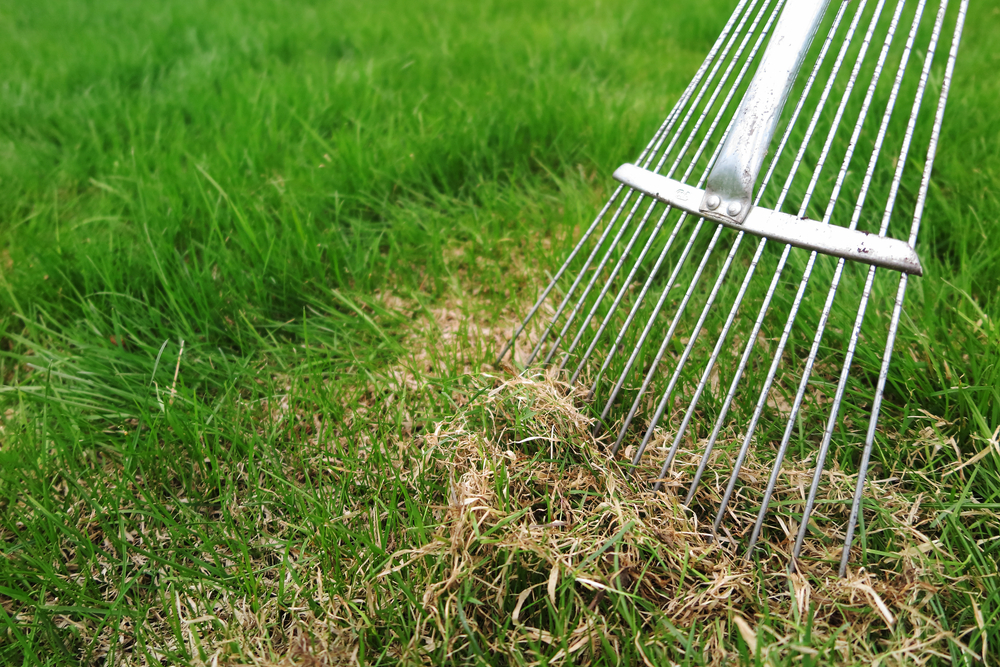
You can measure the thickness by using a trowel to get a lawn sample. Dig up a small layer of grass and soil, about three inches deep, and look for the thatch layer that’s sitting right on top of the soil. If the layer is over half an inch thick, run a thatch rake across your lawn to pull it up.
Step 4: Prepare the Top Dressing Mixture
Depending on the kind of work that needs to be done to level your yard, you might need a top dressing to fill in the holes and low areas of your yard. Usually, the choice is between all sand or a mixture of topsoil, sand, and compost.
If all you need to do is level your yard, sand is the better choice since it’s easier and quicker to use and allows water to drain more easily. However, your grass will have a harder time getting the water it needs because of how fast it drains.
On the other hand, using a soil mixture may take longer, but it can come with nutrients the grass needs. Just remember that whatever topsoil you buy may not contain as many nutrients as you expect, so you might need to fertilize it. To make the soil mixture, combine two parts sand with two parts topsoil and one part compost.
Leveling Your Yard
Once you’ve determined the problem, you’ll be able to fix it using one or more of the solutions below.
Leveling out Small Bumps
In the case of a bumpy yard with small bumps less than an inch tall and no holes or sunken areas, you won’t need any top dressing. You might be able to level your yard out by watering the bumps and stepping on them once they’ve softened. And if you’re doing this during springtime, the ground may have already softened from all the melted snow and ice, so you can just step right on them to flatten them out.
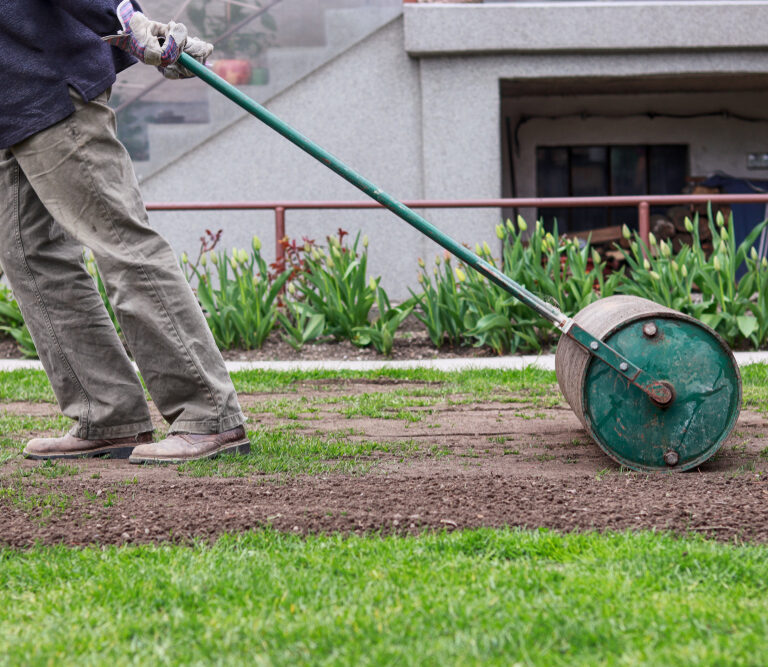
If that doesn’t take care of them, especially because they’re hard-packed, break them up using a pickaxe. Conversely, you could rent a lawn roller, fill it with water, and roll it back and forth over the bumps. Add more water as you see fit, but try not to overdo it since it could compact the soil too much, which in turn causes poor drainage and other problems.
Leveling out Small Holes
If your uneven yard has both bumps and small holes, you might be able to save some money by using the soil from the bumps to fill in the small holes instead of buying what you need for the top dressing mixture.
Step 1: Fill in the Holes
Fill the holes with up to half an inch of soil then pack them down. Pour a little bit of water onto the soil to remove air pockets which can cause future settling.
Step 2: Reapply As Needed
If the holes are deeper than half an inch, redo step 1 as many times as you need to level the area.
Step 3: Compact the Soil
Water the soil to make it more compact, but be sure not to water it so much that a puddle forms.
Leveling Sunken Areas by Digging up the Grass
Sometimes, the problem isn’t that there are tiny bumps or mounds, or animal holes your kids or pets keep falling in. Instead, there are a couple of sunken areas about two to three inches deep with healthy grass growing on top. It’s not that bad—is what you probably kept telling yourself—especially if you didn’t have the resources or energy to put the work in. But you’re here now, and you’re ready to use some muscle to solve the problem.
Step 1: Dig up the Grass
Grab a shovel and slide the blade down the edge of a sunken spot. Push it down about two to three inches deep so it’s right under the grass roots. Lift the grass up carefully and set it aside.
Step 2: Fill the Hole
Fill the sunken area with the top dressing mixture and water it slightly while you work, then take the dug-up turf and press it down on top of the new soil.
Step 3: Level and Compact the New Soil
Using a lawn roller or a rake, level off the topsoil then compact it by watering it.
Leveling Sunken Areas by Cutting out Patches of Turf
Digging up grass isn’t exactly the neatest way to go about removing it from the ground so you could fill in the low areas. Not to mention it’s unsightly and you risk hurting the grass. If you don’t mind putting in the extra work, and want to ensure that you don’t damage the grass, cutting out patches of the sod is a great alternative.
Note that this only works for small sunken areas with healthy grass. If your entire yard is pretty much sunken and there’s too many uneven areas, you’ll most likely need to establish a new lawn.
Step 1: Remove the Sod
Start cutting through one of the sod’s edges using a spade. Try to make every cut as vertical as possible to prevent damaging the grass roots. If the sunken area is wider than one square feet, cut out multiple patches about 18 inches wide or less.
Step 2: Remove the Patch
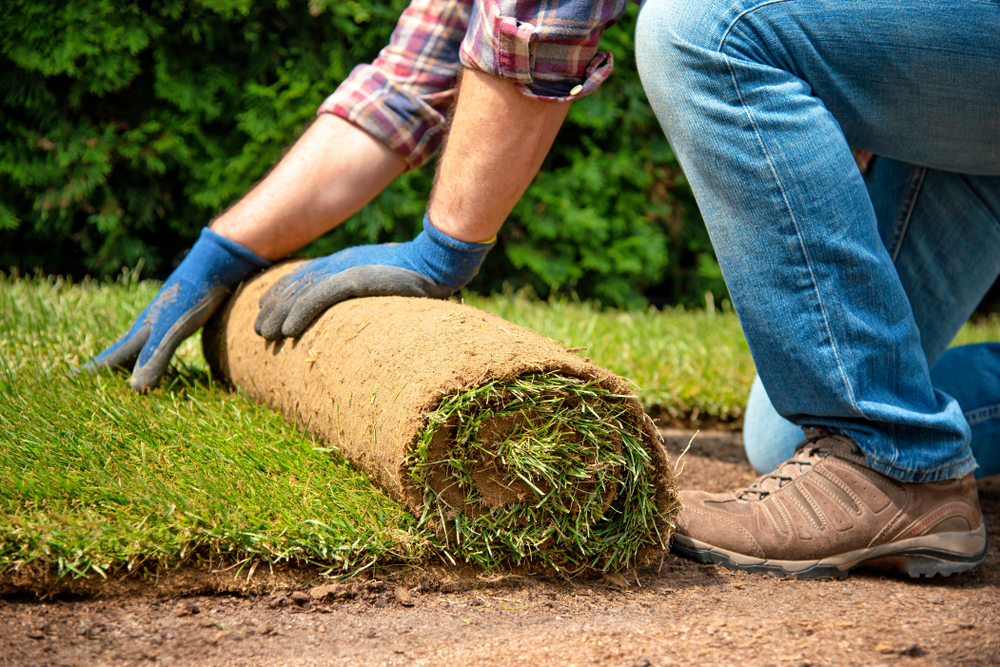
Don’t be rough when removing the patch as this can damage the roots. Slowly lift it up then roll it up gently before setting it aside. You might want to place the rolled patches somewhere shady so they don’t dry out. Remember to put them back in place as soon as possible—sod typically only lasts 24 hours once it’s cut, and less when it’s hot and sunny.
Step 3: Fill the Hole
Fill the hole with enough top dressing so the area becomes level with the surrounding ground once you put the sod back on top. Water it lightly as you fill it up.
Step 4: Put the Sod Back

If the patch of sod hasn’t gone bad, put it back on top of the filled hole. Otherwise, place a new patch on top.
Step 5: Water the Grass
Sod becomes delicate when removed, so you’ll need to monitor all the patches closely and make sure to water them frequently.
Leveling out the Rest of the Yard
There might still be work that needs to be done after you’ve taken care of the bumps, holes, and/or sunken areas. If the surface isn’t completely leveled, you’ll have to take the rest of the top dressing mixture and spread it evenly about a fourth to an inch deep over the lawn using the back of a bow rake. Make sure the grass blades aren’t covered all the way, otherwise they’ll die from sunlight deprivation. You can use a push broom to even out the mixture and expose the blades.
When to Hire a Professional
As you’ve seen so far, it’s not exactly hard to level a yard as long as you’re only dealing with a few holes, bumps and low areas. However, it’s a totally different story if your entire yard is the problem, especially if water often goes toward the foundation of your home when it rains. In cases like this, you’re better off hiring a professional since they’ll not only need to grade your yard, but also figure out any underlying problems that’s causing the unevenness.
