It’s the secret that we never tell our children: that, while having a house made of straws and sticks might not protect you from wolf attacks, it’ll make things much easier to clean than a house made out of bricks.
Still, chances are your house will be sturdier and have a higher resale value if you use bricks rather than a bunch of old hay you found. That doesn’t answer the question of how to clean all those bricks, however.
If your house is beginning to look a little raggedy, take heart — it’s actually not all that difficult to clean brick. Below, we’ll show you exactly what to do to get those bricks looking brand-new again (you’re on your own for stopping the wolf attacks, though).
Before You Get Started
Unlike performing brain surgery or trying to land an airplane, you need to know what you’re doing before you get started when trying to clean bricks.
Here are a few things you should consider before you begin.
What Kind of Brick Do You Have?
Yes, there are different kinds of bricks. There are traditional clay bricks, concrete bricks, sand-lime bricks, and more.
The different types of brick will require different types of cleaners. For example, if you have clay bricks, you might want to use a water and vinegar solution, whereas if you have concrete bricks, you may opt for a water and chlorine bleach concoction.
Check the type of brick you have before you get started, and either go to your hardware store to find a suitable cleaner or figure out what you need to mix up your own.
Where Is the Brick Located?
You’ll clean interior bricks differently than you would exterior bricks, so don’t expect to use the same technique — or materials — for both. This is especially true if you have different types of bricks in your house, of course.
The location of the brick will also determine what, exactly, is making it dirty. You won’t clean soot off the same way you would moss or mildew, for example.
What Type of Cleaner Do You Want to Use?
Many store-bought cleaners use harsh chemicals to deodorize your bricks. These are often extremely effective, but many people balk at the idea of using such chemicals in and around their home — especially if they have kids or pets.
Those people can opt for a natural solution instead. These usually aren’t as effective, but they’re safer to use around the house.
The right natural solution will depend on what type of bricks you have, but popular options for interior bricks include equal parts water and vinegar, dish soap and salt, or boric acid. For the bricks on the outside of your home, you can use bleach or muriatic acid.
You can also buy natural brick cleaners if you prefer not to make your own.
No matter which way you go, make sure the solution you choose won’t damage your bricks. Just because the cleaner is all-natural, that doesn’t mean it can’t mess something up.
Do You Have All the Gear You Need?
Deciding on what kind of cleaner to use is only half the battle. You’ll also need to gather up the rest of the necessary gear to get the job done. For indoor bricks, we recommend getting the following.
- A tarp or plastic sheeting
- A vacuum cleaner with a brush attachment
- A spray bottle
- A sponge mop
- A nylon-bristled scrub brush
If you’re cleaning exterior bricks, you should have these materials.
- A tarp or plastic sheeting
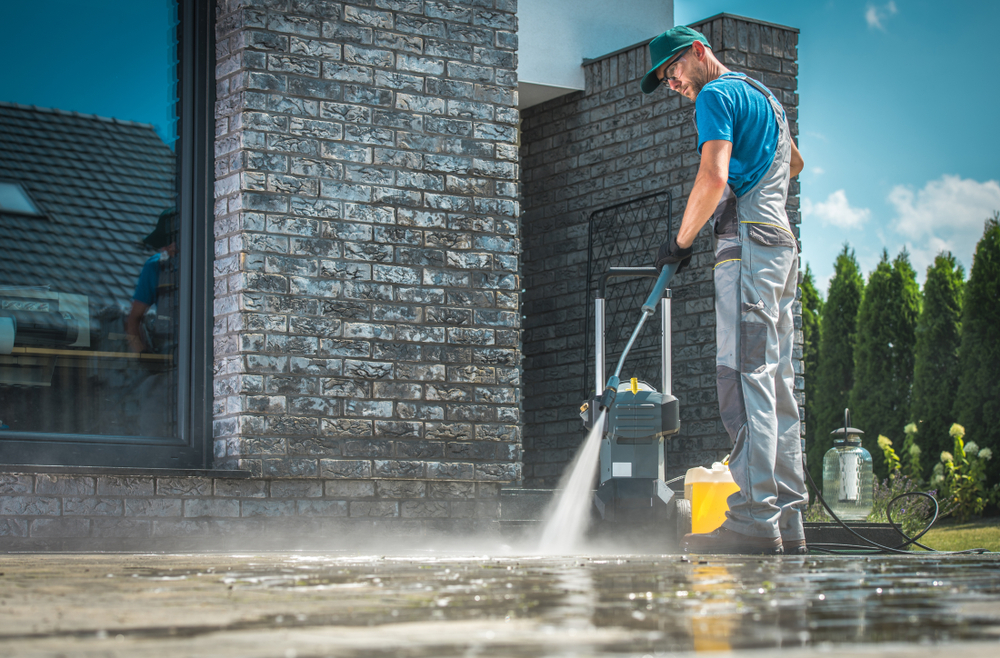
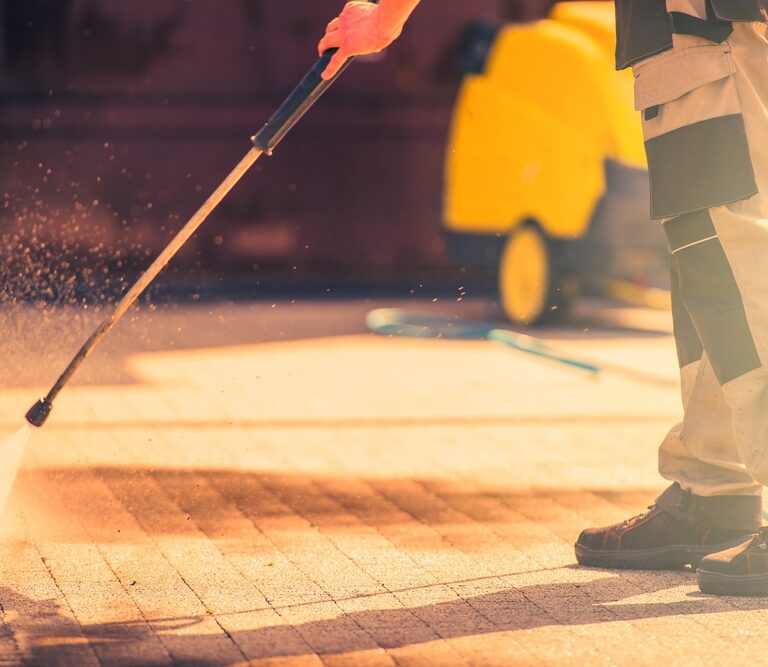
- A garden hose with a spray nozzle or a power washer
- A nylon-bristled scrub brush
- A bucket and sponge
Whatever you do, don’t use a wire brush or other harsh tools on the bricks, as you could damage them. Also, if your bricks are in poor condition, you may want to take it easy with the pressure washer.
Cleaning Your Bricks
Now that you’ve made all the necessary arrangements, it’s time to get started actually washing your bricks. Let’s look at how to clean indoor bricks first.

Cleaning Interior Bricks
Cleaning interior bricks is a little trickier than dealing with the ones outside. After all, you need to be careful about how enthusiastic you are, or else you’ll end up splashing water and brick cleaner all over your home.
Cover up Everything That You Care About
…except your kids (unless they’re really dirty).
Any sort of cleaning solvent you might use on your bricks could do damage to other things in the house, like your carpet, wood floors, decorations, and so forth.
Relocate anything that can easily be removed to another room in the house, and lay down your tarp or plastic sheeting over everything around the brick.
You may want to tape the sheeting down as well, as if it moves mid-cleaning it will be practically useless.
Pre-Clean the Bricks
You’ll want to remove any loose dirt, cobwebs, and other debris from the brick before you start washing it. Break out the vacuum cleaner and the brush attachment and make a few passes over the brick to get all the top-level grime off.
A word of warning, though: this is the step in which you’re most likely to encounter a spider. We understand if you want to stop reading this brick-cleaning article and switch to our special guide on spiders in the home, entitled “So You’ve Decided to Burn Down Your House.”
Wet Down the Bricks
Brick is a highly absorbent surface, and if you apply the cleaning solution to it while it’s dry, the bricks may just absorb it. This can cause them to fade.
That’s why you should take a spray bottle and wet your bricks down with water before you begin. This will keep the cleaning solution on the surface of the bricks, where it can’t do any damage.
Start Cleaning
Apply your cleaning solution of choice to the bricks, and let it sit for a few minutes. You want to leave it long enough that it can eat away at any stains, but not so long that it dries out; 5 or 10 minutes should do the trick.
Then, take your nylon-bristled brush and scrub. You shouldn’t need to use too much elbow grease, as being too forceful could damage the brick.
If your solvent is doing its job, all you should need to do is apply gentle downward pressure as you scrub from the top down.
The resulting suds will likely look brackish and nasty, but you should be able to see a dramatic difference pretty much immediately.
Clean Up
Once you’re satisfied that the bricks are clean, you can start to clean up the suds. Take a rag soaked in warm water and gently scrub it.
You may want to put some towels at the base of the bricks to catch any runoff if the tarps aren’t in position to do so.
After all the solution is cleaned off, let the bricks dry. Once the moisture is gone, you can go back over them with the vacuum to get any debris that was left behind.
Cleaning Exterior Bricks
You’ll use many of the same steps and techniques to clean exterior bricks as you do on interior bricks, but there are a few differences you should be aware of.
The biggest difference is that you don’t need to be nearly as careful. You can really go crazy on those bricks, and you’ll likely need to — there are probably way more on the outside than on the inside, after all.

Choose the Right Day to Do It
It’s important to wait for good brick-cleaning weather before you get started. You want to pick a day when it’s overcast and a bit cool, as you don’t want it to be too hot or sunny outside.
If the day is too hot or sunny, the cleaning solution will dry out quickly. This will cause you to have to reapply it frequently, and there’s a chance the solution could discolor your bricks.
Cover Your Flowers and Plants
Most cleaning solutions will kill or at least damage plants if they come in contact with it. If you value your shrubbery, you should cover it as best you can.
You may also want to cover up any metal, wood, or glass surfaces that might get splashed. Your cleaning solution may or may not discolor them, but at the very least, it’ll make a mess.
Test and Wet the Bricks
It’s even more important to wet outdoor brick than indoor brick, as the weather will dry out your solvent faster outside. This is also why it’s important to test the brick’s absorption rate before you get started.
To test the absorption rate, grab your garden hose and soak a few bricks. If they immediately turn dark, that means they have a high absorption rate. You’ll have to only clean a few bricks at a time to avoid discoloring them.
If the brick doesn’t turn dark quickly or at all, then that means it has a low absorption rate. That’s good news for you; it means you can clean large swaths of brick at once.
Regardless of the absorption rate, you should wet down the bricks before you start cleaning. If you have a pressure washer or a hose with a spray nozzle, this will double as your pre-cleaning.
Start Cleaning
You can spray your cleaning solution on the bricks with your hose or pressure washer, or you can get a bucket and do it by hand.
Regardless of how you do it, leave the solution to soak for a few minutes. Be careful not to let it dry out, though, so don’t apply any more than you can handle at once.
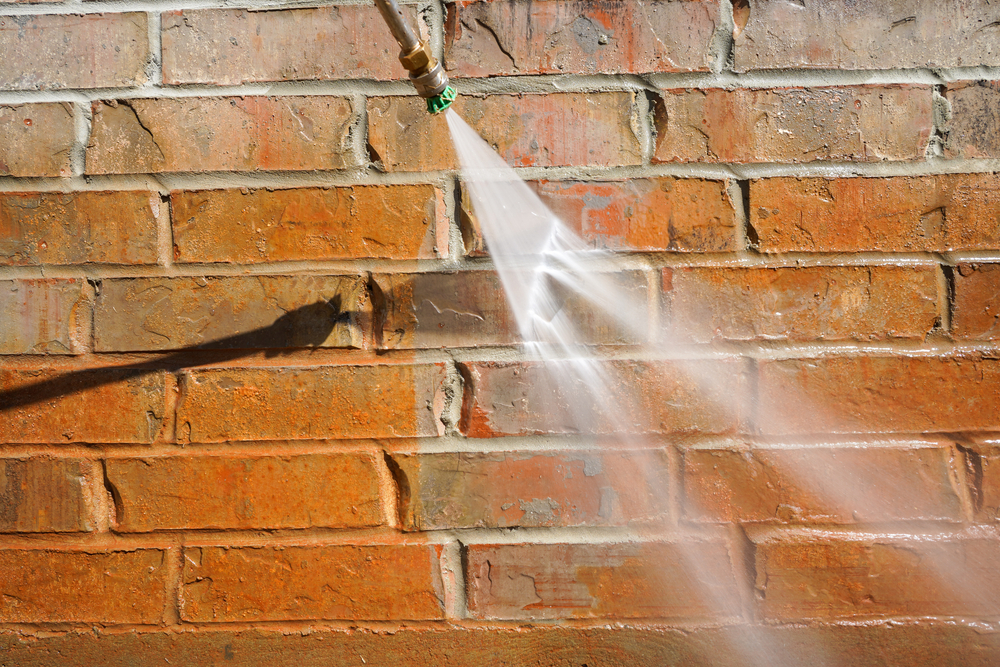
When the solution has soaked long enough, you can either grab a sponge or nylon-bristle brush and scrub the bricks or blast them with the pressure washer.
Use the same top-down technique you would on indoor bricks. Be sure you completely remove the solution, or else it could stain the bricks.
Do I Really Even Need to Clean My Bricks?
You may be tempted to skip this chore entirely. After all, cleaning bricks feels a little like mopping the sidewalk or brushing your teeth — sure, it’d be nice to do every once in a while, but it’s probably not all that necessary.
As it turns out, though, it’s important to clean your bricks once or twice a year. Not only will it make your home look nicer, but it will preserve the structural integrity of your brick and mortar.
As an added bonus, clearing away a bunch of dirt and debris will make it easier for you to spot water damage or other signs of wear and tear. This could help you locate a problem before it gets out of hand.
Final Thoughts
Cleaning bricks is a thankless task, but it’s important to do it regularly. With a little bit of practice, you can do the job in just a few hours, and it will leave your home looking practically brand-new.
Of course, clean bricks will look out of place if you don’t give similar attention to the rest of your property. If your concrete is also starting to look a little shabby, you may wish to check out our handy guide to cleaning concrete.
Or you could just leave it and let the dirt and grime pile up. We wouldn’t recommend it, but we’re pretty sure your spiders will thank you.
