Brass has made a resurgence in home design, décor, and fashion in recent years, popping up on plumbing fixtures, mirrors, lamps, jewelry, cookware, cabinet hardware, and more. But like other trends, this metal finish is coming back with a twist. Rather than the bright and shiny brass finishes common in the 1990s, today’s brass tends to have a deeper, darker color that’s meant to look lived-in rather than garish.
Like other types of metal, brass can become dull over time if it’s not properly cleaned and cared for. Brass may be back in fashion, but dirty-looking finishes generally aren’t the goal. Cleaning and polishing your brass items may require some specialty products that you can purchase — or even make yourself.
Here’s a quick lesson on cleaning and caring for brass.
Take a Close Look
While brass has made a major comeback and in recent years has pushed polished nickel and chrome from their perch as the metal finishes of choice, many items in your home that look brass might not actually be brass or at least not solid brass.
The quickest way to tell if you’re dealing with solid brass is to attempt to stick a magnet to the item. Brass is an alloy, meaning it’s a mixture of other elements, in this case zinc and copper. Neither of those elements are magnetic, which means neither is brass.
If the magnet doesn’t stick, the item probably is solid brass; however, if it does stick, that means you’re dealing with a brass-plated item, and the remainder of this advice probably doesn’t apply. Brass-plated items don’t need to be polished, and cleaning them if they’re dirty is simply a matter of some soap and warm water. Too much fussing with brass-plated items can cause the plating to wear off, so use cleaners with caution.
Alternately, you can make a small scratch in an unseen area of the item; if the scratch is yellow, the item is solid brass but if it’s any other color, it’s brass plated.
Another factor to watch for is determining if the brass item is lacquered. If you already see tarnish on the item, it most likely does not have lacquer, as the purpose of coating brass items in lacquer in the first place is to prevent tarnish. If you have a lacquered brass item that is beginning to lose that shiny coating, you don’t have many options, unfortunately. Re-lacquering involves applying a solvent to remove the lacquer, then thoroughly cleaning, and reapplying the lacquer. Depending on the value of the item, it is potentially more trouble than it’s worth.
Commercial Cleaner Options
Once you’ve determined that what you’re dealing with is indeed solid brass, the next step is deciding what type of cleaner to use. There are several pre-made brass polish products you can find at your local store or online. Be sure you follow all manufacturer instructions for proper application of the product as well as safety measures. Many of these products contain substances that can be irritating if they get on your skin or in your eyes, such as ammonia.
Here’s a look at a few brass cleaners (that often work on other metals, too) that have stood the test of time:
Depending on the extent of tarnish buildup, it may take multiple coats of these cleaners to get your brass to appear shiny and new. It may also be helpful to use an old toothbrush or small wire brush to get into small grooves or detailed areas that are difficult to reach.
Mix Your Own Cleaner
If you have a bit of time and/or are inclined to make your own cleaning solutions, there are several options that may work for you. Even better, you probably have the necessary ingredients in your home already.
Soap
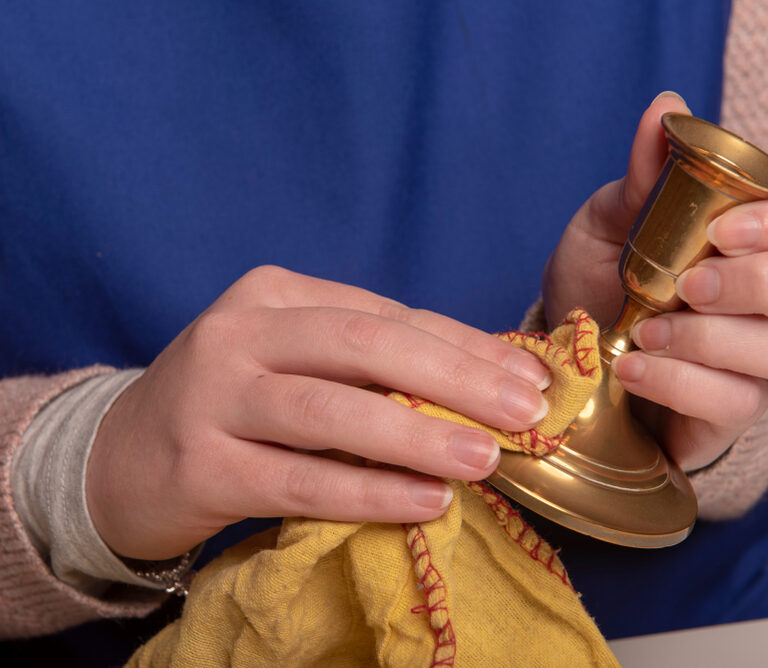
For pretty much any brass item, the best way to start is with a bit of warm, soapy water and a soft cloth (microfiber cloths are best). Fill a bowl with about 1 cup of hot water from the faucet and mix that with one or two drops of regular dish soap.
Dip your cloth into the soapy water and rub the wet cloth all over the brass item, using a brush to reach crevices if necessary. Once you’ve finished applying the soapy water all over the brass item, lightly rub the item to dry it off, as leaving brass to air dry is a perfect recipe for spots.
This method is effective for regular cleaning or restoring the luster of slightly dull brass, but if you’ve got more set-in tarnish or a seriously dirty brass item, you’ll need to break out some other materials.
Ketchup
Squirt a bit of ketchup on a soft cloth and rub it over the entirety of your brass item. Take a separate cloth, dampen it slightly so you can clean the ketchup off, and then use a soft, dry cloth to thoroughly dry the item to avoid spots. If one coat of the ketchup or other tomato-based cleaner doesn’t work, you can leave the mixture on for an hour or so and then use a damp cloth to wipe it away, following up with a cloth to fully dry the item.
The reason this method works is because of the natural acids present in tomatoes (mostly citric and malic acid), so if you don’t have any ketchup on hand, consider tomato paste or tomato sauce.
Vinegar, Salt & Flour
Don’t want your brass fixtures smelling like ketchup? How do you feel about vinegar? Another excellent homemade brass cleaner can be made from equal parts of salt, flour, and white vinegar. Combined, they make a paste that you can spread on your brass items; leave them sitting for 30 minutes to an hour depending on the extent of tarnish.
Take a soft cloth dipped in warm water and wipe away the mixture, making sure to thoroughly clean all crevices, and with a separate dry cloth, gently buff the item.
Lemon
Thanks to its high citric acid content, lemon is a versatile item around the home, and it’s an excellent option for cleaning brass. Take the juice of half a lemon and mix it with about a teaspoon of baking soda. Combine them so they make a paste, and then apply that to the brass item. Depending on how tarnished the item is, leave the mixture on for up to 30 minutes before wiping it off with a damp cloth. If necessary, repeat the process, making sure to thoroughly dry the item after you’re done.
Another lemon-based option involves a cut lemon and salt. Take a lemon and cut it in half and douse the cut section with regular table salt, just enough to cover the entire section. Rub the salted lemon, cut side down, all over the brass item. Make sure to gently squeeze the lemon as you go so it releases its juices. The combination of the acid of the lemon and gentle abrasiveness of the salt is effective at breaking up the tarnish. Clean with warm water and dry thoroughly.
Water, Salt & Vinegar
Another simple mixture for cleaning brass requires combining hot water with two tablespoons of salt and two tablespoons of white vinegar. Apply the resulting paste all over the brass item, and then wipe it away with a damp cloth. If tarnish remains, apply another layer, and leave the mixture for up to 30 minutes. Thoroughly clean and dry the item when you’re done.
Brass Cleaning Tips
Keeping your brass items looking shiny and clean is simple, but there are a few things to keep in mind:
- Lacquered brass does not need to be polished and applying polishing paste or liquid can damage the finish.
- While some mixtures call for salt, you should avoid using highly abrasive cleaning cloths or steel wool. These can damage the surface of the brass.
- If possible, don’t regularly handle your brass items with your bare hands. The oils in your skin can speed the tarnishing process.
- Generally, you will need to be gentler with brass-plated items than ones made of solid brass. Solid brass items (depending on the item’s size and shape) can hold up to harsher chemicals and more rough handling.
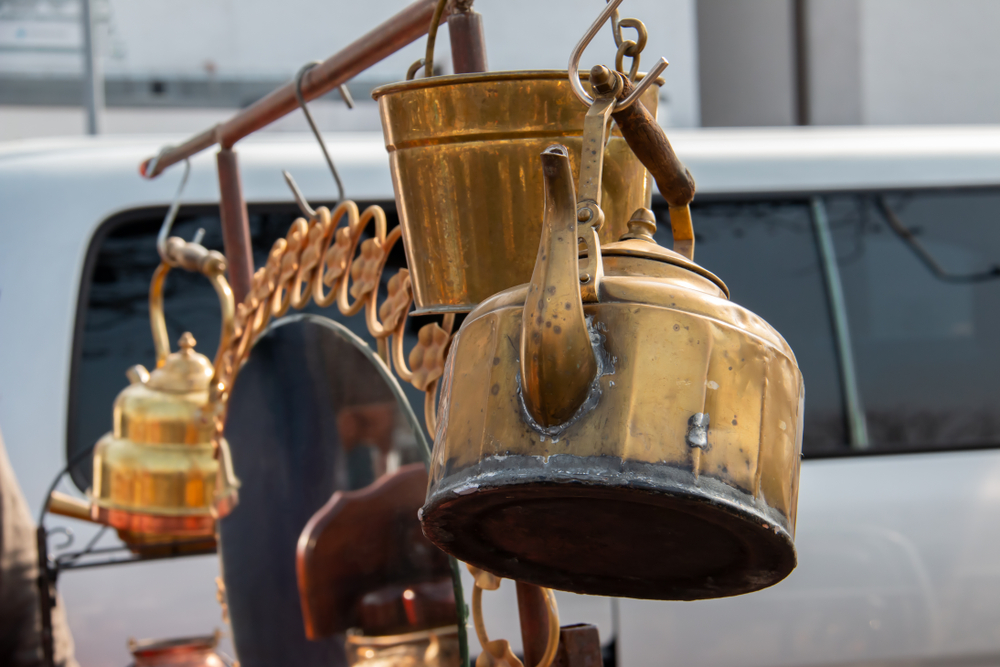
Let Brass Age Gracefully
Dirt aside, an aged brass item can be incredibly beautiful. So, before you start dipping all your brass figurines into cleaning mixtures, consider whether it might be best to leave them be.
One of the reasons brass finishes have come back into favor is because the finish works well with design aesthetics that feel lived in and organic. Metals like brass, copper, and bronze if left to their own devices will over time develop a patina, a layer on top of metal surfaces that results from chemical reactions like oxidation.
In fact, many brand-new brass items have gone through a multi-step process to add this patina to the finish so that the item feels older and well-worn. This vintage look often ups the sale price of new items, but if you’ve got old brass items lying around, chances are they’ve come by their patina naturally.