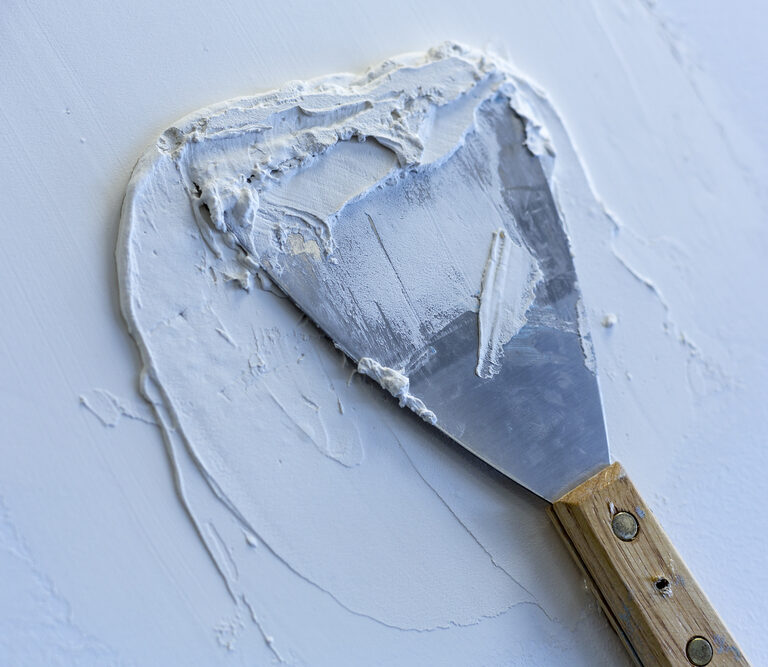
If you’re looking to enhance the cozy character of your home, consider adding a texture to your walls.
While smooth, minimalist walls might suit an ultramodern office, a charming traditional texture will elevate the snug aesthetic of your family home. And with stacks of enticing options to choose from, you’re bound to find one that complements your overall style—what’s more, textures entail a whole host of additional advantages.
If you don’t think you have what it takes to add an intriguing texture to your walls, then think again. The best wall textures are easy to achieve, and you don’t need any expensive equipment or elite DIY skills.
This post will cover the seven top wall texture types and show you how to apply them.
The Benefits of Adding Texture to Your Walls
Wall textures aren’t all about aesthetics—there’s a wide range of extra benefits to consider as well.
Mask Imperfections
Your walls will eventually suffer from wear and tear, with cracks, bubbles, and blemishes wreaking havoc on your paintwork over the years. A fresh new texture will hide these flaws and leave your walls looking as good as new.
Create a Cozy Vibe
The endearing atmosphere a wall texture evokes will add a sense of character and warmth to your property. Your living space will feel cozier than ever before, and you’ll quickly feel right at home in your lovely, textured abode.
Muffle Sound
If you’re sick of hearing your kids blast music in the other room, textured walls can help alleviate the pain. The extra mass and uneven surface area absorb sound waves as they bounce around the house to provide an additional soundproofing layer
Show off Your Skills
The Joneses probably won’t be particularly impressed by your smooth, painted walls. But if you create striking textured surfaces throughout your home, you’ll impress guests with your DIY prowess (the process is actually pretty straightforward, but they don’t need to know that).
Provides Long-Lasting Protection
Drywall texture tends to have an ultra-long lifespan, so you won’t have to re-do your walls for decades to come. That means fewer laborious paint jobs and more time to spend on the things you love.
Seven Types of Wall Texture:
Apply these lovely textures to your walls to spruce up your interior style.
1. Popcorn
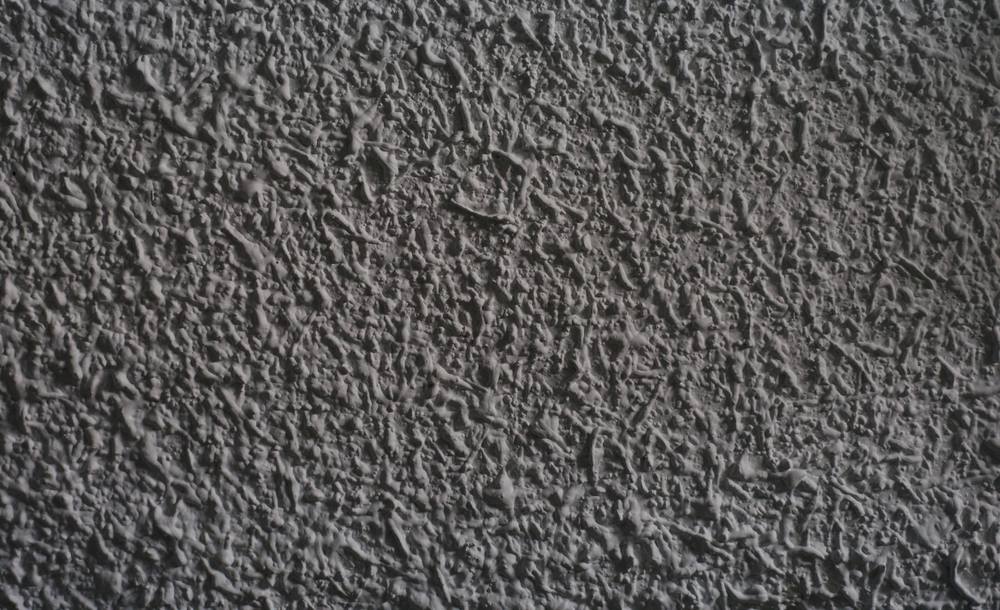
Also known as cottage cheese, this beautifully bubbly texture has been a hit in American homes since the 70s. The reason for popcorn’s immense popularity is that it’s exceptionally effective at masking imperfections and muffling sound—both pretty and practical, a win-win. Best of all, popcorn texture is cheap and easy to apply (getting rid of it is a different story, though).
How to Apply:
- Gather primer, drywall compound, and a drywall sprayer
- Cover any surfaces you don’t want to texture with drop sheets and painter’s tape
- Clean and prime the wall.
- Mix the drywall with water, as per instructions.
- Load the mixture into a spray gun.
- Use the spray gun to cover the wall.
- Wait 24 hours.
- Paint the wall (if desired).
Popcorn texture only comes in white, but you can always paint it afterward.
2. Comb
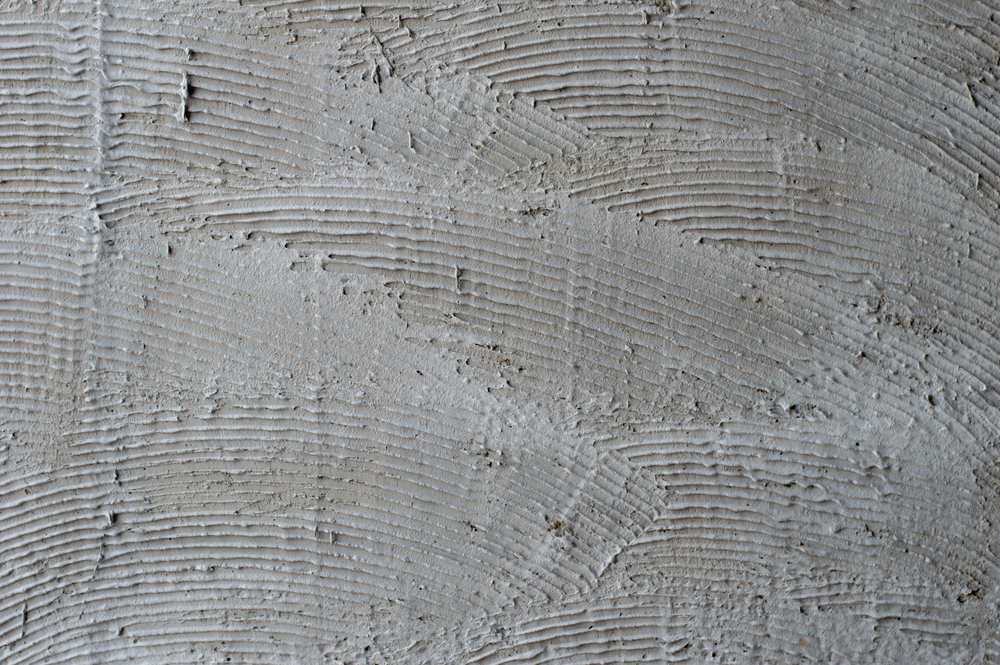
Comb is one of the more artistic wall texture types out there—think stylized lines of varying widths brushed along the wall like a freshly combed head of hair. It’s contemporary and rather showy, so give this a miss if you’re after a traditional touch.
How to Apply:
- Gather some drywall compound, a drywall trowel and a roller
- Cover any surfaces you don’t want to texture with drop sheets and painter’s tape.
- Clean the wall.
- Use the roller to apply the drywall compound.
- Immediately use the trowel to draw streaky lines in the wet compound.
Comb is easier to apply with two people: one to roll on the mud and one to draw the lines. Get a drywall trowel with uneven teeth if you’d prefer a more abstract look.
3. Orange Peel
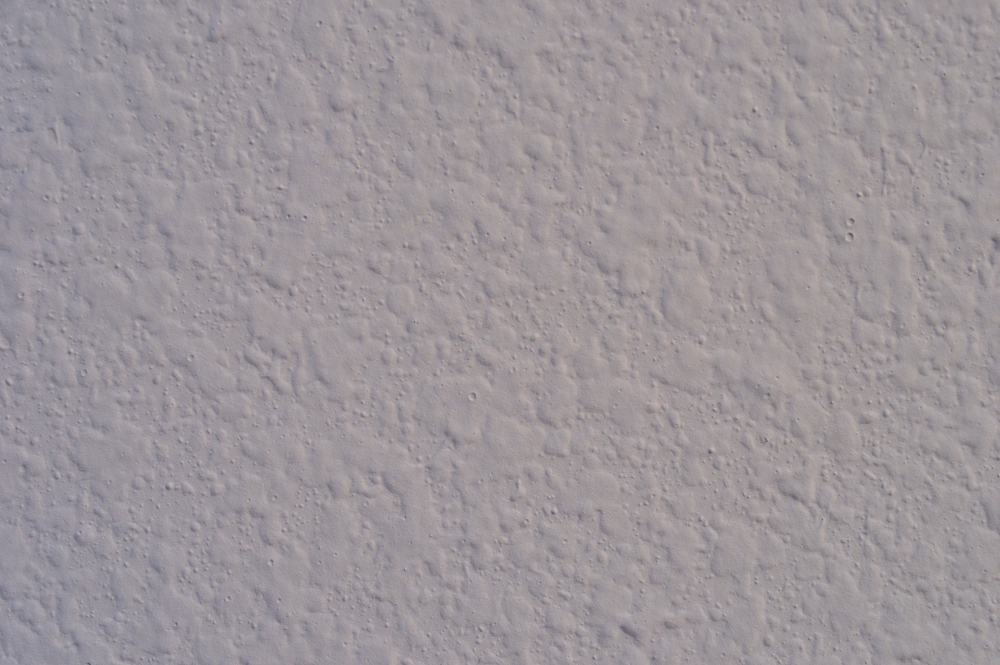
The orange peel texture looks like—you guessed it—an orange peel, with tiny little dimples scattered around the rind. It’s a sleek, subtle style, perfect for anyone hesitant about getting a texture in the first place. Although the application isn’t technical, it does take some time.
How to Apply:
- Gather drywall compound, a drywall sprayer, and a roller.
- Sand, clean, and prime your wall.
- Cover any surfaces you don’t want to texture with drop sheets and painter’s tape.
- Add water and mix the drywall mud to create a thick, liquid consistency.
- Apply the drywall mud with the drywall spray gun.
- Smooth over the surface with a roller.
- Allow the first coat to dry.
- Repeat the process to apply a second coat.
- Allow 24 hours to dry.
4. Knockdown
The knockdown texture is perfect for when you want a rustic aesthetic similar to stucco. It’s super easy to apply and will add a sensation of warmth to any room.
How to Apply:
- Follow the same steps as Orange Peel.
- Before the drywall mud dries, flatten any bumps with a wide knockdown knife (18-inches or more).
- Allow 24 hours to dry.
- Prime and paint the wall.
Timing is critical here. If you’re doing a small room, wait 15 minutes after finishing the Orange Peel phase before moving onto the flattening. With a big room, you can get started almost straight away (start flattening in the same spot you started spraying).
Keep an eye out for lines left by the knockdown knife; these mean you’re flattening too soon. If you notice any, wait 10 minutes for the mud to dry before proceeding.
5. Slap Brush
Slap Brush is a somewhat eccentric, seashell or sunburst-looking texture that’s ideal for those craving a touch of artistic flair. It’s also a top option for anyone who doesn’t want to mess around with a spray gun, as only brushing and rolling are required.
How to Apply:
- Gather a roller, slap brush, and drywall compound.
- Clean the walls.
- Cover any surfaces you don’t want to texture with drop sheets and painter’s tape.
- Mix the drywall with water to achieve a thick, paint-like consistency.
- Apply the drywall to a five-foot section of the wall with the roller.
- Apply a thin coat of drywall to both sides of the slap brush.
- Slap the section with the slap brush in random patterns.
- Repeat the process in sections, until you have covered the entire wall.
- Allow 24 hours to dry.
- Prime and paint.
6. Sand Swirl
Sand swirl is a fun texture that adds interest to the room through its unique, undulating circular patterns. It takes two people and a bit of practice to perfect, so we recommend doing a trial run on cardboard.
How to Apply:
- Gather some perlite and a seven-inch paintbrush.
- Clean the wall.
- Cover any surfaces you don’t want to texture with drop sheets and painter’s tape.
- Start at the top of the drywall and work in five-foot rows (each row covers the bottom of the previous row).
- Hold the base of the paintbrush for optimal control.
- Dip the brush into the perlite and wipe off the excess.
- Paint big swirls in an arc that doesn’t connect at the bottom.
- Return to the starting point, dip your brush in the perlite, drop down one row, and repeat the process.
- Repeat until you’ve textured the entire wall.
- Wait 24 hours to dry.
- Prime and paint.
7. Crow’s Feet
Crows feet is somewhat similar to slap brush, the main difference being you use a stiff-bristled brush instead. The result looks like the wrinkled feet of a crow, hence the name.
How to Apply:
- Gather some drywall compound, a roller, and a stiff-bristled brush.
- Clean the walls.
- Cover any surfaces you don’t want to texture with drop sheets and painter’s tape.
- Mix the drywall mud to achieve a thick, liquid consistency.
- Apply the drywall mud to the wall with the roller.
- Push the stiff-bristled brush into the compound and twist it left and right.
- Repeat until you’ve textured the entire wall.
Wall Texture Types: Final Thoughts
With a little time and effort, plus a modest investment in materials, you can get your walls looking super slick thanks to these seven stylish textures. No DIY expertise is required, and you’ll enjoy better soundproofing and a durable finish for years to come.