Whether you’re tiling a pretty patio or doing a behemoth bathroom renovation, you need to wrap your head around grout. The putty-like filler that squeezes between the gaps is an essential ingredient in your tilework, and using the right variety is paramount to success.
While other grout types exist (i.e., epoxy and urethane), we’re covering the two most prominent options in this post: sanded and non-sanded cement-based grout. We’ll teach you the pros and cons, plus their key differences, so you can pick out the perfect grout and ace your upcoming tiling gig.
What Is Grout?
We’ll start by dishing out some brief background info for the DIY novices who aren’t familiar with grout.
When tiling a room, the worker first puts down a layer of an adhesive paste called mortar, which has been used throughout the ages to hold masonry in place. While mortar does the lion’s share of the sticky work, it’s typically not strong enough to hold tiles in place on its own.
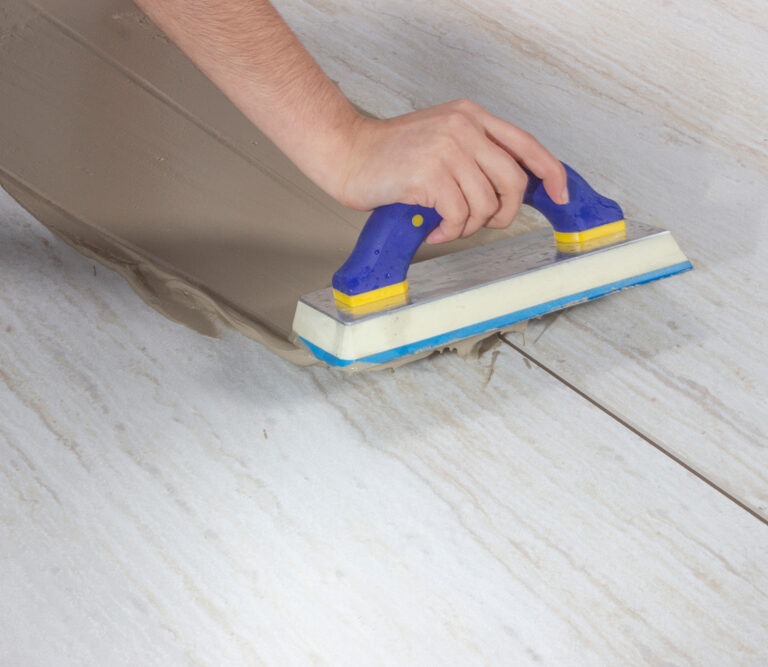
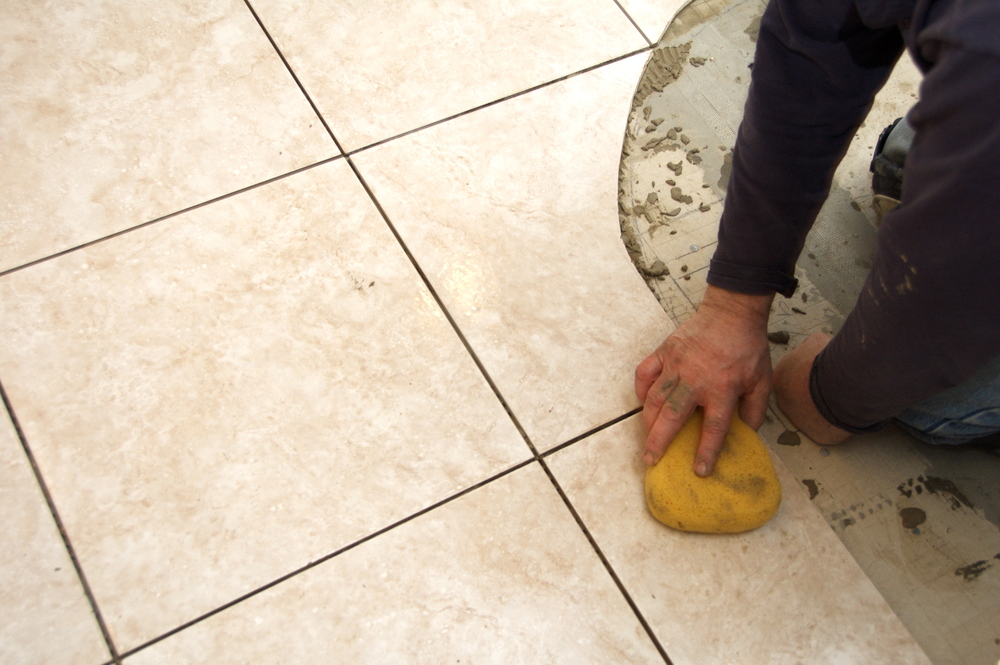
Once the mortar has set to the tiles, the worker uses a rubber float to smear grout into the gaps, which we refer to as joints. Grout, which begins life as a muddy putty-like mixture, will dry and harden to keep water from seeping into the tiles. It also helps reinforce structural integrity, even though mortar does most of the heavy lifting.
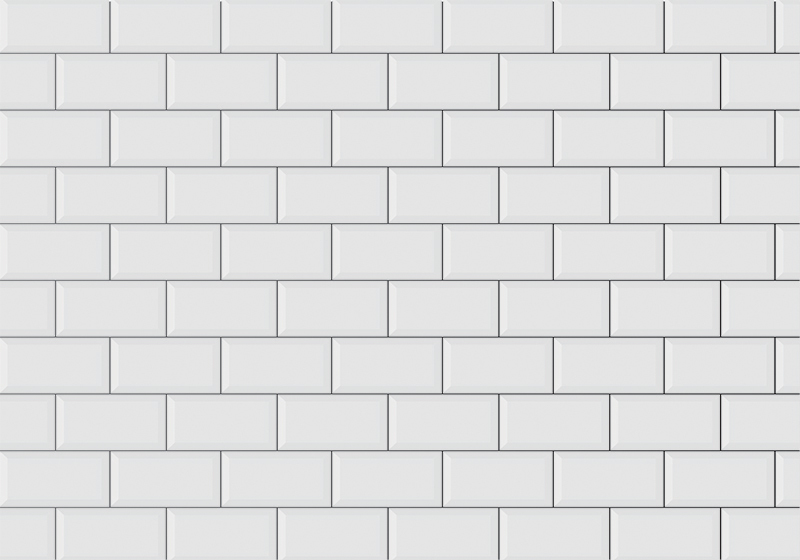
As grout is visible, it doubles as a design element. A grout color that complements the tiles makes a massive impact on aesthetics.
Sanded Grout
True to its name, sanded grout is a variety of cement-based grout that contains sand. Essentially, it’s a mixture of cement, minerals, aggregate sand, and water (the latter of which you usually add yourself).
The significant advantage of sanded grout is its impressive durability. As sand isn’t prone to shrinking, the grout will retain its original size when dry and hold the tiles in place. Sanded grout doesn’t jiggle about, so it’s the best choice for high foot traffic areas—or flooring in general.
Its rigid, non-squishy nature also makes sanded grout ideal for wider joints. If you’re looking at laying your tiles more than 1/8” apart, sanded grout is essential. It works wonderfully in joints as thick as 1/2”—any more than that is impractical, as the grout will crack.
Most tiling projects use joints between 1/8” and 1/2” thick. Consequently, sanded grout is by far the most prevalent option of the two.
Sanded grout also costs a fraction of its non-sanded counterpart—sand is a far cheaper aggregate than artificial polymers (common in non-sanded grout), after all. As a neat little bonus, you get more colors to choose from with sanded grout.
On the downside, sanded grout is porous; you’ll need to add a sealant at the end of your grouting gig. Sealing grout isn’t especially difficult, but it does add on extra time at the end.
Non-Sanded Grout
If sanded grout is the cheapest, strongest, and most durable of the two, why does unsanded grout even exist? While it’s not as widely used, non-sanded grout is essential in certain situations.
The lack of sand gives it a nice smooth texture, making it ideal for grouting narrow joints. If you’re planning on using 1/16” to 1/8” joints, then sanded grout will be too grainy to smudge between the tiles. Non-sanded grout, on the other hand, slides in smoothly to squeeze in the gaps.
Sanded grout is also relatively coarse, so it tends to scratch delicate surfaces. Tiles like marble and limestone react badly to sanded grout and will inevitably degrade. Non-sanded grout, with its lack of bristly grains, is the safest option when working with fragile tiles.
Although it’s not as durable, non-sanded grout is remarkably sticky. And it’s this extreme adhesive power that makes the substance a stellar option for vertical tiles. Its smooth texture allows the worker to mush the mixture in, thus making the job far quicker (think lower labor costs).
Yes, non-sanded grout will shrink. But as vertical tiles tend to have narrow joints less than 1/8”, shrinkage isn’t an issue. The fact it’s less durable also doesn’t matter, because no one will be walking on your bathroom walls.
Non-sanded grout isn’t particularly porous, so you don’t always have to seal it once you’re done. It’s not a bad idea, however, as a sealant can extend the lifespan of your grout.
Pro-tip:If you’ve got delicate tiles, but you need wide joints over 1/8” thick, neither sanded nor non-sanded cement grout will do. Aim for a pricier non-sanded epoxy grout instead.
The Pros and Cons of Sanded and Unsanded Grout
That’s quite a lot of info to absorb in one hit, so we’ve condensed the key points into a couple of handy graphs.
First up, here’s a quick summary of the pros and cons:
Sanded Grout
Pros
- Durable (doesn’t shrink)
- Good for high foot traffic
- Suitable for thick joints (1/8” to 1/2”)
- Cost-effective
- More colors to choose from
Cons
- Will scratch delicate tiles
- Hard to use with vertical tiles
- Not suitable for thin joints (1/16” to 1/8”)
- Requires sealant
Non-Sanded Grout
Pros
- Good for thin joints (1/16” to 1/8”)
- Easy to use on vertical tiles
- Won’t scratch delicate tiles
- Sealant isn’t strictly necessary
Cons
- Not suitable for thick joints (1/8” to 1/2”)
- More expensive
- Doesn’t perform well in high foot traffic areas
- Less durable (will shrink)
- Fewer colors to choose from
Now, here’s an overview of when you should use each grout type:
| Situation | Sanded Grout | Non-Sanded Grout |
| Thick joints (1/8” to 1/2”) | Yes | No |
| Thin joints (1/16” to 1/8”) | No | Yes |
| Flooring | Yes | No (except if delicate tiles) |
| High foot traffic areas | Yes | No (except if delicate tiles) |
| Vertical tiles | No | Yes |
| Delicate tiles (marble, stone, slate, limestone, etc.) | No | Yes |
How to Avoid Grout Pinholes
Some shady fly-by-night contractors opt to use cheaper sanded grout in narrow joints under the industry-standard 1/8” size. To get the grainy grout to stick between the tiles, they will add extra water to the mix to give it a slippery texture
Watered-down sanded grout may look okay at first, but the water will eventually evaporate with time. The grout then collapses into the empty air cavities, which causes a series of unsightly pinhole-like perforations. It’s a telltale sign of shoddy cost-cutting workmanship, and it comes at the customer’s expense.
If you’re doing your own tiling, you can avoid pinholes by opting for premium non-sanded grout for all your narrow joints. Should you be hiring a contractor, insist they use the sand-free stuff for any joints less than 1/8” thick.
Which Grout Should I Use?
By now, you’ve got a solid understanding of the differences between the two types of grout and will know where each variety shines.
Chances are, you’ll be using sanded grout for the majority of your tiling jobs, as it’s the preferred option in most situations. But should you need to do any tricky bits (narrow joints, delicate tiles, vertical applications, etc.), then pick up a pack of non-sanded grout as well.
- Polyblend does a superb sanded grout that comes in multiple colors and is suitable for interior and exterior applications.
- Custom Building Product sells a brilliant non-sanded grout specially formulated for narrow joints less than 1/8”.
Sanded vs. Unsanded Grout: The Final Word
Although sanded grout is the preferred option for most tiling jobs, the unsanded variety is essential for specific situations.
With the expertise obtained in this in-depth grout guide, you now know the precise difference between them and can pick out the ideal option for every situation.
Happy grouting.