Toilets can last for decades, but if you own your home long enough, there’s a good chance you’ll eventually have to replace one. Fortunately, learning how to replace a toilet is pretty straightforward, because there are only a couple of bolts holding it in place.
Of course, there are other components involved with the installation, but the job isn’t overly complicated if you have a few simple tools and follow the directions carefully.
This guide will walk you through the process of removing an old toilet and installing a new one in your home.
What You’ll Need
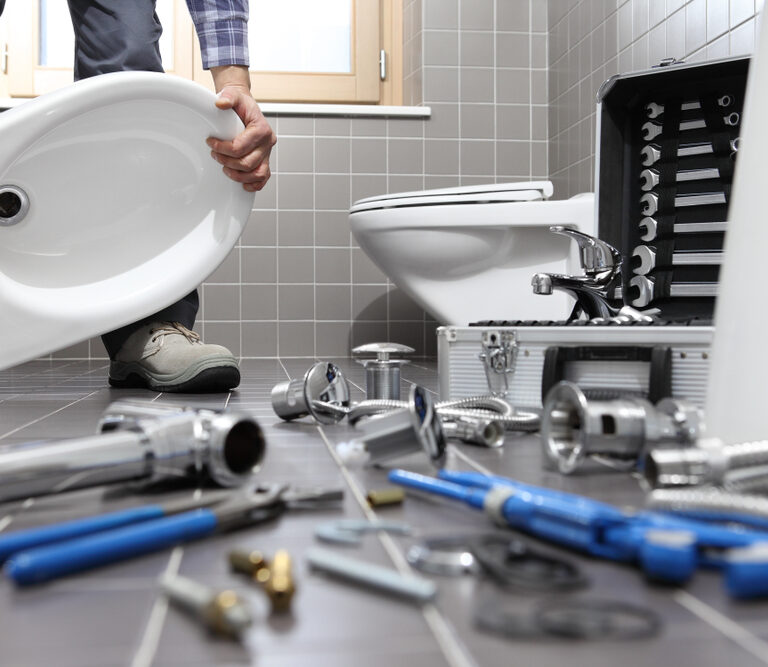
If you look around your house, you likely already have many of the tools you need for replacing your toilet:
- Adjustable wrench
- Putty knife
- Bucket
- Pliers
- Sponge
- A level
Grabbing some old towels and rags is also recommended. When heading to the store to buy your new toilet, you’ll also want to pick up a wax ring and possibly some toilet shims and silicone caulk, although the last two items are optional.
Once you have all of the materials ready, you can begin the removal process.
Removing Your Existing Toilet
There are many reasons why you’d want to replace your toilet, as your old unit could be leaking, damaged, or dated. If you choose to go down this path, you’ll begin the process by removing your existing toilet through the following steps:
1) Drain the Old Toilet
Before all else, you’ll want to prepare your old toilet for removal, which starts by turning off its water supply valve —this is done by turning the knob on the line which runs from your toilet tank into the wall behind it. After you’ve done this, flush the toilet. You’ll know the supply valve is off because the toilet won’t refill.
Next, you’ll remove the tank lid and disconnect the supply line from the bottom of the toilet using your pliers. Make sure you have your bucket under the toilet, because some excess water will fall out. You can then use your sponge to soak up any water remaining in the tank and the toilet bowl. Try to dry the tank and bowl as much as possible, because it means less water clean-up later.
2) Disconnect and Unmount
Once you have the water supply disconnected and most of the water is out of the toilet, you can remove its mounting nuts. There might be plastic caps over the floor bolts that you’ll have to pry off before you begin.
You’ll use your adjustable wrench to loosen and remove the mounting nuts. Hold onto these nuts for later, in case you can reuse the floor bolts that connect the toilet to the flange (where the unit meets the drainpipe).
If the nuts are rusted in place, you might need to cut them off with a hacksaw.
3) Toilet Removal
You’re now ready to pull out your old toilet. Put some old towels or rags on the floor, because some excess water will likely remain in the bowl and tank. This water will spill as you lift the unit.
Remember, toilets are made from porcelain and weigh a fair amount, so it’s recommended that you have someone assist you when lifting one.
The toilet should lift straight up over the bolts with very little resistance.
Stick a rag into the flange at this point to prevent sewer gas from coming up the drain line and into your home.
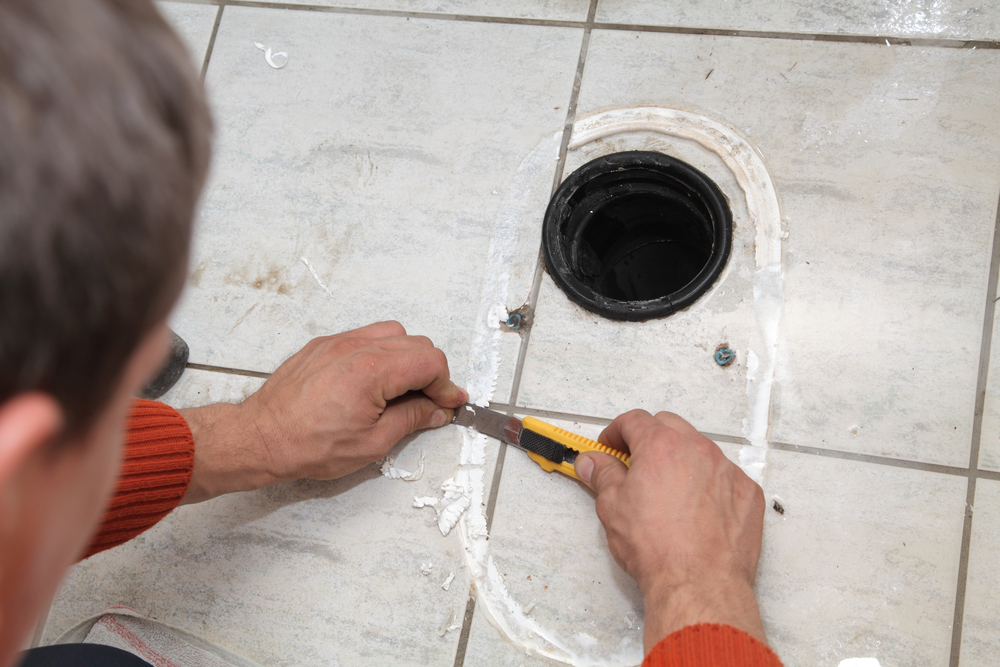
4) Prepare the Flange
Once the old toilet is out of the way, you’ll see the flange underneath it. There will be some wax on the flange from the old toilet that you’ll have to scrape off with your putty knife before moving on to the next step. It’s also a good idea to remove the wax ring from the bottom of the old toilet, so it doesn’t get all over everything.
5) Inspect for Damage
Take a close look at the flange and inspect it for damage before moving onto the next step. The bolts can sometimes eat away at the rubber holders on the side of the flange, in which case you might have to replace a section or the entire flange.
It’s also a good idea to inspect the bolts for damage at this time, because they can sometimes bend or rust.
Installing a New Toilet
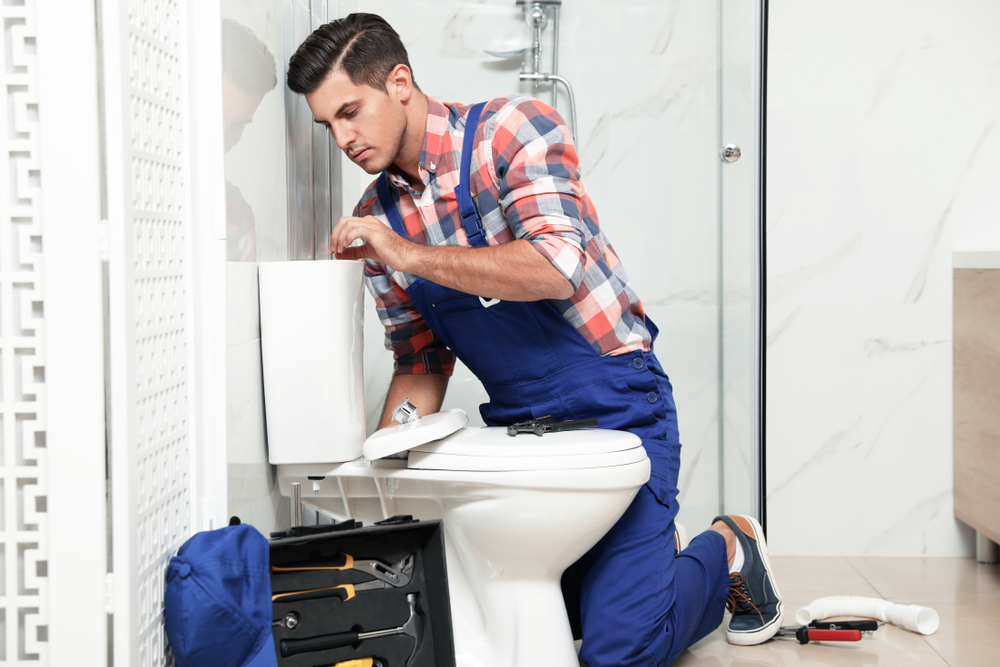
After pulling out the old toilet, you can install the new one. You’ll want to be careful throughout the installation, because porcelain can break if you drop or strike it. However, as long as you take due care, you shouldn’t run into too many issues.
1) Make Sure the New Unit Fits
Completing a test-fit of the new toilet is essential, because you’ll want to make sure the bolts align with the holes in the base and that the unit fits in your bathroom.
This stage is also where you’ll ensure your toilet is even by using a level. If the unit isn’t level, you’ll need toilet shims to get it into the correct position.
Once you’re 100% sure that the toilet fits and is level, you’ll have to remove it again to create a seal.
2) Install a New Wax Ring
Toilets use a wax ring to create a seal with the flange, so the next step is to install a new one. You can’t reuse the old one, but these products only cost a few dollars and are available at every hardware store.
The wax ring goes around the raised drain hole at the bottom of your toilet. Make sure you press it firmly to create an adequate seal before setting the toilet back on the flange. You’ll want to be careful with this step, because you’ll need to replace the seal again if you place the unit incorrectly.
Keep in mind that while wax rings are the most popular seals, there are foam and rubber gaskets on the market that are less messy and entirely reusable. If you’re worried about the mess that wax creates, go with one of these options.
3) Place the New Toilet
When the wax ring is in place, you’re finally ready to install your new toilet. Carefully put the flange bolts in the correct slots, lift the toilet over them, and set the unit on top of the flange. The bolts should come through the two holes on the toilet’s lower base as you set it down.
Once the toilet is in place, put some weight on it and rock it gently back and forth to create a solid seal between the wax and the flange.
4) Tighten It Down
After getting the toilet positioned right where you want it, you’ll tighten a nut onto each bolt to hold the unit in place. Tighten the nuts gradually, first on one side and then the other, to keep similar pressure on each section of the toilet.
You can then put the plastic caps over the nuts and bolts to cover them. If the bolts are too long, you can cut them down to size using a bolt cutter.
5) Reconnect the Water Lines
With everything in place, it’s time to reconnect the water line and get your new toilet up and running. Start by attaching the water line to the bottom of the toilet using your hand and then tighten it with your pliers. You can then turn the water valve back on and wait for the tank to fill.
After the tank fills, try flushing it. Watch for leaks around the water line and the toilet base to ensure you’ve done everything right. If there’s no water anywhere, you’re good to go.
You can also caulk around the base of the toilet at this time, although some users choose not to do this, because it allows potential leaks to become visible more rapidly.
Other Considerations
Even though the process of replacing a toilet is relatively straightforward, there are some situations where you can experience some challenges. However, a little bit of planning goes a long way and can ensure you don’t run into serious issues as you handle this job.
Measure Before Buying
One of the biggest hassles associated with replacing your toilet is buying a unit that’s too large or small for your space. You can prevent this from becoming an issue by measuring the distance between your wall and the flange bolts, which will give you the distance between the wall and the center of the flange.
This measurement should be somewhere in the neighborhood of 12 inches, as most toilets on the market fit in that space. You might find a few units that allow for 10 or 14 inches of space, but the vast majority are 12 inches.
Remove the Tank Lid
Make sure you remove the tank lid before lifting any toilet. The reason is that these lids aren’t secured in any way, as they just sit on the tank. If the cover accidentally falls off while you’re carrying it, it’s very likely to break.
Take the tank lid off your old toilet and new toilet and store them in safe locations until you’ve finished moving them for the day to avoid damage.
Prepare a Spot to Sit the Old Toilet
We mentioned that you’d want to have some towels on the ground for your old toilet because there will be some excess water, but it’s equally vital that you clear out some space for it, as well. You don’t want this unit in your way as you attempt to install the new one, nor do you want your kids playing with it before you have a chance to store it somewhere.
Clear out a safe place that’s protected with an absorbent material before you lift out your old toilet, because you don’t want to end up scrambling once you already have it off the flange.
Don’t Over-Tighten the Nuts
It might be tempting to continue tightening your nuts until they won’t turn anymore, but this could damage your new toilet. Porcelain is a breakable material, and if you tighten the nuts too far, you could crack it.
Your toilet isn’t going anywhere once you tighten it by hand and then give it another half-turn or so with your pliers, so stop there when replacing your unit.
Final Thoughts
Sure, you could always hire a plumber to replace your toilet, but the process really isn’t all that difficult, and it will only take you a few hours from start to finish, even with limited experience. By following these steps, you can have your new toilet installed on your own schedule and save some money in the process. Make sure you have the right tools and equipment before you begin, and you shouldn’t have too much trouble with replacing your toilet.