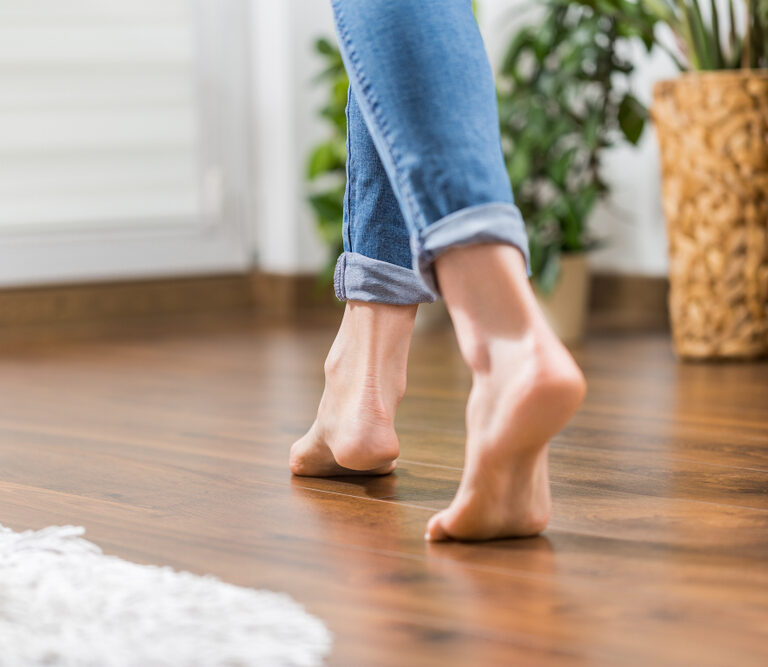
Let’s be honest, refinishing hardwood floors isn’t the simplest or easiest DIY job in the world. But here’s some good news – it’s actually a little easier than some people realize, and it’s definitely possible to do it yourself with time, patience, and the right equipment.
In this article, we’ve brought you everything you need to know about refinishing hardwood floors along with a mega-helpful easy-to-follow guide. Want to know how to refinish hardwood floors? Read on!
What Is Refinishing a Hardwood Floor?
Let’s clear this up – because sometimes people get confused over what refinishing a hardwood floor really is. If you’re refinishing a hardwood floor, what you’re actually doing is sanding away the current top layer of your existing wooden floor, then applying new stain and lacquer over the newly-sanded layer of that wooden floor.
Now that we’ve got that out of the way, let’s get into how to do it…
What Equipment Do I Need for Refinishing My Hardwood Floor?
You need the following:
- Safety equipment, including dust sheets, ear defenders, a dust mask and safety goggles
- Mop and bucket
- Vacuum cleaner
- Drum sander and/or belt sander (with various different grits, usually around 40-grit, 60-grit and 100-grit. If you’re new to the world of sandpaper grits, here’s a great guide to what they are and how to choose them)
- Sandpaper for use by hand
- A floor buffer (with a fine-grit screening pad)
- Wood stain
- Paint brush(es) and/or paint roller(s)
- Your finishing layer (whatever you decide you want it to be, but more on that later)
- Lots of patience
Refinishing Your Hardwood Floors – A Step-By-Step Guide
Step 1 – Prepare Your Floor
Before you do anything else, you need to prepare your space. Here’s how to do it:
- Remove all floor-based fixtures, fittings and furniture from the room. That includes sofas, chairs, tables, carpets, rugs and anything else that’s touching the floor. If any of the stuff is heavy, get someone to help you, or use equipment to do it.
- Check very carefully for any protruding nails, and hammer down any you find
- Secure all loose floorboards
- Clean and tidy the whole space with a mop and a vacuum cleaner.
- Seal all doors and air vents with plastic, as you don’t want dust flying in and around everything while you’re sanding
- If you have any molding around the perimeter of your floor, you’ll need to pull the stuff up
Step 2 – Start Sanding
During this stage, you’re removing all scratches and stains from the existing top layer of your hardwood floor. Use a drum sander or belt sander, using various grit grades. Start with the lowest number (which offers the coarsest grit), and gradually work your way up to the finest grit. Broadly speaking, you should use 40-grit, then 60-grit, then 100-grit.
If you’re unsure on which grits you should use, speak to someone at your local hardware store. The information above is a good guideline, but you might want to make some slight alterations according to the age and hardness of your floor, and how long it’s been since it was last refinished.
During this stage, you’ll likely churn up lots of dust and debris. If you get thick layers of dust, vacuum it away occasionally.
If you’ve never before used a drum sander or a belt sander, it’s good to get familiar with how to do it. This video is a great introduction to using a drum sander, which is actually easier than you think, providing you take the time to learn and do a little practice. Broadly, it’s all about patience, being methodical and taking your time. Always use overlapping strokes, and replace the sanding papers when they’re not working as effectively as they were in the beginning. That said, you can use a belt sander if you’re not confident (though it’ll take more time).
You don’t need to buy drum sanders and belt sanders. You can just rent them locally instead, to save yourself a lot of money.
After you’ve finished sanding the bulk of your floor, you’ll need to move on to sanding all of your edges and corners. For this, you’ll need to use a belt sander, or maybe even some good old-fashioned by-hand sanding paper for getting right in the edges and corners.
Step 3 – Screen Sanding
You’ve already removed all the major scratches, scuffs and stains that needed sanding. Now it’s time to move onto some finer sanding, to buff out all those hidden scratches, stains and coarse areas.
For screen sanding, you need to use a floor buffer with a fine-grit screening pad designed for the job. Again, you should rent these from somewhere rather than buying them.
If there are any holes in your floor, you can leave them if you wish. But if you want a more even, professional finish, you should fill them with wood filler or wood putty (this Minwax stuff is great).
Step 4 – Remove All Dust
Get your mop and vacuum cleaner out. Sweep, vacuum and mop the floor. If you don’t, you’ll end up painting on top of any dust and debris, which will end up lodged and trapped in your floor forever.
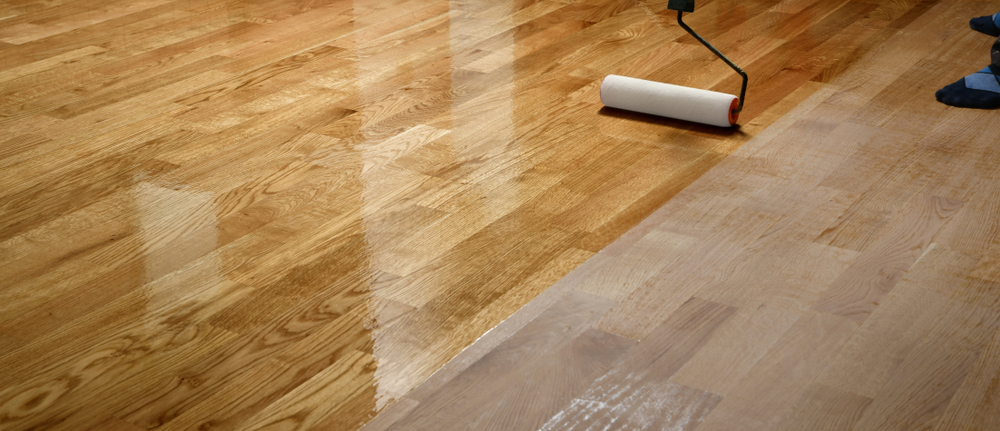
Step 5 – Apply Your Wood Stain
A wood stain is a paint designed specifically for painting wood. Before you buy any wood stain, check to make sure that it’s definitely suitable for the type of wood you have, and make sure you choose an interior wood stain (rather than one designed for use on outdoor wood).
When you’re sure you have the right wood stain, paint a small space on your floor before you commit to painting it all. Often, the dried product looks different to the color you might have imagined, so it’s good to check before you paint your entire floor.
Once you’ve done your spot test, it’s time to apply your wood stain to your entire floor.
Do small sections at a time, so you can concentrate on getting an even coat, and on wiping away any excess wood stain (with cloths or paper towels). You can use either a brush or a paint roller, whatever you’re most comfortable with, but paint rollers typically cover more space.
Pro-tip: Start staining at the furthest point from your entry door. That way, your last part will be at your door, and you can escape the room without having to trudge through wet paint.
Step 6 – Apply Your Finishing Layer
A finishing layer helps your wood to look sleek and shiny, and it’ll keep it protected and looking good for many years to come.
But there are several options for your finishing layer. Your options are polyurethane, varnish, shellac, lacquer and wood oils. For DIY, it’s best to use an oil-based polyurethane, as it dries at a practical pace, it gives a professional finish and it’s easy to get a thin, even coating. It’s what many professionals use.
When you apply your finishing layer, wear a respirator mask, as the fumes can get pretty intense.
When applying your finishing layer, it’s easiest to use a paint roller, as you can get lots done before some parts dry. You’ll probably need 3 coats. After applying each coat, let it dry completely (which might take 24 hours) before sanding with a very fine paper of around 240-grit and vacuuming away the dust. It’s a time-consuming process, but it’s totally worth it, as the finish will last a long, long time if you do it properly.
For this final sanding stage, you can use a floor buffer, or even do it by hand if you’re worried about accidentally ruining your newly-refinished floor. Make sure you use a small brush for properly finishing the corners of the room.
Step 7 – Sit and Smile
Job done!
If you’re still unsure if you’re capable of refinishing your own hardwood floor? Here’s a handy list of pros and cons to help you make up your mind…
Pros and Cons of Refinishing Your Own Hardwood Floors:
Pros:
- It’s actually much easier than you think if you follow the steps above
- You’ll be massively proud when you’ve done it, as the results are hugely impressive
- You’ll save A LOT of money. Getting your hardwood floors refinished by a professional can clock in at around $5 per square-foot, but around half of that if you do it yourself.
Cons:
- It’s a lengthy job
- You need quite a lot of specialist equipment
- You need to know (or learn) how to use drum sanders and belt sanders
While you should be careful about refinishing your own hardwood floors, it’s absolutely a job you can DIY as long as you do it patiently and properly.
And That’s Us (Re)Finished
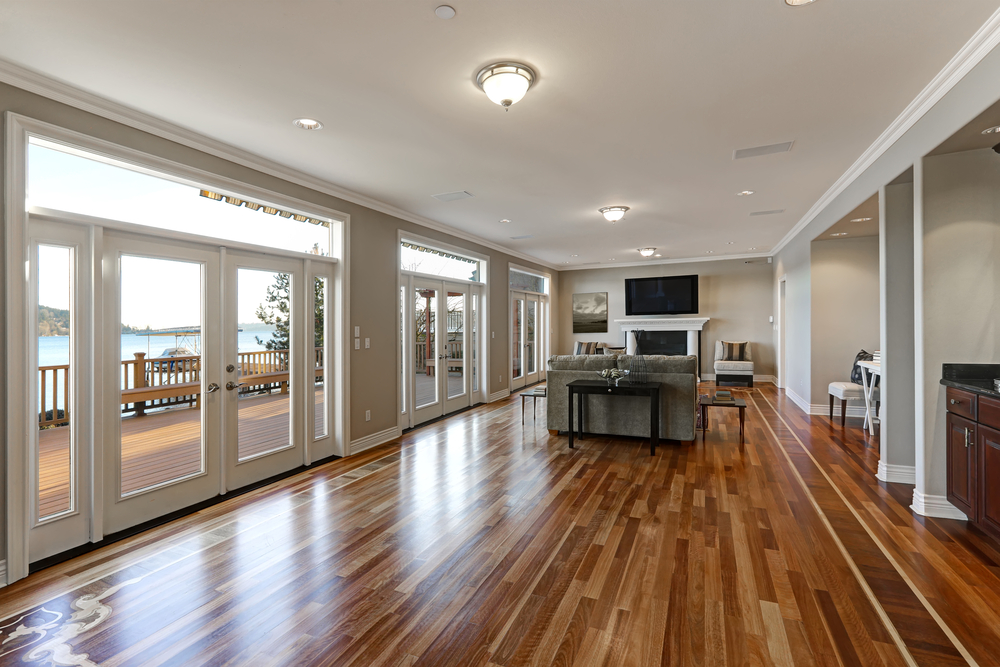
There you are – everything you need to know about how to refinish hardwood floors! With our practical help and simple guide, you’ll be able to DIY a floor that looks as beautiful, sleek and shiny as the lovely picture above.
Need any more help with other DIY wood-based projects? We have lots of great articles on our site, including this great guide on waterproofing wood. Whatever DIY stuff you need to know, we’re here to help.