In many parts of the country, central air conditioning is a luxury rather than a necessity. In fact, unless you happen to live in a climate that sees sweltering temperatures 12 months out of the year, most of the homes in your area probably don’t have central AC.
Thankfully, there’s a viable alternative for those who want to stay comfortable without spending a small fortune on a whole-house system. Placing window units strategically around your home will keep your family cool on even the hottest of days.
To ensure these appliances will be able to perform at optimal capacity—and won’t end up on the ground below—follow our handy guide for installing them.
Understanding Window AC Units
Window AC units use a two-pronged approach to lower the temperature of the room. In addition to blowing cool air into the home, they draw warm air from the space and blow it outside. The air intended for the interior is cooled over an evaporator, while the warm air that’s already inside the home is dissipated outside with the help of a condenser.
Although you don’t have to understand all the ins and outs of how window AC units work in order to install them, there are a few things you should know before getting started.
It May Not Cool Your Entire House
It’s important to remember that these appliances can only cool the air in their vicinity.
If your home’s lower level happens to have an open floorplan, a single unit might be enough to cool the entire downstairs space; however, you’ll have to install additional units upstairs to cool the individual bedrooms.
Consider the Btus You’ll Need
An air conditioner’s cooling capacity is measured in British thermal units, or Btus. On average, a device needs 20 Btu to cool 1 square foot of open space; however, the size of room you need to cool isn’t the only factor that will determine how large a unit you should install:
- If the room has a lot of windows and receives considerable sunlight over the course of day, you should increase the recommended Btu capacity by 10%.
- If more than two people regularly occupy the space, you should add 600 Btu for every additional person.
- Finally, experts recommend adding 4,000 extra Btu to units intended for kitchens because their various appliances produce so much heat.
Once you’ve purchased a suitable unit for the room you intend to cool, you’re almost ready to install it. First, however, you’ll have to locate the best window for housing the device and then prepare the space.
Preparing the Window
Most portable AC units are designed to fit snugly in the bottom half of double-hung windows, which are those that have a fixed top sash and a movable bottom sash.
- Once you’ve decided which double-hung window to use, measure it to confirm that the device will fit in the opening.
- After verifying that the window is indeed large enough, inspect the frame closely for any signs of damage or rot. If the surrounding structure is compromised in any way, it may not be strong enough to support the weight of the appliance. Should you notice any issues, make the necessary repairs before proceeding.
- Finally, locate the nearest three-pronged outlet. If the unit’s cord won’t be able to reach it from its perch in the window, you’ll need to purchase an extension cord that’s specifically labeled for AC use.
- If there happen to be a lot of other devices drawing power in the room in question, you’ll also want to check the load on the circuit you intend to use. Should it be close to capacity, the AC unit will inevitably cause a tripped breaker or blown fuse once you turn it on. In such a scenario, you will have to either add a dedicated circuit for the appliance or plug the other devices in elsewhere.
- Once it’s time to actually install the unit, open the window. If there are any obstructions, like screens or storm windows, remove them entirely.
Now you’re ready to begin.
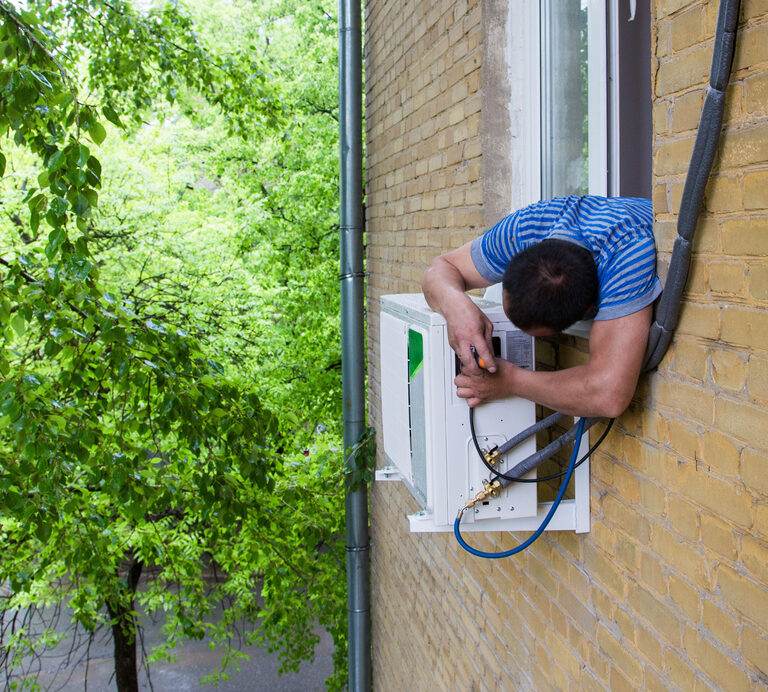
Install a Window AC Unit in Three Easy Steps
There are three stages of installing a window air conditioner: balancing the unit, securing the sash, and filling any resulting gaps.
Before proceeding, make sure you have at least one other able-bodied adult who can help. Even the smallest ACs are fairly heavy, and positioning them correctly in the window frame without causing damage to the unit—or yourself—requires two or more people.
Step 1: Balance the AC in Place
With your helper’s assistance, lift the appliance and place it in the center of the open window frame. If you’re installing the unit at ground level, you may want to have a third person standing outside to steady the unit while you work.
If you’re not installing the AC at ground level, a third helper isn’t necessary. If you still want one, make sure the ladder they use is totally sturdy and they have adequate safety gear, like a harness and helmet, should they lose their footing.
Once the unit is centered in the window frame, pull down the bottom sash until it touches the top of the device. This will provide added stability.
With your helper still holding the unit securely, slide the entire device slowly out the window until the bottom of the sash sits just behind the top of the unit’s flange. Lower the sash until it’s holding the appliance securely, but instruct your helper not to let go until you’ve completed step two.
Step 2: Secure the Unit Under the Sash
Using screws, attach the unit’s upper flange to the sash’s lower panel. This will lock the device in place while keeping the sash from being raised accidentally.
For added security, you should also install wedges or brackets between the top of the raised bottom sash and the top of the fixed top sash.
Step 3: Insert Insulation Where Needed
If the air conditioner came with accordion-style side panels, you’ll want to install those next. Follow the manufacturer’s instructions for doing so. Otherwise, you can purchase universal foam panels separately. Simply cut them to the correct size before sliding them snugly under the bottom sash on both sides of the AC to keep the elements out.
For optimal energy efficiency, you should also place non-adhesive foam stripping in the gap between the upper and lower sash. This will help keep warm air out and cool air in all season long.
Final Thoughts
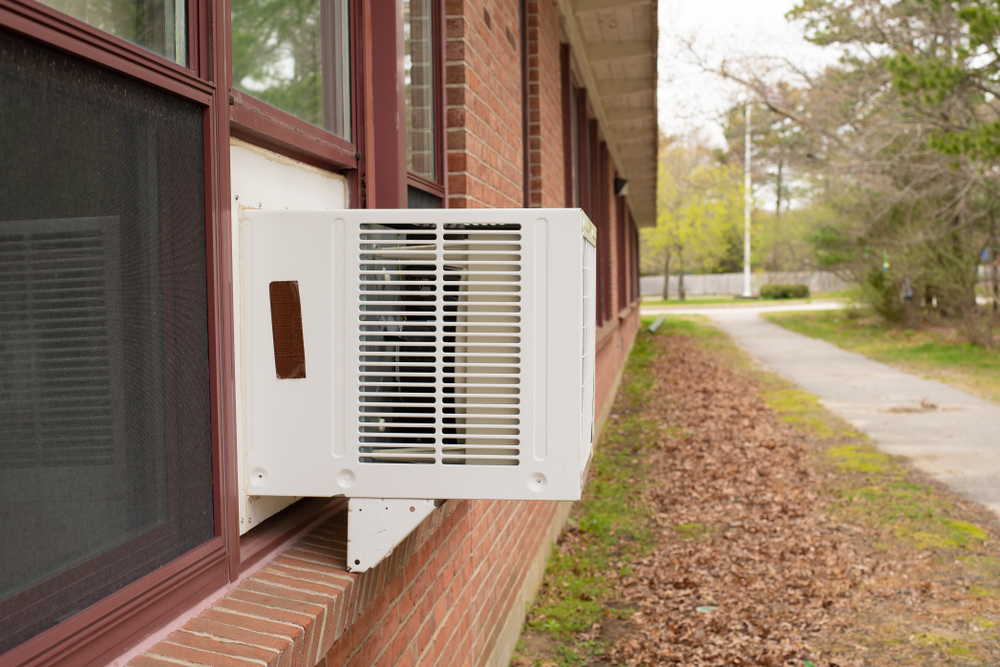
Once your window AC unit has been installed securely, you can plug it in and turn it on.
While the device’s Btu rating and the size of the space in question will determine precisely how long it will take to get the room to the desired temperature, you can be sure that your family will be cool and comfortable in a matter of hours.