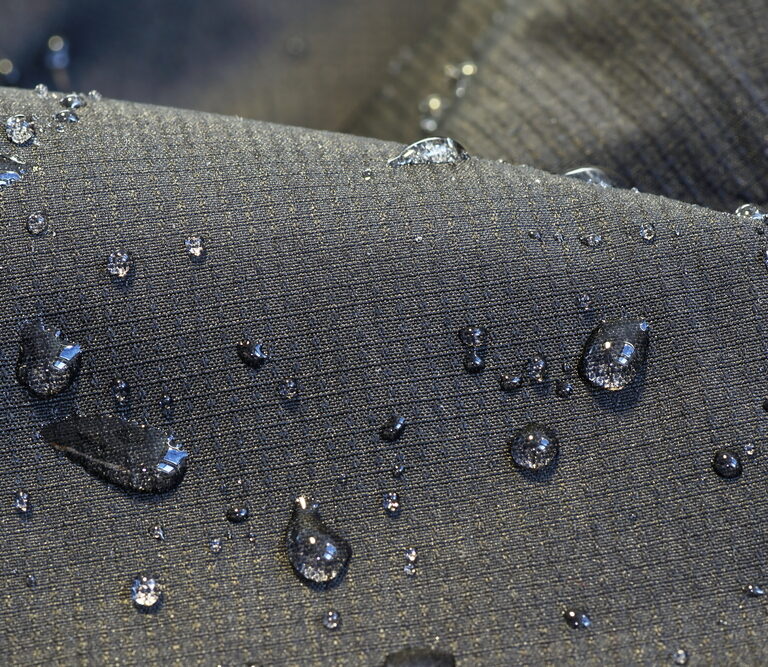
Whether you live someplace where it rains about a third of the year, or simply want to be able to protect yourself and your belongings from sudden splashes of water, we can all agree that waterproof fabric is an efficient way to stay dry.
If you’re opposed to the idea of buying waterproof garments and fabric, then you’re probably thinking of doing it yourself. And in all reality, it’s fairly easy to do. So, get your DIY face on, and let’s explore the six different ways you can waterproof fabric from the comfort of your own home.
Before You Begin
There are several ways you can go about this project. You’ll have to exercise your judgment and go through some trial and error to figure out which technique is right for you. Because of this, you might want to start with scrap fabric first. Get an old t-shirt, and cut it up into several pieces.
Each piece doesn’t have to be large, and it doesn’t need to be cut perfectly, either. Just make sure you have enough pieces on hand in case you want to try a technique all over again before using it on the actual fabric you want to waterproof. Another thing you should keep in mind is that you’re probably going to need a lot of space —especially if you want to waterproof larger pieces of fabric.
And don’t forget about ventilation. Some of these techniques can get hot, so you’re probably going to sweat a little. Now that you’re ready, let’s get to it.
1. Using Wax
Wax has been used for years to prevent moisture from soiling fabric. From reusable beeswax wraps to waterproof rain boots, it’s certainly one of the most obvious and popular choices.
There are two ways you can waterproof fabric using wax. The first is quite easy, but it might take you a while, especially if you’re planning on doing it on a large canvas. On the other hand, it’s a great method to use for irregular objects like shoes. For this, you’ll need a blow dryer and a bar of all-natural beeswax.
Waterproofing Fabric Using Wax and a Blow Dryer
The main idea is to melt the wax while directly applying it to the fabric. You can either use the blow dryer to heat the fabric, then rub the wax onto it, or you can heat the wax as you rub it on. Either way, you might want to wear gloves to protect your fingers from being burned. Note that it can get quite messy, and the wax will feel a little weird on your hands afterward.
Waterproofing by Melting Wax in a Double Boiler
Your next option applies the same basic principle, but is messier and requires a little bit more effort. However, it will allow you to be more precise with where you put the wax. It’s great for irregular objects, but also for larger surfaces that need to be covered entirely.
You’ll need to create a double boiler using a saucepan and a mixing bowl, a stirring tool, a paintbrush, and a 1:1 ratio of beeswax and paraffin wax pellets.
Start by pouring your waxes into the mixing bowl. Melt them in the double boiler, stirring as you go. Once they’re all melted, secure your fabric onto a flat surface and paint the melted wax directly onto it using the paintbrush. It’s simple enough, and it’s also a bit faster than the first method.
2. Using Laundry Detergent and Alum
For this method, you’ll need laundry detergent, alum powder, a bucket or tub that is large enough to submerge your fabric, and hot water. The process does take at least two days to complete if you want to be meticulous with it, but it’s also fairly easy to follow.
Step 1: Prepare the Detergent Solution
Fill up your tub or bucket with two gallons of hot water. Dissolve one pound of laundry detergent in the water.
Step 2: Soak the Fabric
Before you soak the fabric in, make sure it’s as clean as possible. If it’s washable, you should definitely wash it beforehand, and let it dry completely. This is essential if you want this method to work.
Ensure that the fabric is fully covered when submerged. Weigh it down with something heavy, if necessary.
Step 3: Dry the Fabric
Once it’s completely soaked, hang it up to dry. Don’t fold it. Otherwise, it will just stick to itself.
Step 4: Submerge the Fabric in the Alum Solution
Once it’s completely dry, prepare a solution of half a pound of Alum powder and two gallons of hot water. Fully submerge your fabric in the solution and hang it up once fully soaked. When it’s dry, you’ll have a piece of waterproof fabric.
3. Using Turpentine and Soybean Oil
This method is best for darker fabrics as the process will darken your fabric, and this change is irreversible. Since turpentine can be bad for you when inhaled, make sure to work in a well-ventilated area.
Don’t forget to clean or wash the fabric you’re going to waterproof. Like the previous method, it won’t work well if it isn’t clean and dry.
Step 1: Prepare the Turpentine Mixture
Start by diluting four ounces of turpentine with one cup of soybean oil. Mix them in a spray bottle.
Step 2: Spray the Fabric
Hang the fabric or lay it down on a flat surface, then proceed to spray the mixture onto the fabric until it is soaked.
Step 3: Hang It to Dry
When you’re done, you just have to hang it to dry or leave it on a flat surface under direct heat until it’s completely dry.
4. Using Iron-On Vinyl
This is one of the most effective methods on this list. However, it may not be as attractive as your other options. For one, you’ll have a layer of what looks like plastic or paper stuck to your fabric, which means it will look very unnatural. But you might be able to get away with it by saying it’s part of your style.
This process does need quite a bit of manual labor, and if you don’t enjoy ironing your clothes, you’ll find this method to be more of a chore than a project. So maybe stick to smaller pieces of fabric if you want to go this route. That said, all you’ll need are a roll of iron-on vinyl (clear is great, but there are a variety of colors and styles to choose from) and a clothes iron.
Step 1: Cut the Vinyl
You start by cutting the vinyl to the exact shape and size you need.
Step 2: Press the Vinyl Onto the Fabric
You’ll then place it matte-side down onto your fabric and carefully press the iron on its highest heat setting on the vinyl. Make sure to press every inch of the vinyl over the fabric.
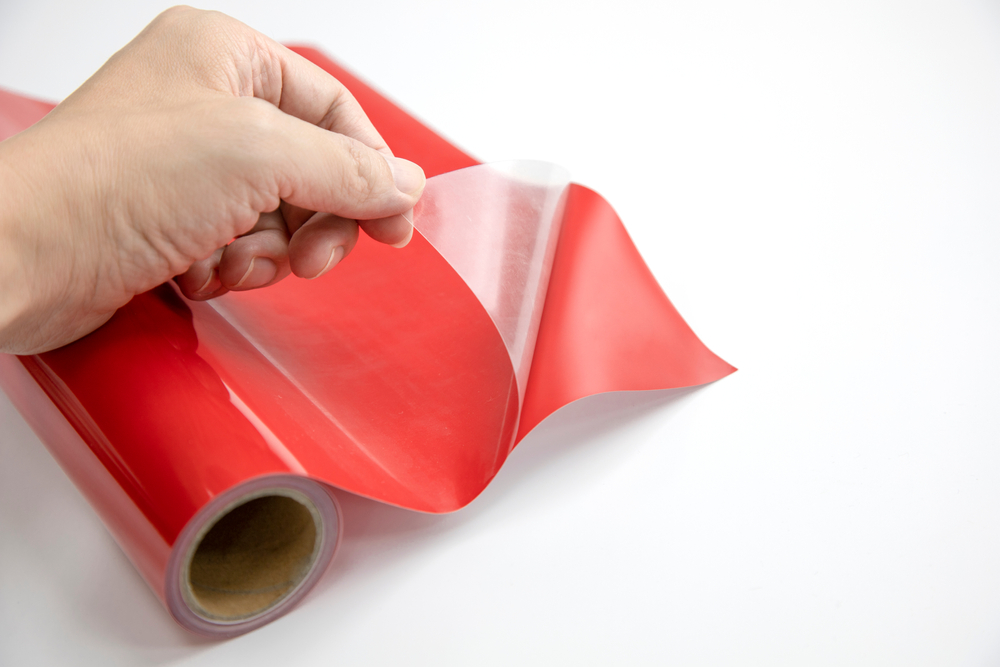
Step 3: Peel It Off
Once it’s secure, peel off the top (glossy) layer. It should come off like plastic.
Step 4: Press It Again
Lastly, lightly run the iron over the vinyl again for a second or two to seal it completely and to give it a semi-glossy finish.
5. Using Linseed or Jojoba Oil
Another method you can explore uses either linseed or jojoba oil, a mesh screen, and a paintbrush. Stretch your fabric over the mesh screen and directly paint the oil onto it. Do this for both sides, then leave it to dry in the sun. Just a heads up—it will turn the fabric a bit darker.
6. Using Waterproofing Spray and a Seam Sealer
If you want something that’s quick and barely requires any labor, head on over to your local camping supplies store and purchase a waterproofing and seam sealing spray. It tends to work better on nylons, canvas, and leather fabrics.
If you’re going to waterproof fabric that will be used outdoors a lot, you should opt for a spray that has UV protection. This will help prevent fading caused by sun exposure.
The process is fairly simple. You just need to lay the clean, dry fabric out, spray it with the spray, and hang it to dry. Once it’s completely dry, it’s waterproof. Make sure you do this in a well-ventilated area, preferably when it’s sunny and not windy, otherwise the tiny drops might get on your face.
Final Words
Overall, there are many DIY techniques you can explore and experiment with in your quest to waterproof fabric. Wax seems to be the most popular choice, with professional waterproofing and seam spray following closely behind.Whichever method you choose, make sure you take the time to try it out on scrap fabric before doing it on the object you need to waterproof to avoid mistakes.