Looking to add a touch of character to your indoor living space?
Then aim high.
Texturing a ceiling will spruce up the aesthetics of any room, and the process doesn’t require a DIY maestro to complete. With the right gear, a little effort, and some rudimentary know-how, you’ll get to marvel at your fresh new texture for years to come.
From the subtle look to classic stucco and the retro popcorn style, there are stacks of different ways to texture a ceiling. And we’ll cover them all right here in this handy how-to guide.
Things are starting to look up when it comes to remodeling your room.
Why You Should Texture Your Ceiling
Some home renovators opt to lather on a fresh lick of paint and call it a day. But that’s not always the ideal solution, especially when cracks and water damage come into play.
On its own, paint won’t hide the imperfections above, no matter how many coats you painstakingly apply. Texture, on the other hand, works brilliantly at covering up cracks in time-worn ceilings, making it the ideal option in older homes.
Texture also happens to look fantastic on the ceiling in any room, regardless of whether you need to mask weather damage or not. Plus, there are plenty of unique styles to choose from—use your imagination and go with whatever suits your overall aesthetic.
1. Gather the Tools of the Trade
Before beginning, you’ll need to muster up the appropriate tools and materials. Pop into your local hardware store and pick out the following items—or, if you’re worried about your budget going through the roof, save money by purchasing them online.
Some tools and materials depend on what style you choose.
The Subtle Look
- Pre-mixed textured paint
- Roller tray
- Extended roller
- Paintbrush
Stucco
- Drywall mud
- Paint
- Wide putty knife
- Trowel (optional, for extra thick solutions)
Popcorn
- Texture sprayer
- Drywall mud
- Paint
With these tools, you’ll be able to complete that ceiling job in no time!
2. Prepare the Room
Regardless of which style you choose, you’ll need to protect the room from wayward paint then clean and prime your ceiling before work can begin.
2.1 Splatter Proof Your Room
Texturing a ceiling is dirty work because gravity becomes your worst enemy. No matter how precise your brushstrokes may be, you’re guaranteed to make a god awful mess. Unless you want to end up with drywall mud splattered all over your furniture and floor, you need to put some effort into preparing the room.
- Drag as much furniture and personal items out of the room as possible—as a bonus, you’ll get more space to work with.
- Lay down canvas drop sheets across the floor and secure them in place (avoid plastic on the floor, so you don’t slip and slide while you work).
- If using a drywall texture sprayer (for the popcorn look), use duct tape to fasten plastic sheeting over the walls.
- Cover any large furniture you haven’t been able to move with plastic sheeting.
- Apply painter’s tape along the upper edge of the wall, right where it meets the ceiling.
- Cover your window sills and trimmings with painter’s tape.
- Unscrew any light shades, fans, and other removable fixtures within the line of fire.
2.2 Clean Your Ceiling
Your textured paint solution and primer aren’t going to stick to a dirty ceiling, so it’s essential to clean the surface first. But don’t fret; for it’s an easy step because dust and grime have a hard time accumulating on the ceiling (gravity is working in your favor for once).
- Use a damp cloth with warm water to wipe down your ceiling.
- If your ceiling is stained or suffers mold damage:
- Apply a vinegar and water solution to scrub off any stains (a bit of elbow grease may be required)
- Wipe off the solution with a damp cloth.
- Allow the water to dry.
2.3 Prime the Ceiling
While textured paint does a decent job of adhering to walls on its own, it’ll inevitably come unstuck from a ceiling and drop down onto the floor—unless you apply a primer, that is.
You could skip this step, but we don’t recommend it. Priming will give you better long-lasting results and doesn’t take much time and effort.
Choose a primer that’s close in color to the texture you’re planning to apply. For example, go with a light primer for a white or cream roof or a dim primer for a darker shade.
- Spray a thin, consistent layer over the surface of your ceiling.
- Give the primer sufficient time to cure (check the label) before moving onto the next step.
3. Prepare the Textured Paint
The ideal textured paint depends on the look you’re aiming for.
If you’re happy with a subtle texture on your ceiling, then a pre-mixed textured paint will do the trick, which is available at your local hardware store.
But should you fancy something a little more elaborate (say, stucco or popcorn style), you’d be better off formulating your own:
- Pour ten parts of paint and one part drywall mud into a bucket.
- Mix them around with a stick until you get a thick consistency similar to pancake batter.
- If you want a more profound texture, try adding more drywall to the mix.
- Experiment by applying the mixture to a small spot in the corner of the ceiling until you’re happy with the consistency.
Whichever option you go for, don’t prepare your paint until you’re ready to start working. Otherwise, you’ll run the risk of drying it out.
4. Apply the Textured Paint
Start applying the texture in a faraway corner of the room so you can gauge how it looks. Right above the door is often the most inconspicuous spot.
You will need to move the ladder around to reach the entire ceiling. Position it so that you’re leaning forward rather than backward.
The precise technique for texturing a ceiling varies depending on the style.
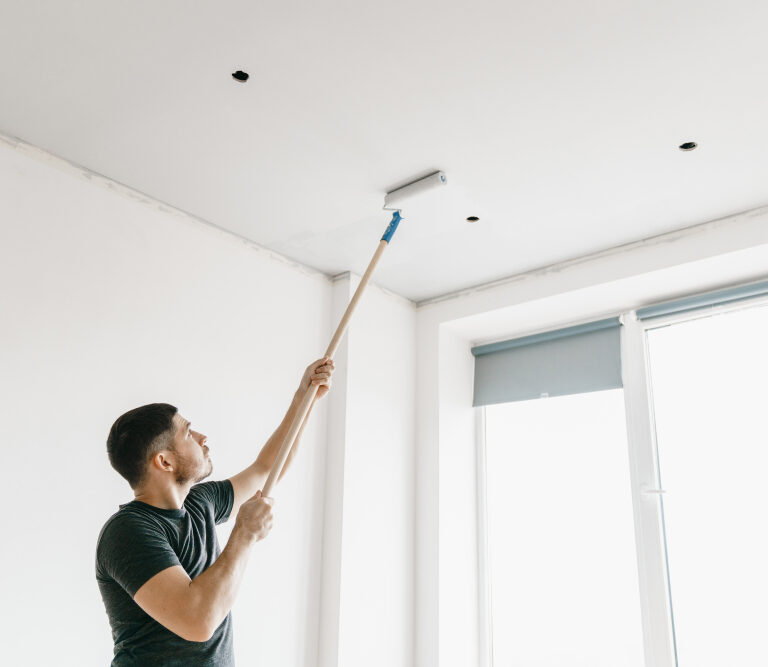
The Subtle Look

The subtle look is easy to achieve because the process is much the same as applying regular paint.
- Shake the pre-textured paint thoroughly before opening the tin.
- Cut in around the edges of the ceiling using a paintbrush.
- Use the extended roller to paint the rest of the ceiling.
- Wait for the paint to dry (check the label for recommendations).
If you’d like to add pizazz to the paint job, try using a specialty roller that comes with an ingrained texture. These make the finish less subtle than a standard roller but not as showy as the handcrafted popcorn or stucco style. Don’t stress if you’re not happy with the look because you can always paint over it with another coat.
The Popcorn Look
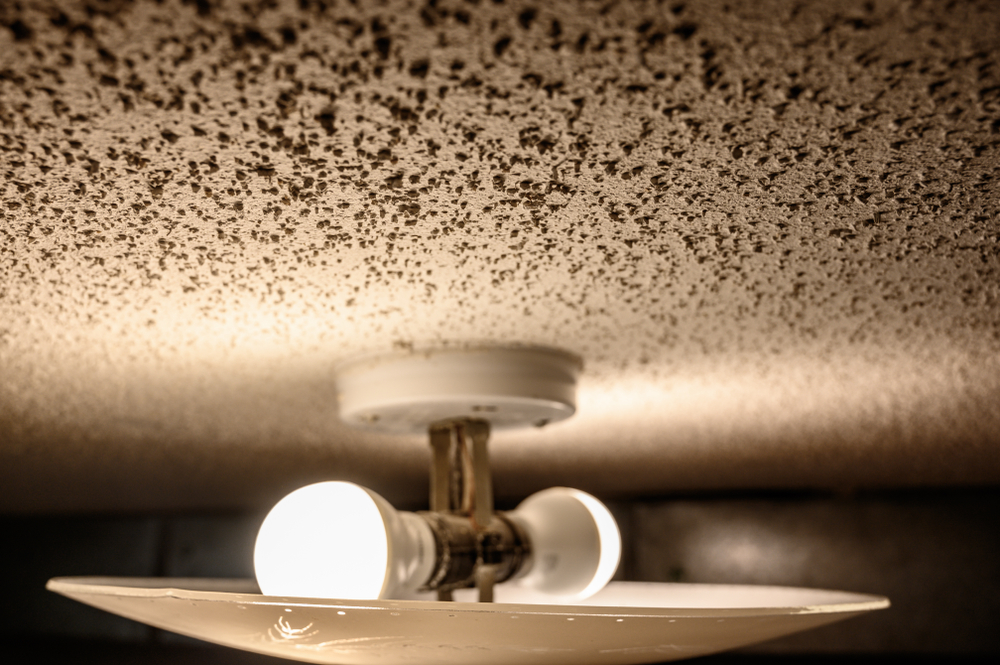
A staple in the 70s, the popcorn texture is still popular today as it exudes an endearing retro vibe. It’s a little more work as you’ll need to source a drywall texture sprayer and take steps to avoid inadvertently spraying everything else in the room.
- Cover the walls with plastic sheeting from the ceiling right down to the floor. You can use painter’s tape to hold these in place.
- Pour your drywall mud and paint mixture into the tank on the sprayer.
- Experiment with the nozzle and air pressure settings on the sprayer until you achieve the desired effect. Spray a small area in the corner of the room to see how it looks.
- Once you’ve found your favorite settings, spray across the room in random patterns to achieve a non-uniform effect.
- Wait for the paint to dry (check the label for recommendations).
The Stucco Look
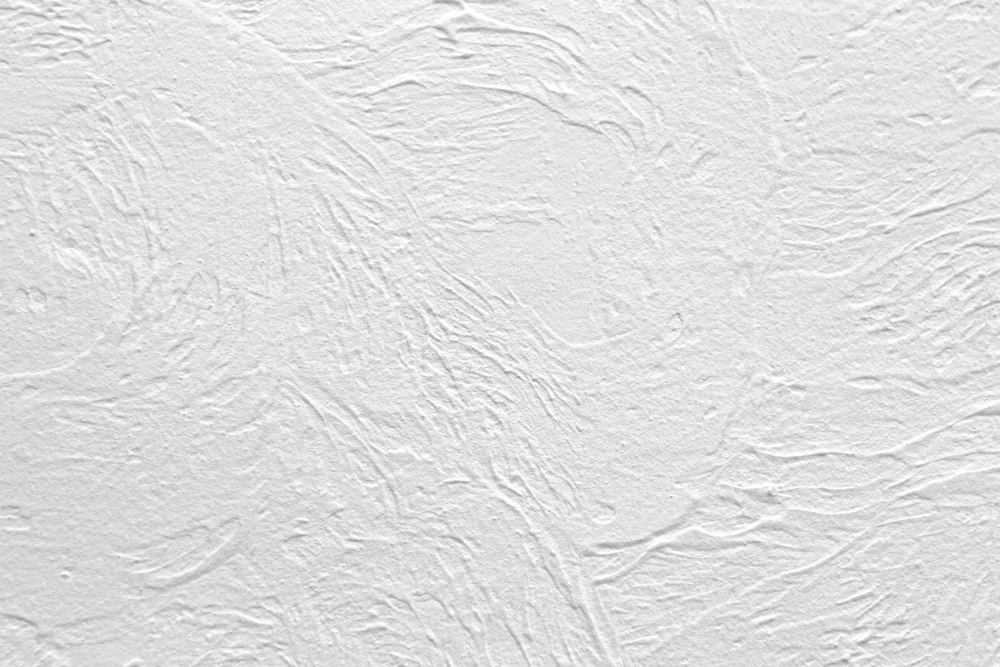
Stucco is a time-old texture that adds a touch of interest to any space. Although it’s a little more hands-on than other methods, it’s well worth the effort for the enticing end result.
The stucco style often looks better with a thicker, denser solution, so feel free to throw a bit more drywall mud into the mix. If you go extra-thick, try using a trowel instead of a wide compound knife to apply the mixture.
- Use the wide putty knife or trowel to apply your mixture to the ceiling.
- Dab a sponge into the mixture to create the desired effect.
- Repeat the process in small sections all around the room until you’ve covered the entire ceiling.
The trick to applying a successful stucco style is to avoid letting the pattern become too uniform. Mix up your dabbing style, then stand back to see how it looks.
How to Texture a Ceiling: Final Words
Adding an interesting texture to your ceiling not only spruces up the room but it’ll also help cover up any cracks that have appeared over time. The process is pretty straightforward and won’t cost you much in tools and materials, making it a perfect mini project for the novice and veteran DIY’er alike.