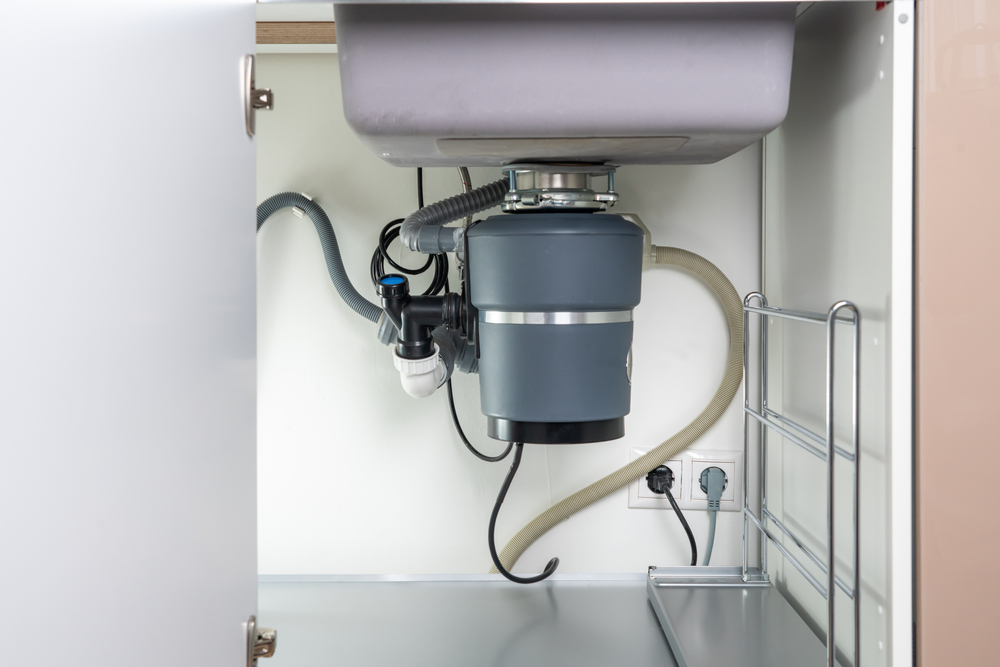
The last thing you want to hear when you turn on your garbage disposal is the dreaded sound of metal grinding on metal. If you’re on a tight budget, don’t fret: you don’t have to call a plumber in to fix this problem for you. That’s because replacing a garbage disposal is a lot easier than you think!
In this article, we’ll list out the tools and materials you need to get the job done. We’ll outline a step-by-step guide that you can follow to install your new garbage disposal.
- Tools and Materials You Will Need
- Step-By-Step Guide for Installing a New Garbage Disposal Unit
- Step 1: Make Sure Your Old Unit Is Actually Broken
- Step 2: Gather Your Tools/Materials and Get to Know Your New Unit
- Step 3: Remove the Knockout and Attach the Cord and Plug
- Step 4: Support the Weight of the Old Unit Before Removing It
- Step 5: Install Your Discharge Tube
- Step 6: Install the New Sink Flange
- Step 7: Tighten the New Disposal to the Sink Flange
- FAQs About Garbage Disposals
- Final Thoughts
Tools and Materials You Will Need
Silicone or Plumber’s Putty
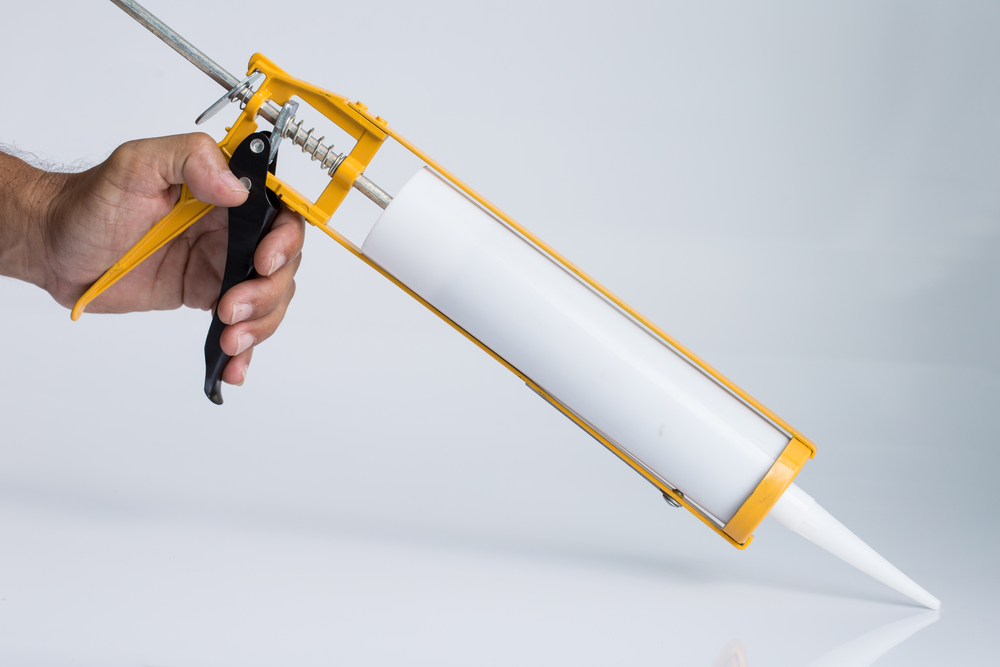
Silicone sealant, also known as “Plumber’s Putty,” will be needed to seal the area between the sink flange and the sink. We recommend silicone sealant as it is more reliable for a job of this nature. Silicone lasts longer, ensuring there will be no leakage in the flange. Compared to other types of Plumber’s Putty, it is harder to remove, but that’s why it works so well to keep your flange tightly sealed!
Screwdriver and Hammer
A screwdriver and hammer will come in handy when removing the dishwasher knockout from before you hang your new garbage disposal unit. When you remove your new garbage disposal from the box, be sure to remove the plastic knockout with a screwdriver and a hammer. Then you can simply remove the knockout from the inside disposal with your hands.
You’ll need a thin blade screwdriver to remove the old snap ring from the sink. That’s because its head fits more seamlessly between the ring and flange, making easy work of getting the old ring to pop out.
Hex Wrench
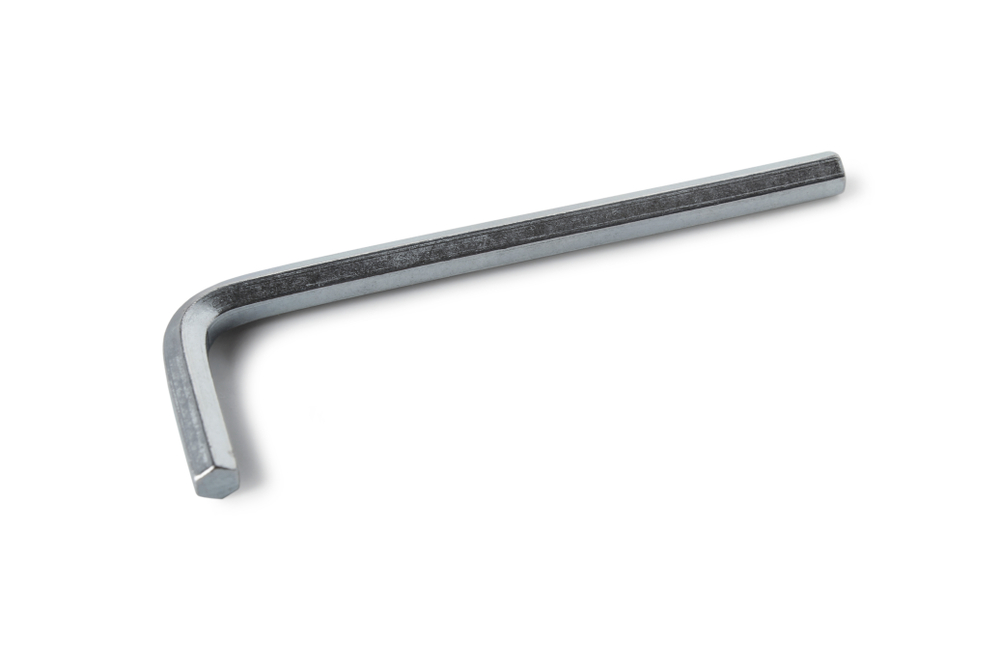
You might need a hex wrench to turn the motor of your current garbage disposal by hand when checking for any objects that could be jamming it up. Some units will come with this tool bent at the appropriate angle to get this job done, but if it doesn’t, you’ll be able to find a hex wrench (or use an Allen wrench) to get this part of the job done.
Tongue-And-Groove Pliers
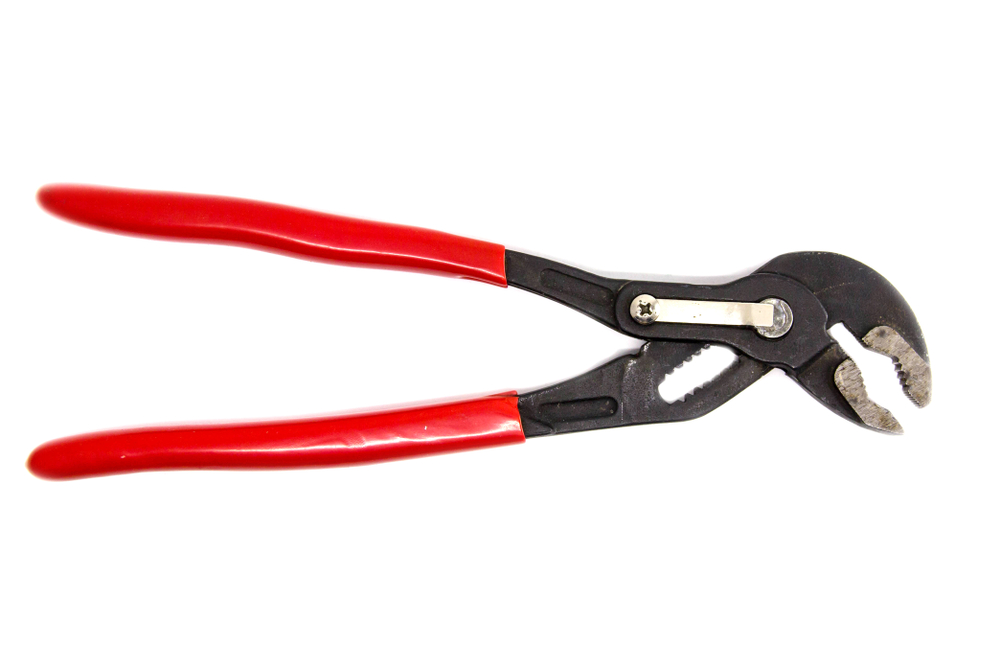
When you hang the new garbage disposal unit, you’ll need a sturdy pair of tongue-in-groove pliers to rotate the lower mounting rings. This ensures a tight fit between the disposal and the sink flange. You’ll be able to start this tightening process by hand, but the final few rotations will require lots of force which can only be achieved with pliers.
Hacksaw
If you’re using your old discharge tube with your new garbage disposal unit, chances are that it will not be the right length. If the tube is too long, you can use a hacksaw to cut it down to the appropriate length. If the tube is too short, you’ll have to make a store run to buy a new tube.
New Garbage Disposal
Of course, you’ll need a brand new garbage disposal unit for this job! The type of unit you choose to purchase is up to you and your daily disposal needs.
Garbage Disposal Unit Cord and Plug
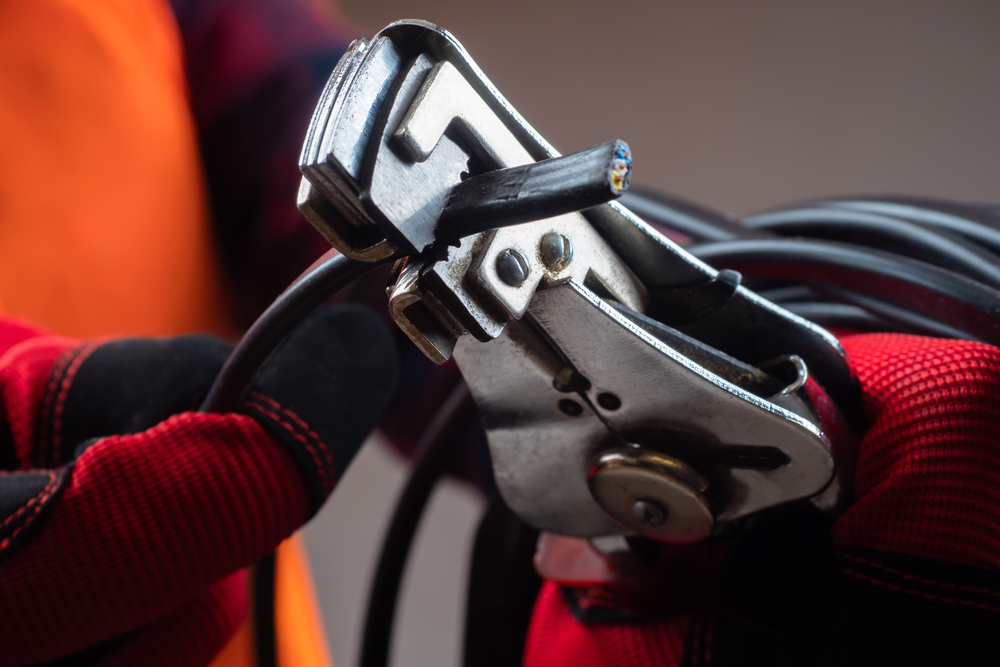
Most new disposals will not come with a cord and plug to power it up once your new unit is installed. You can use the cord and plug that is installed in your old unit simply by removing it from the previous garbage disposal and reinstalling it into your new one.
Your other option is to buy a brand new one. They can usually be found in the same aisle as the garbage disposal units. If you’re not comfortable with doing this on your own, you can buy a disposal that comes with the cord and plug attached or you can pay an electrician to do this part of the job for you.
Step-By-Step Guide for Installing a New Garbage Disposal Unit
Step 1: Make Sure Your Old Unit Is Actually Broken
There’s a chance that your garbage disposal isn’t actually broken! Before running out to the store to buy a new one, be sure to check your unit. Try these three options:
- Something may be jamming your motor that is too tough for the disposal to grind down (i.e. glass, bone, etc.). Turn off the power and water before unplugging the disposal. Take out the rubber baffle inside the drain and use a flashlight to see if there are any objects jamming the motor. If you see anything, remove them with your hands, tongs or pliers.
- Check your motor by turning it manually with a hex wrench. The wrench usually fits in at the bottom of the motor. Rotate the motor back and forth until it turns around fully one time through. Afterwards, remove the wrench and turn on the motor to see if that fixes the issue.
- There’s a chance your motor has been overworked and is overheating. If this is the case, turn it off and allow it the appropriate amount of time to cool down. Once it’s cooled off, press the reset button on your unit.
After you’ve made sure that your unit is actually broken, you will also need to check the plumbing. Your sink might have leakage problems in addition to the broken garbage disposal unit. To keep yourself from making multiple trips to the hardware store, check to see if you need to purchase anything in addition to the new garbage disposal unit.
Step 2: Gather Your Tools/Materials and Get to Know Your New Unit
Make sure you gather together all of the tools you need before going out to buy your disposal unit.
When you have all of the tools and materials you need to install your new unit, make sure to take the time to understand how your new unit is put together. Take out all of the items provided for installation and practice putting them together in the right order before actually doing the job. It’ll save you a lot of time and frustration when you start the process of installing your new unit!
Step 3: Remove the Knockout and Attach the Cord and Plug
If you have a dishwasher in your kitchen, this is an important step that is very easy to forget: make sure to remove the dishwasher knockout before you install your new garbage disposal unit.
You can use a screwdriver and hammer to punch out the knockout from your new unit. Once you’ve done this, you can remove the knockout from the unit with your hands.
This is also the best time to install the cord and plug onto your unit if one is not already attached. Otherwise, it can be really awkward to install it once the disposal is in place.
Step 4: Support the Weight of the Old Unit Before Removing It
Garbage disposals are heavy! You’ll need to set up a support system to hold the weight of it up while you’re uninstalling your old unit, especially if you’re doing this job on your own. It can be very difficult to catch a 15lbs.+ object when your hands are already busy loosening the mounting rings.
You don’t need to buy anything special for this job. You can use paint cans and any scraps of wood you have lying around to support the garbage disposal before removing it. You can also use this same setup to help support the new garbage disposal unit while you’re installing it.
Step 5: Install Your Discharge Tube
As with the cord and plug, you can reuse the discharge tube from your old unit with your new one. Chances are the tube will not be the appropriate length.
If this is the case, all you have to do is connect the discharge tube to the new unit, mark where it needs to be cut down and use a hacksaw to do the job. Once this is done, you can reinstall the tube back into the tee.
Please also keep in mind that the discharge tube should slant about ¼-inch downhill for it to drain effectively. Make sure to compare the old unit’s outlet with the new one’s. If the new unit has an outlet that is lower than your old unit’s outlet, you will need to adjust the tee to make sure that the ¼ in downhill drop is achieved.
Unfortunately, if the discharge tube is too short, you’ll need to purchase a new one at your local hardware store.
Step 6: Install the New Sink Flange
There’s a chance that you can use the old sink flange with your new unit if it doesn’t show any signs of leakage. Just be sure that the mounting brackets attached to this flange will fit properly with your new unit.
If they don’t (or if you prefer to install a new sink flange), you’ll have to remove the old parts from the sink. You’ll have to start by removing the snap ring in the mounting bracket underneath the sink. You can use a thin blade screwdriver to do this.
Simply press the head between the ring and the flange, pull down the ring with the screwdriver’s blade and move the blade around the ring until it pops out. Pull out the old parts and install the new flange and mounting brackets in the sink. Use silicone putty to seal it into place in the sink.
The most important part of installing the new sink flange is making sure there is no room for leaks to take place. This happens when the flange moves around while you’re installing the new unit underneath the sink.
If you are working with a partner, they can hold the flange in place while you install the new unit. If you’re working alone, you’ll need to weigh down the sink flange with a heavy object. The old garbage disposal unit is a good choice for this job.
Lay a towel over the sink flange and place the heavy object on top of it to hold the sink flange firmly in place while you work under the sink. If the old disposal unit can’t make contact with the flange, lay a can on the flange first, and then put the disposal unit on top of it.
Step 7: Tighten the New Disposal to the Sink Flange
When you attach the new garbage disposal unit to the mounting ring underneath the sink, you’ll be able to twist the lower ring by hand to start. This lower ring will tighten the seal between the unit and the sink flange.
For the last few rotations, you’ll need to use a pair of tongue-in-groove pliers to provide the appropriate amount of force to tighten the seal as strongly as possible. This will lower the risk of leaks occurring after installation is complete.
FAQs About Garbage Disposals
What Size Garbage Disposal Do I Need?
This will depend on your specific needs. It helps to start with thinking about the kind of power you need in a garbage disposal. You can figure this out by considering how many people live in your home, how often you think you’ll be using it and what kind of food you cook and the waste it creates. Common powers range from ⅓ to 2+ horsepower.
What Items Can You Put In a Garbage Disposal?
It is a common mistake to think you can throw just about anything into the garbage disposal. This is not a good idea! Common items that should not be put into the disposal are: cooking oil, grease, pasta, rice, beans, coffee grounds, eggshells and any fruits/vegetables that are stringy. Some of these items can be put into a high-power unit, but it is still not ideal if you want your unit to run efficiently for the long-term.
Why Does My Garbage Disposal Smell?
This is most likely caused when ground up food in the grinding chamber starts to rot. This happens when you don’t grind your waste for long enough. It could also be the result of food getting stuck in the unit or food that has not been flushed away properly.
To get rid of the smell, run cold water into the unit and turn it on. Give it enough time to thoroughly grind and flush away any remaining food waste. After this, clean your unit thoroughly to rid it of any remaining bacteria that may also cause smells.
Do You Have to Run Water When Using a Garbage Disposal?
Yes. You should always run water while using your unit to ensure that waste is properly ground and flushed away. Always use cold water with food waste and hot water when sanitizing the garbage disposal.
The reset button is usually located on the bottom of the unit. It is also usually red in color. Always use the owner’s manual as a reference to understand how to appropriately use the reset button on your garbage disposal unit.
Final Thoughts
Now that you know how to properly install a new unit, you’re well on your way to completing this project on your own. Be sure to check that your garbage disposal is actually broken before purchasing a new one. If it does need to be replaced, make sure you have all the materials and tools you need to get the job done.