
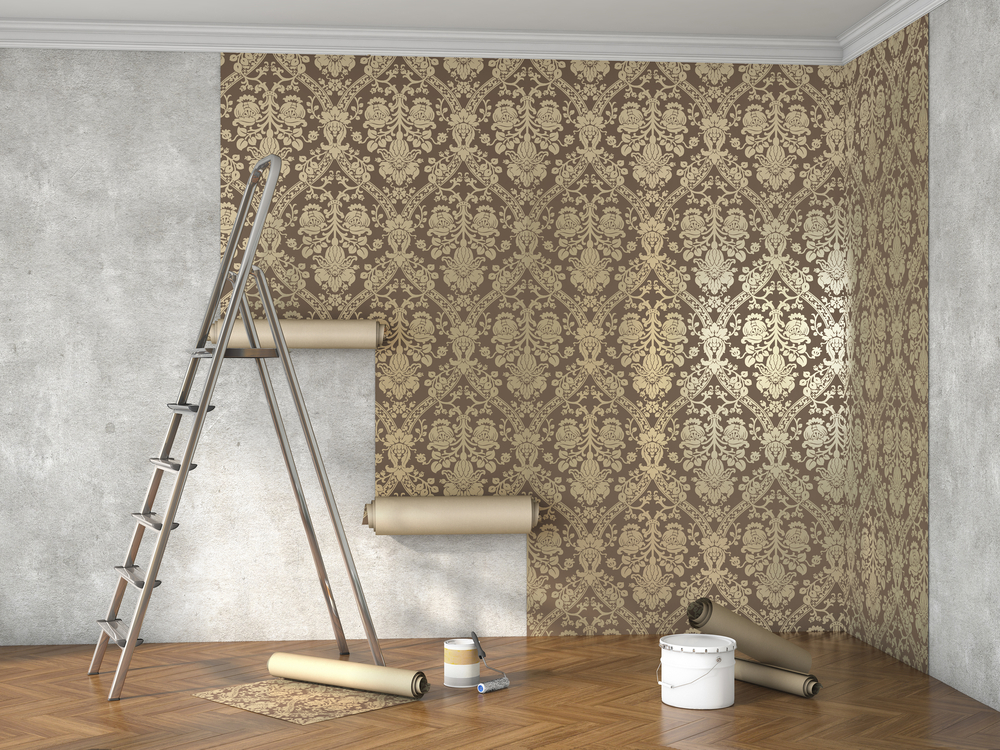
Although your retro wallpaper looked splendid in the swinging 60s, its funky floral patterns clash with the sleek neutral palate of the modern age. The best way to rectify this vintage monstrosity is to strip off the lot and start anew—there’s nothing like a fresh lick of paint to modernize a room.
But removing wallpaper can be an arduous affair, with painstaking hours spent scraping away. And once you’re done with the paper, you’ve still got a thin film of glue coating the wall. It’s too unsightly to be left as is, and will ruin the look of a brand new paint job.
Only one option remains: you’ve got to remove the glue, too.
While removing wallpaper glue is as laborious as stripping the paper itself, it’s a necessary evil if you want to achieve a crisp, clean look. The good news is, you don’t need any special skills or fancy tools—just plenty of patience and perseverance. We’ll walk you through the process in this five-step guide.
Do You Really Need to Remove Wallpaper Glue?
I know what you’re thinking: “I’ve already spent the whole morning peeling off tiny bits of wallpaper. Do I really have to get rid of the glue?”
I’m afraid so. If you’re going to go to the effort of stripping wallpaper, you need to take the time to remove the glue.
Any leftover glue, even the smallest smudge, will stick out like a sore thumb when you paint over it, ruining the entire aesthetics of your wall. And if you plan to leave your walls bare, the bubbly glue residue will look awful. It’s got to go.
But there is one time-saving workaround to consider: painting or applying new wallpaper directly over the top. It’s more of a quick fix than a long-term solution, however, and only worth considering when the current wallpaper is in near-perfect condition. Dark hues, a glossy sheen, and embossed patterns can also ruin the result—think long and hard before plodding ahead with this short cut.
Tools and Materials: What You Need to Remove Wallpaper Glue
You probably already have the necessary equipment lying around the house. If not, grab the missing bits from your local hardware store or online.
- Bucket
- Ladder
- Sponges
- Cloths
- Putty Knife
- Baking Soda
- White vinegar
- Dishwashing detergent
- Rubber gloves
- Painter’s tape
- Tarps
- Garbage bags
How to Remove Wallpaper Glue: A Five-Step Guide
To clarify, we’re covering how to remove wallpaper glue in this guide. To do that, you need to strip off the wallpaper first, which is a different (albeit somewhat similar) process.
1. Get the Room Ready
You need to prepare the room before you start wiping the gluey residue from your walls. Glue removal is messy work, so it pays to contain the mayhem—that way, you’ll have less cleaning up to do at the end.
- Move as much furniture as possible out of the room.
- Cover the floor and any furniture you can’t move with tarps.
- Protect any electrical outlets and switches with painter’s tape.
- Put a big empty bin in the middle to toss the residue.
- Turn the power in the room off at the mains (just in case).
2. Prepare Your Cleaning Solution
Now the room is properly protected, it’s time to concoct a powerful anti-glue solution. Thankfully, glue isn’t all that difficult to remove; a non-toxic homemade cleaning solution will do the trick.
- Combine hot water, liquid dishwashing detergent, and one tablespoon of baking soda in a bucket.
- Swish the mixture around until it froths.
This homemade solution works a treat for most wallpaper glue. But some types are a little stickier than others, in which case, try adding a cup of vinegar per one gallon of water to the mix.
If you’ve tried vinegar and the glue still won’t peel off, opt for a commercial-grade glue stripper instead. WP Chomp makes a powerful wallpaper stripper that’s safe, easy to apply, and ready to use right out of the bottle. The product works equally well at removing wallpaper and leftover glue.
3. Sponge on the Solution
The idea is to wet the glue on the wall and give the solution some time to react before peeling it off. You need to repeat steps three and four in small sections at a time (around 5×5 inches).
- Dunk your sponge into the bucket.
- Squeeze out the extra liquid.
- Rub the sponge over the wall in a small section.
- Wait a few moments.
You can test whether it’s working by picking at little clumps of glue with your fingernail. If it feels softer than usual and appears to break free, then your cleaning solution is a winner. If not, you might have to beef it up a bit, either adding vinegar or switching to a commercial product.
4. Remove the Glue
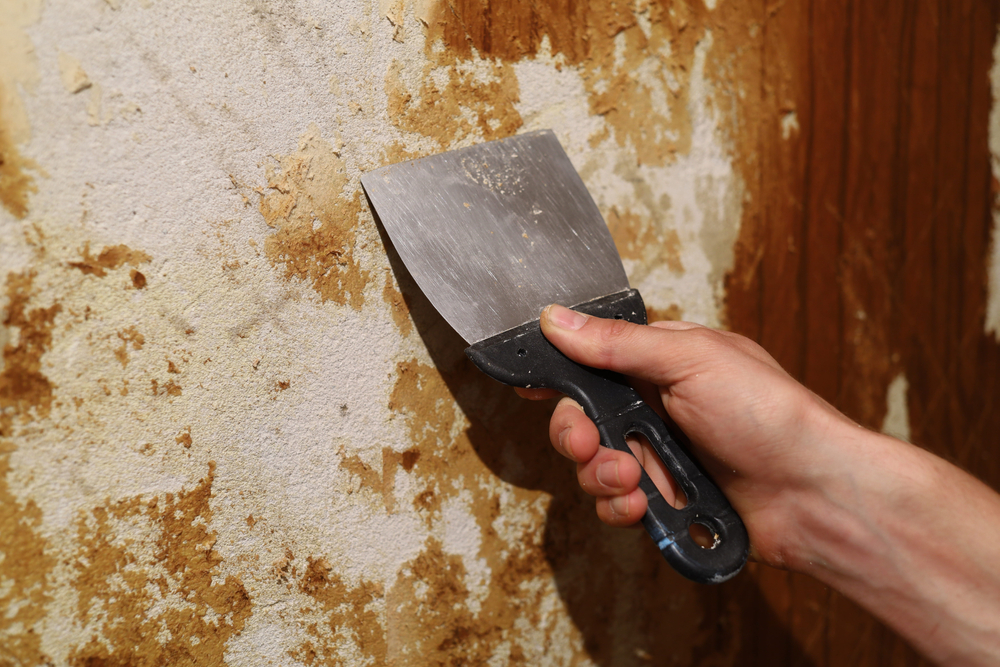
As the solution has had time to interact with the glue, you can now start wiping and scrubbing the gunk off. Remember, we’re working in small sections at a time here.
- Wipe clumps of glue off the wall with a damp rag, using firm, circular motions.
- Scrape more stubborn sections away with a putty knife.
- Dry the wall with a dry, clean cloth.
Take your time and be sure to remove all the glue, as even a teeny speck will compromise any future paint jobs. If stubborn gluey globs are still clinging to the wall, apply more solution and clean it again. If you don’t achieve the desired results after multiple attempts, switch to a more potent cleaning solution.
If you’re happy with the results, you can move onto the next small section and repeat steps three and four. Keep following the same procedure until you’ve removed all the glue from the entire room—take a deep breath and be patient; this is going to take some time.
5. Pack Everything Away or Prepare the Room for Painting
Most people undertake the onerous task of wallpaper removal because they plan to repaint the room. If that’s you, leave the tarps, masking tape, and plastic-covered furniture in place. You’ll need all this when the painting begins.
As a neat bonus, the walls will already be spotlessly clean and ready to receive an undercoat. Remember to air out the room for at least 24 hours before applying the first layer.
If you don’t plan to paint, peel off the tape and put your tarps away.
How to Remove Wallpaper Glue: The Final Word
You’ve just spent the better half of a day peeling off wallpaper and scraping away glue.
After such a long, laborious task, it’s time to step back and admire your clean, glue-free walls. You’ve worked hard to remove any trace of that ugly, outdated wallpaper, and you’re now free to paint over it as you will.
Here’s to a fresh new look in your lovely home.