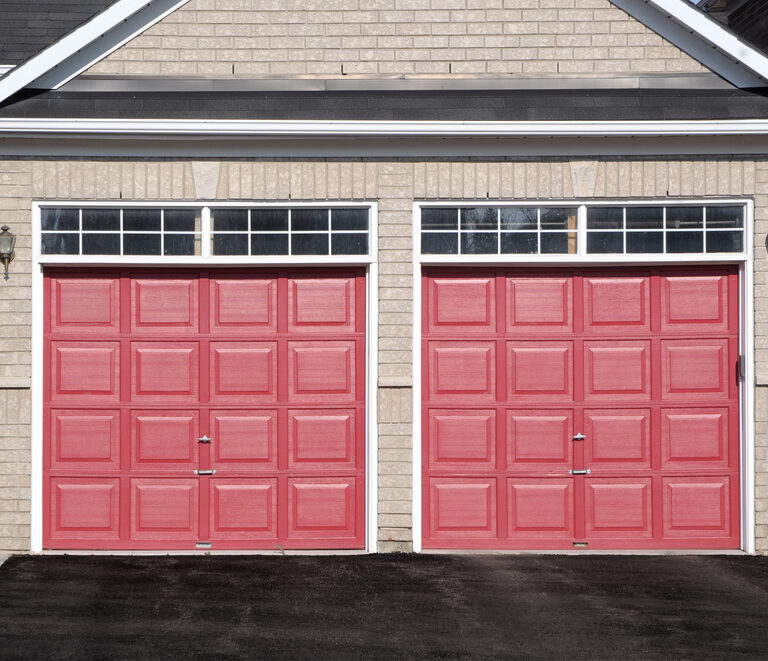
Is the paint on your garage door fading, peeling, or otherwise just not looking the way it should? If so, a fresh coat of paint may be just what it needs. Painting a garage door is a great way to not only improve the way that it looks, but also keep it in proper working order since the paint will help to provide protection from the elements.
For many people, this home improvement project will be fairly easy and straightforward. To make it even better, it will dramatically improve the look of your garage, which you can enjoy for years to come. On this page, you will find everything you need to paint your garage door properly and get professional results.
What You Will Need
Painting a garage door is a big job that can take quite a bit of time. In order to ensure everything goes smoothly, you will want to make sure that you have everything you need ready to go before getting started. Purchasing the following items will ensure you can complete this job without interruptions.
- Primer – Optional
- Paint – You can purchase paint and primer in one, so you only need one coat
- Paint Brushes – Have brushes in multiple sizes for ease of use
- Paint Rollers – Paint rollers will make covering the large areas of the garage door simple
- Paint Tape – This tape will protect windows and other areas from getting painted
- Paint Scraper – Only needed if you will be scraping off old paint from the garage door
- Cleaning Supplies – Outdoor cleaning supplies to prep the garage door
- Tarp or Large Cloth – Used to catch any drips so your driveway stays clean
The last thing you are going to need is not something that you can purchase at the store. The right weather. Whenever painting outside, you need to make sure that you have the right conditions not only for the painting itself, but also for it to properly drive over the course of the next day or two.
Look at the forecast and find a day where the temperature will be between 35 and 100 degrees Fahrenheit, with low humidity. The ideal temperature for both the paint and your comfort is going to be the mid-70’s. You will also want to make sure that it is not too windy out, since that could cause the paint to drip or run. It is best to plan your painting for a time when the sun is not going to be directly on you and the garage door so that the paint will adhere properly, and you do not get sunburnt.
Prepping the Area
Preparing the garage door and the surrounding area is almost as important as applying the paint itself. The first step is to make sure the surface of the garage door is clean and smooth. If your existing paint is in good condition, all you will have to do is clean it using a good outdoor cleaning product, a rag, and some elbow grease. Once the area is washed, you can even rinse it off using your outdoor garden hose to clear away any remaining residue.
If the paint is peeling, make sure to scrape off the old paint that is flaking away until you have a smooth surface. Once done scraping, wash the garage door and allow it to dry completely. Do not forget to sweep up all of the paint scrapings as well.
Once the garage door has dried, the next step in prepping the area is applying the paint tape on any areas that you do not want painted. This will include any windows that are in the garage door and the trim surrounding the door (if it is not being painted). You can also put your drop cloth down on the ground so that your driveway is protected once you begin painting.
Painting Your Garage
Now that everything is ready, it is time to take out your paint and get this job done. Depending the exact size and design of your garage door, you should be able to get the whole thing painted in one day. Just follow these steps and you’ll be done in no time.
Step 1 – Paint Corners, Edges, and Indented Areas
When painting a garage door, you want to start by painting the corners, edges, and any smaller indented areas. This needs to be done using a paint brush since you need to be more precise than a paint roller would allow. For some garage door designs, these small areas will make up only a little bit of the door. For others, most or even all of the garage door will need to be painted carefully with a brush.
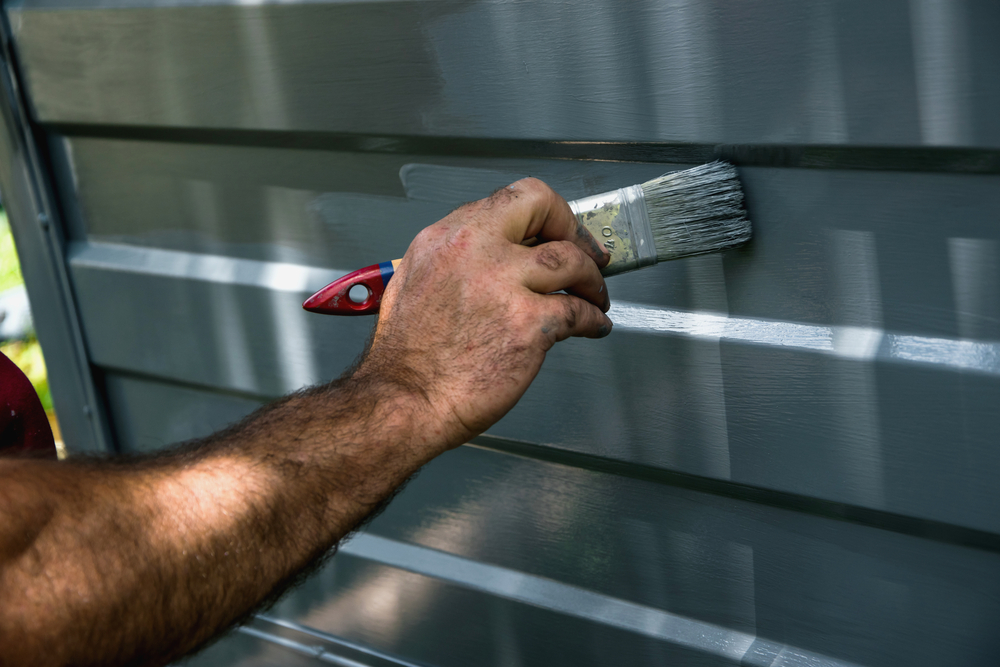
To complete this task, simply open and mix your can of paint, and dip the end of the brush into the paint about an inch deep. Pull the brush out, scraping it lightly over the edge so the paint does not drip. From there, begin painting the garage door using smooth strokes going both up and down or left and right.
When painting these smaller areas of your garage door, you want to make sure to keep moving along the edges, leaving the main parts of the door for your paint roller. To the extent possible, try not to paint anything other than the actual garage door. You should have your paint tape in place, but keeping the paint where it belongs will help to minimize waste.
Step 2 – Use the Paint Roller on Large Areas
Once the smaller areas have been painted, take your can of paint and dump a good amount into the paint roller tray. Saturate the paint roller by moving it into the paint several times, then rolling it out along the tray to prevent dripping.
Once the roller is covered with paint, move it to the garage door and begin painting the larger open areas. You will need to go over each area multiple times to ensure the paint is spread out evenly. While painting, watch out for any dripping or running of the paint on the garage door. When you see them forming, simply go over the area again with the brush to spread the paint out.
Painting a garage door with a roller will go surprisingly fast, especially when compared to painting the edges and corners.
Step 3 – Paint Garage Door Frame and Trim (Optional)
If you need to paint the garage door frame or trim, now is the time to do that. If the area is small, it should be done with a paint brush, similar to what was done in step 1. If you have a wider frame and trim, using a roller will make this task go much more quickly.
Step 4 – Touch Up Remaining Areas
Once you have completed painting the entire garage door and any other areas that needed it, set your brush and roller down and take a few minutes to closely inspect the door. Look for any areas that may have drips, are not fully covered, or otherwise do not look the way they should. If any of these areas exist, grab the paint brush and go over them again to complete the job.
Step 5 – Clean up and Let It Dry
Once you have finished painting all the surfaces that needed it, you can clean up most of your equipment. If you have any paint left over, make sure to seal the can up properly so that it will not go bad. Store the paint in a cool area and it can be used to touch up scrapes for years to come.
You can dispose of the paint brushes and rollers if you choose, or rinse them out thoroughly and let them dry for use on your next painting project. Make sure to leave your drop cloth in place until after the garage door has completely dried. While the paint will typically be dry to the touch within a couple of hours, it is best to avoid touching it (or opening the garage door) for at least 24 hours to ensure it is dry.
Enjoy Your Beautiful Garage
Once the paint has completely dried, you can open and close the garage door like normal. As long as you used good exterior paint on the garage door, it should look great for many years to come. Remember, making your garage door look like new with a fresh coat of paint not only looks great, but it also boosts the value of your home, so get ready to start this great project today.