If cartoons have taught us anything, it’s that sooner or later you’ll need to cut a perfectly round hole into a pane of glass, most likely to steal a priceless diamond. If they’ve taught us anything else, however, it’s that you’ll end up holding the cut-out hole while the rest of the glass shatters all around you.
You obviously don’t want that to happen, which is why you’re here. In this guide, we’ll teach you the best ways to drill a hole in glass, regardless of whether you’re hanging a mirror or turning an old wine bottle into a crafts project.
After all, drilling a hole in glass is easy. Drilling a hole in glass without breaking it, on the other hand, takes some skill.
Things to Know Before You Begin
If you’ve ever drilled a hole in wood or metal before, you may think you have the process down pat. All you have to do is fire up the drill and push it into the surface as hard as you can, right?
Unfortunately, drilling into glass isn’t that easy. For one thing, the temperature of the glass needs to stay within a few degrees of the drill. If it gets too hot, the glass will shatter — and that means you’ll need to go a lot slower than you’re used to.
Also, if you’re drilling into something like drywall and you screw up, all that will happen is you’ll have to break out the spackle. If you screw up while drilling into glass, on the other hand, shards will fly everywhere. Safety equipment is non-negotiable on a job like this — and that includes a gas mask, as you do not want to breathe in glass dust.
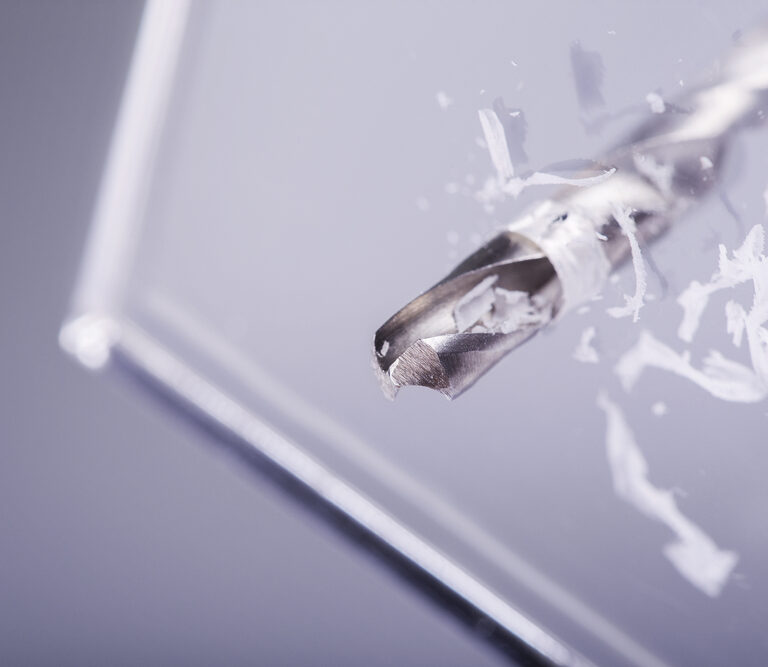
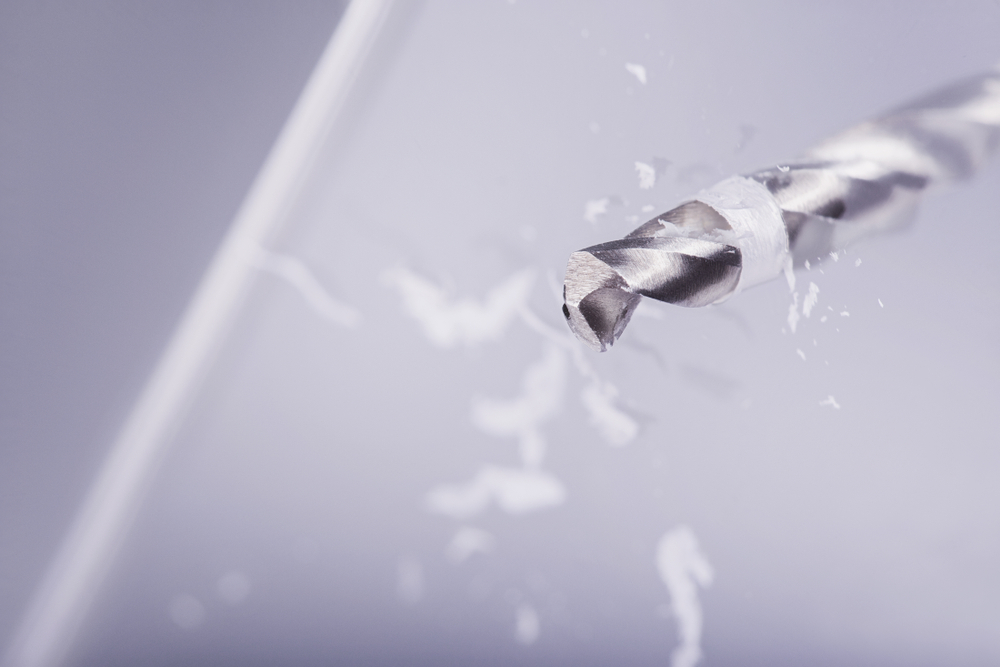
You’ll also need the right bit for the job. Don’t just grab the first one you see, or you’ll be making a lot of hardware store runs to replace all the glass you break. Buy either a tungsten carbide spear-tipped or diamond-tipped bit, as they have the hardness necessary to penetrate glass cleanly.
Let’s Get Drilling
Once you have all the equipment you need, it’s time to get started. As you’ll soon see, though, drilling into a glass is as much about preparing to drill into glass as actually doing it. This isn’t a job you can rush.
However, that doesn’t mean that it’s impossibly difficult, either. As long as you follow our step-by-step guide, you should be putting holes in glass like an old pro in no time.
1. Get the Glass Ready
It’s extremely important that the glass not move while you’re drilling into it, as that could cause you to mar or shatter it. That means you’ll have to clamp it down.
Of course, you can’t just tighten the clamps as hard as you can the way you would a board or sheet of metal. You’ll need to pad them with a rubber pad, blanket, newspaper, or some other type of cushion.
You also want to make sure that the back of the glass is well-supported. That generally means laying it on top of plywood or another sturdy surface; this backing needs to be strong enough to support the glass, but it also needs to be something you’re not afraid of damaging once the bit sinks through.
Due to the slippery nature of the surface, getting the hole started is often the hardest part. To help your drill bit find purchase, make an “X” with masking tape over the spot you want to drill.
2. Start Drilling
You’re going to want to drill a starter hole first, so load up a smaller bit before you move on to the main event. This doesn’t need to be a full hole — just a little dimple will suffice. The idea is to keep the larger bit from slipping and sliding once you switch to it.
Before you do that, though, apply some lubricating oil to both the glass and the bit. This may seem counterintuitive — after all, aren’t we trying to stop the bit from slipping and sliding? However, the oil will keep things from binding up, ensuring your drilling goes smoothly (and the tape you applied should help reduce skidding).
Go very slowly while drilling the starter hole. You don’t want to rev up past 400 RPMs or so, and apply the minimum amount of pressure necessary. Failing to go slowly or push lightly will increase the chances that the glass will break, as well as cause a buildup of glass powder.
Once the starter hole has been made, you can move on to a larger drill bit. If you’re looking to drill a large hole in the glass, though, don’t immediately switch to the final bit you’ll be using. Instead, progress to it slowly, moving up one size at a time.
Regardless of what size bit you’re using at the time, you’ll want to go slowly and reapply the lubricating oil often. You’ll also want to reduce the amount of pressure you use as you switch to larger bits.
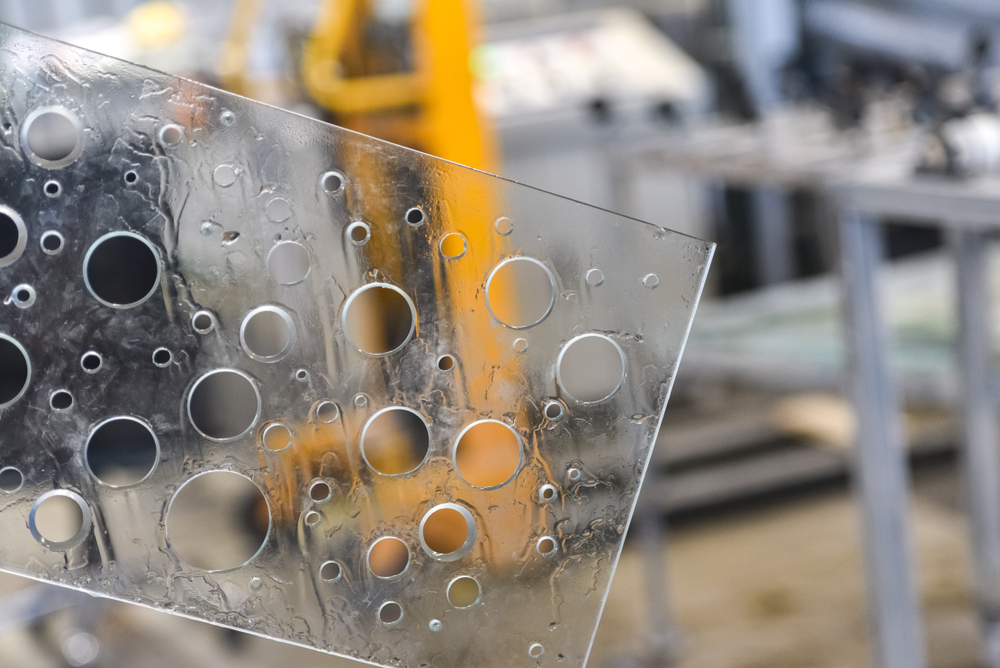
When you get about ¾ of the way through the hole, stop and flip the glass over and repeat the entire process from the other side. This will help reduce the risk of cracking or shattering, while also reducing the amount of cleanup necessary.
3. Clean up the Hole
After you’ve successfully drilled your hole, it’s time to take care of all the glass shards and dust you’ve created.
The hole itself may have chips and jagged bits around the edges, especially on the exit hole. If you flipped the glass over and drilled from the opposite side like we suggested, though, both sides should be relatively clean. No need to thank us — mailing us cash or your firstborn child is thanks enough (we prefer cash).
Take a 600-grit diamond file and gently sand the edges down until they’re completely smooth. You should also blow any dust away with compressed air, and rinse the finished product off to ensure there aren’t any stragglers.
Glass dust can get everywhere, so clean up your workspace as well. Giving the immediate area a once-over with a shop vac should do the trick.
Advanced Glass-Drilling Techniques
The techniques above are great for drilling into a flat pane of glass, but that’s glass-drilling on easy mode. If you’re wanting to drill into something like a glass bottle or tempered glass, you’ll find that the basic technique is the same, but you’ll need to work a little harder (and a lot more carefully).
Below are a few tips that should increase your chances of success.
1. Understand That You’ll Probably Fail… a Lot.
Specialty glasses are more delicate than thick panes, and as a result they’re more prone to cracking or breaking. You’ll need to be incredibly careful and take things very slow — and even then you’ll probably end up with a lot of broken glass on your hands (metaphorically speaking, we hope).
There’s a steep learning curve, so you’ll be even more destructive in the beginning. If you keep at it, though, eventually you’ll only fail most of the time, rather than all of the time.
2. Switch to a Drill Press
Drill presses are better for this type of work than handheld drills, as they give you more control over the speed and pressure you use. A press also keeps one of your hands free, allowing you to manipulate the bottle while you drill.
You don’t have to use a drill press, but it certainly makes it easier to work on irregular surfaces. A Dremel tool with a 360° diamond grit attachment is another good option.
3. Use More (and Less) of Everything
The basic idea when dealing with specialty glass is to do more of most things you’d do on regular glass — while also doing less of others. Confused yet? Good.
When dealing with bottles, tempered glass, or anything else that’s prone to breaking, you’ll want to use more lubrication and as many drill bits as possible — but you’ll want to use even less speed and pressure than you would on a glass pane.
It’s a delicate balance, but the end result is well worth it.
Final Thoughts
Drilling a hole in glass isn’t the easiest thing to do in the world, but it’s not impossible, either. There’s no reason to be intimidated — as long as you prepare properly and are careful, you can make a perfect hole every time.
Be sure you wear your safety goggles, though. The last thing you want is to try to drill a hole in a bottle only to end up with a hole in your retina instead.