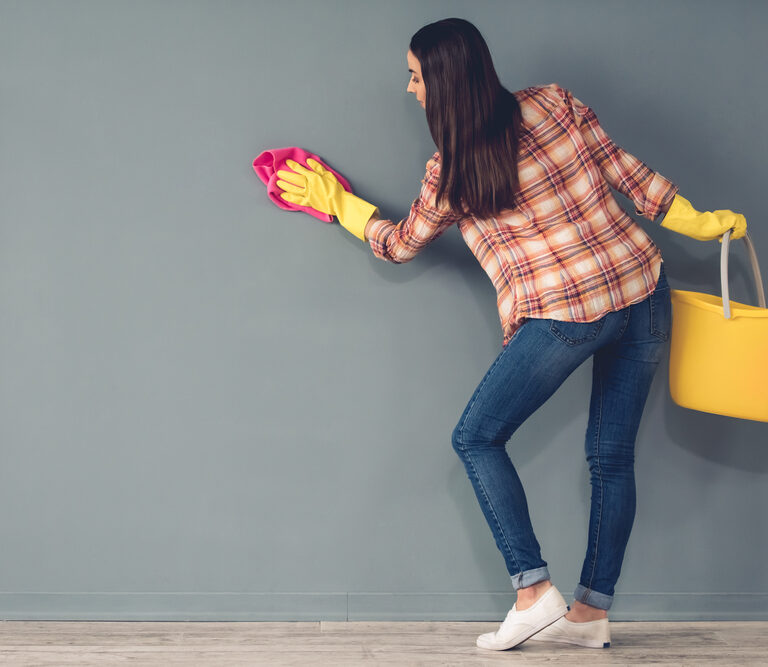
Your walls, just like the rest of your house, need cleaning. Luckily, you only have to clean them from time to time, since no one is walking on them, eating on them, or cooking on them.
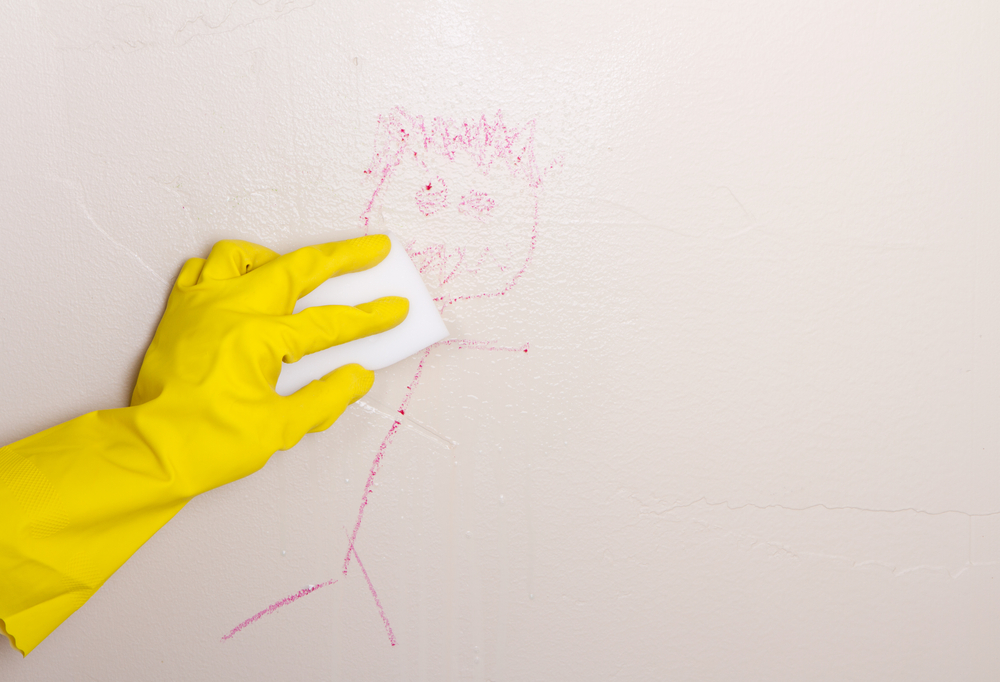
However, they still get dirty. Walls collect dust, high-traffic areas like light switches can start to look dull or dirty, and sometimes, children decide the wall is a much better canvas than a piece of paper.
You may be tempted to get out that all-purpose cleaner and have a go at your walls, but this can damage the paint. Washing the walls isn’t too difficult, but you need to use the right supplies. We’ll teach you everything you need to know about cleaning walls, from the products you should use to the best cleaning techniques.
What You’ll Need
Before you get started, you’ll need certain supplies. This may seem like a long list, but how many of them you actually need will depend on how dirty your walls are, as well as your preferred method of cleaning.
- Rubber gloves
- Vacuum
- Dust cloth
- Sponge
- Sponge mop
- Microfiber cloth
- Dish soap
- Baking soda
- Hydrogen peroxide
- Borax
- Non-sudsing ammonia
- Vinegar
- Two buckets of warm water (one for the cleaning solution and one for rinsing)
Cleaning Painted Walls, Step-By-Step
Step 1: Prepare Your Space and Protect Your Floors
Before you get started, you need to prep your space. Move your furniture out of the way, so you can easily access the walls that need cleaning. Remove any artwork, photos, or anything else hanging on the wall.
Next, place towels or a drop cloth on the floors against the walls you’ll be cleaning. When we explain the proper methods to cleaning the wall, you’ll see that you shouldn’t be using so much water that it runs down the wall. However, accidents happen, so it’s good to protect your floors, just in case.
Step 2: Vacuum and Dust
Your walls may have some cobwebs on them, and they most definitely have dust. We recommend using a vacuum to deal with any cobwebs or clumps of dust (or dog hair). You can then run a duster along the rest of the wall to make sure you’ve gotten all possible dust particles.
Textured walls tend to be harder to dust than painted drywall. Vacuums with bristle attachments work well to free dust from nooks and crannies. Make sure you dust your walls horizontally from top to bottom. As you work downwards from the top, dust will fall onto the lower sections, so doing it the opposite way is counterproductive.
It’s important to take the time to properly dust the wall, because if you don’t, dust will just get wiped around on the wall once you go in to clean with liquid. This muddies the wall and makes the cleaning process harder in general.
Step 3: Spot Test
Because you don’t want to scratch, scuff, or otherwise damage the paint on your walls, it’s best to use non-abrasive cleaners like good old warm, soapy water.
Different finishes are more durable than others, so it’s helpful to know what kind of finish you have. Flat, eggshell, and satin are less durable, whereas semi-gloss and glossy finishes are tougher.
While soapy water isn’t likely to damage any type of paint, it’s still best to do a spot test. Try scrubbing in an area that isn’t visible, like behind furniture or picture frames, to make sure the products you’re using won’t remove any paint.
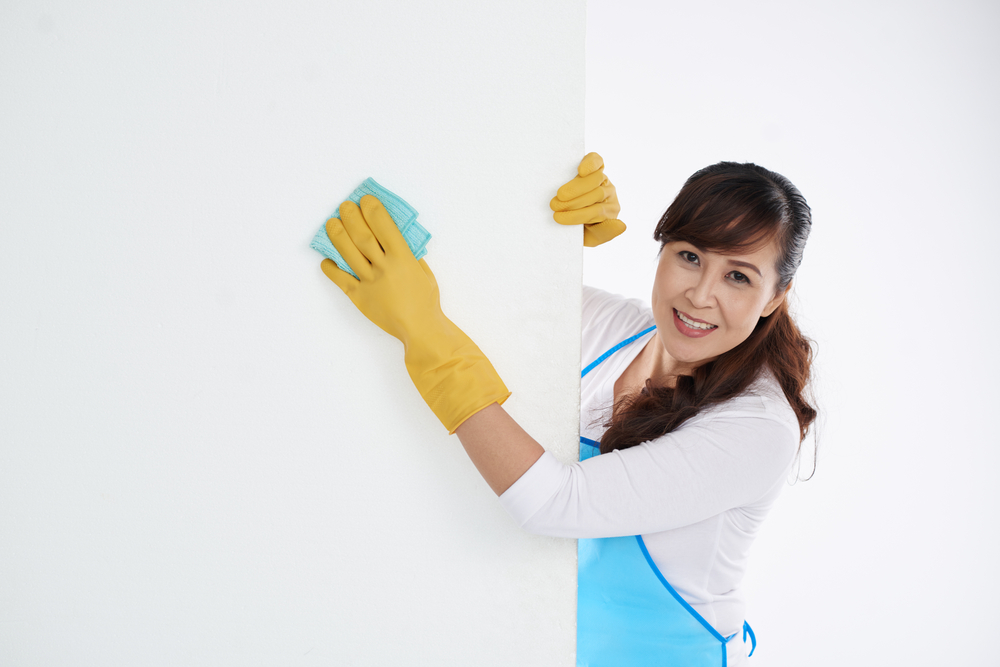
Step 4: Wash, Wash, Wash!
If your walls aren’t very dirty, warm water alone may be enough to wash them. Otherwise, use warm, soapy water. Dip your sponge in the water and wring it out; you want it to be damp, not soaking wet.
Start from the left side of your wall and move toward the right using circular motions. You can go from one corner to the other, or do the wall in sections if it is especially big. If the walls are rather tall, you can use a sponge mop to clean them.
Be sure that the products and tools you are using do not contain any dyes that could bleed when wet.
Step 5: Rinse and Dry
Once you’ve washed the walls with soapy water, it’s time for a rinse. Dip a soap-free sponge in clean water and give your walls one last scrub. This will ensure that you didn’t miss any spots and will remove any soapy residue from your walls.
Next, use a microfiber cloth or towel to dry the walls off. Microfiber cloths are great tools because they can remove 99% of the bacteria on a surface. If it’s a nice day, you can open your windows to help with the drying process.
You may be wondering why we didn’t suggest spot cleaning before this step, and there’s a very good reason. You do not want to leave your walls wet with soapy water for longer than they have to be. Rinsing them and drying them off right away will help prevent streaks.
Step 6: Spot Cleaning
Some areas of your wall may be dirtier than others, and a sponge full of soapy water won’t quite do the job. In this case, you’ll want to turn to products like baking soda or hydrogen peroxide. Just like before, you should do a patch test to make sure these products won’t scratch or discolor your paint.
Mix baking soda with water to create a paste, and then apply it to the stained area. Scrub it gently with your sponge. If you’re working with hydrogen peroxide, wet a small area of a cleaning rag and then gently scrub the spot. Hydrogen peroxide works particularly well for fruit or wine stains.
If neither of these options work, you can try the following mixture:
- 1 gallon of warm water
- 1 cup of clear non-sudsing ammonia
- 1 cup of white vinegar
- 1 cup of borax
This mixture is more abrasive, so we’re going to say it again: patch test it first!
Step 7: Consider Touching up Your Paint
If you have any especially tough stains that are undefeated by our spot-cleaning solutions, then you might want to consider covering them with paint. You’ve already removed pictures from the wall to clean it, moved the furniture, and protected your floors, so the time is right to paint over any scratches or stubborn stains.
Just make sure that you either have leftover paint that’s still good, or you can get the exact color and finish of the paint on your wall. If you do decide to do some touch-ups, make sure you use the same method (rollers, brushes) as when you originally painted the wall, so that it blends in nicely.
Keeping Your Walls Clean
Because walls are vertical rather than horizontal surfaces, thankfully, they remain clean for longer. However, if you want to keep your walls clean and reduce the frequency with which you need to do a full scrub, there are a few things you can do.
The most important one is spot cleaning. The moment a mess is made on your wall, you should clean it right away. The longer it sits, the harder it’ll be to get out later.
Be sure to pay close attention to areas around light switches and outlets. These spots see a lot of hands, which often means they get dirtier faster.
However, you have to be careful when cleaning these spots. You absolutely do not want water going into an electrical outlet! We suggest turning the electricity off or simply removing the outlet covers to wash them.
Aside from spot cleaning, dusting and vacuuming your walls periodically will also help them stay cleaner. If you have pets or kids, you may find that you have to do these preventative chores a bit more frequently.
Say Goodbye to Dirty Walls
Washing the walls is a pretty straightforward process if you know what you’re doing. It’s important to start off with vacuuming and dusting the wall to remove any cobwebs, dog hair, and dust particles. People often skip this step or don’t realize they should do it, which can cause them to accidentally rub grime around the wall, rather than remove it.
Once that first step is done, it’s pretty much smooth sailing. As long as you steer clear of abrasive cleaners and stick to soap and water, you can wash your walls without ruining the paint. Rinse and dry and you’ll be saying goodbye to dirty walls in no time!