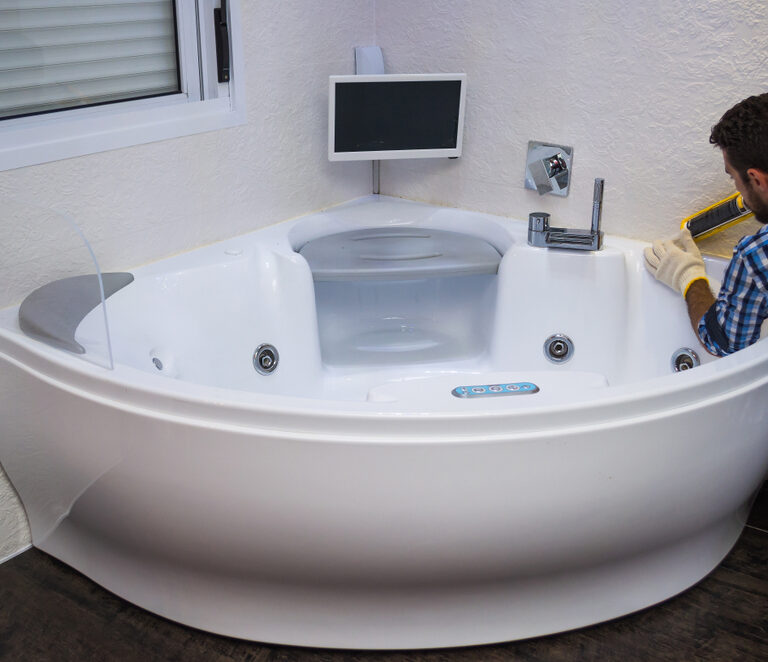
Without a fresh, watertight sealant, your bathtub will be susceptible to leakage, mold, and mildew—you must keep up to date with your caulking regime.
If you live in an older home and you’ve neglected to caulk the corners of your tub, it could be time to give it a fresh new seal. Although the process requires a bit of effort, it’s not especially difficult and is well within reach of the novice DIY enthusiast.
In this guide, we’ll give you a handful of handy tips on how to effectively caulk a bathtub before explaining the entire process in layman’s terms.
5 Tips and Tricks to Caulk a Tub Like a Pro
If you’re unfamiliar with caulking, don’t stress—the process is easier than you think. And to help bring your expertise up to speed, we’ve put together these five useful tips.
Check Whether Your Tub Needs Caulking
Just because you haven’t bothered to caulk your tub for some time doesn’t necessarily mean it needs doing right now. Keep an eye out for the following symptoms on your existing bathtub caulk to determine whether a fresh new coat is necessary.
- A brown tinge along the edge of the caulk line
- Brittle and cracked caulking
- Water or moisture seeping through
If you notice any of these, then it’s time to reach for the caulking gun.
Choose a High-Quality Bathtub Sealant
A bewildering array of caulking products is available, but most aren’t appropriate for bathroom use. The best bathtub sealants will include tags like “Kitchen and Bathroom” or “Tub and Tile” on the label. Not only are these sealants entirely impermeable, but they’re also specially formulated to resist mold and adhere to smooth surfaces.
An acrylic latex sealant is an excellent option for the novice caulker as it’s easy to apply, a cinch to smooth, and simple to clean. You also get to choose from a kaleidoscope of colors to match any bathroom design, and the chemical composition doesn’t smell while curing.
But despite its convenience, latex just doesn’t seal as well as silicone, nor will it last as long.
- DAP Kwik Seal is a great latex option—it’s 100% waterproof, mold-resistant, and goes on just like glue.
Silicone is the superior sealant overall, providing optimal protection against both leakage and mold. It’s extra flexible and will last longer than its counterpart, too—you won’t have to re-caulk any time soon.
But silicone is a chore to work with because it’s super stringy (it gets EVERYWHERE) and requires the entire surface to be spotlessly clean. Removing it is even more burdensome; you’ll need to scrub every last flake off with a mineral spirit-soaked rag. You also only get a few colors to choose from—white, transparent, and almond—and the stuff smells awful until it’s fully cured.
- GE Sealants & Adhesives makes a superb silicone caulk chemically formulated for bathroom use.
Use a Good Caulking Gun
While it’s possible to seal a bathtub without a caulking gun, it’s not a good idea if you value your sanity. We also don’t recommend using a cut-price caulking gun as these flimsy products will frustrate the heck out of you.
A well-made caulking gun will make the process infinitely easier—it’s worth investing a few bucks more on something decent. Look for a product from a trusted brand, preferably one with a well-designed plunger and release button to help you control the caulking flow.
- The Newborn 930-GTD is a great caulking gun with a super smooth pressure rod that automatically retracts after each trigger pull to minimize dripping.
Don’t Caulk Over Existing Caulk
Whether you’re using latex or silicone, your sealant simply won’t stick onto existing caulk. The old and new caulk will fail to bond, and you’ll get a non-water-resistant adhesive that could lead to water damage down the track. It’s not worth the risk.
Always scrape off the old caulk first using a chemical caulk remover (Motsenbocker’s Lift Off works well) and a putty knife.
Cut the Caulk Tube Nozzle at the Appropriate Width
Caulking tubes come with a long conical lid you cut open yourself, and the ideal spot to slice depends on how thick you want the bead.
The trick is to avoid cutting the lid too low. First, cut it off towards the upper end and squeeze a small amount of caulk out to test the width of the bead. If it’s too narrow, cut the lid slightly lower and try it again.
Should you cut it too low, you’ll be left with a bead that’s too wide for your needs.
How to Caulk Your Bathtub in Seven Simple Steps
Now that you’re up to speed on caulking, it’s time to start sealing your tub.
1. Gather the Tools of the Trade
The following items are available at your local hardware store or online.
2. Scrape off Your Current Caulk With a Putty Knife
It’s essential to eliminate all the existing caulk before applying a new layer; otherwise, it simply won’t stick properly and could leak.
- Cover the tub with a tarp to protect it from scratches and residue.
- Carefully pry the old caulking off with a putty knife, working slowly and holding it at a low angle.
- Continue prying until you’ve removed all the caulk.
Depending on the type of caulk and how long it’s been there, getting rid of it with a putty knife mightn’t be possible.
3. Remove Any Remaining Flakes With a Caulk Cleaner
If you’re struggling to remove the old caulk, as is often the case, a chemical caulk remover can help.
- Spray the remover on an inconspicuous area to patch test the formula.
- Scrape off as much sealant as possible and score the edges to allow the remover to penetrate the caulk.
- Spray the caulk and wait three minutes.
- Agitate the caulk with a scraper.
- Rinse and wipe the caulk clean.
4. Scrub the Old Caulk Until It’s Completely Clean
It’s not enough to simply scrape the caulk clean; you need to scrub off every single speck.
- Use a non-abrasive pad to scour away any leftover residue.
- Continue scouring until there’s no more caulk residue left on the joint. If cleaning a silicone sealant, soak a rag in mineral spirits and scrub the surface instead of using a pad (extra elbow grease may be required).
- Wipe a damp cloth over the joint to remove any remaining caulk dust.
- Allow the area to dry naturally or dry it with a clean cloth.
5. Stick on Some Painter’s Tape
Caulk has a habit of smearing itself everywhere, especially the silicone stuff, which is a challenge to control. Laying down painter’s tape will ensure you don’t end up with caulk where it shouldn’t be.
- Put two parallel strips of painter’s tape along the joint about 3/8 inch apart.
Now that your seam is spotless and the tub protected with tape, it’s time to pull out the caulk gun.
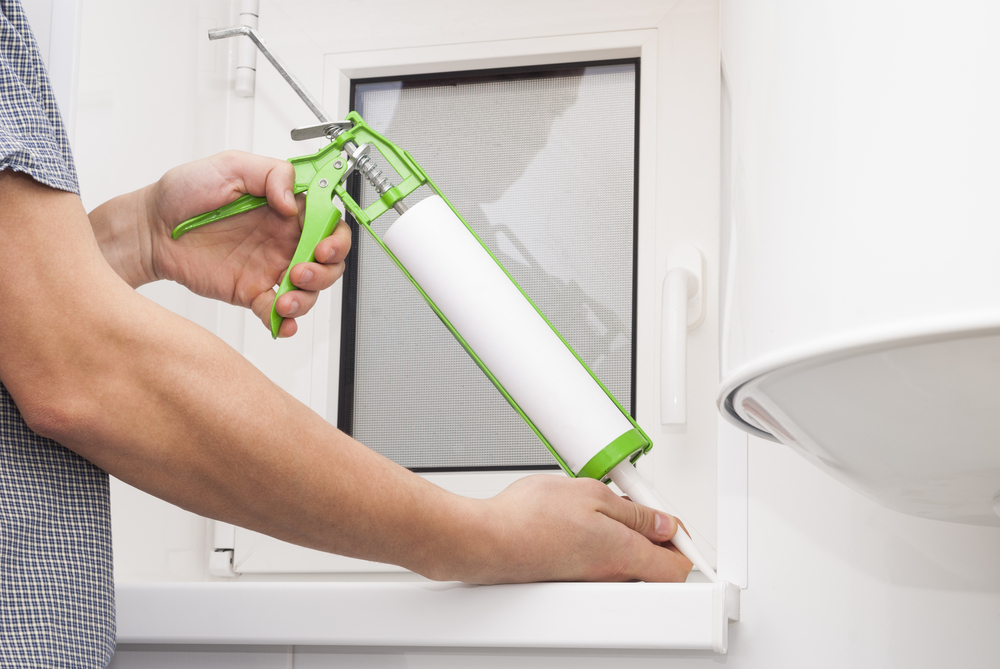
6. Apply the Caulk With Your Caulking Gun
The trick to using a caulk gun is to apply a slow and steady stream. Feel free to practice on a piece of paper first if you’ve never done this before.
- Load the caulk tube into the caulk gun.
- Cut the caulk tube nozzle to the desired width.
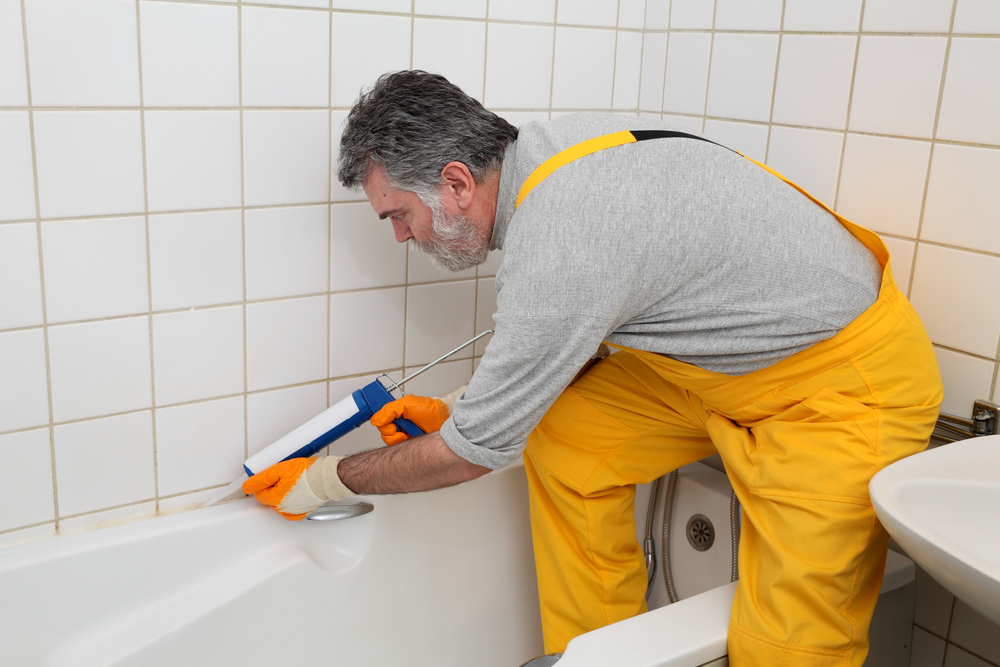
- Point the nozzle towards the joint at a 45-degree angle.
- Apply consistent pressure to the trigger while you move the caulk gun down the seam.
It’s crucial to move the caulk gun at a steady speed that matches the rate the caulk flows out of the nozzle. If you move it too fast, you’ll end up with a fine bead that won’t provide an adequate seal; too slow, and you’ll squirt on excess caulk, which you’ll have to clean up later.
7. Smooth the Caulk
If left as is, the caulk line will have an irregular, blobby shape that’ll appear awful once it dries. Smoothing it down with your finger will form a concave bead and leave the seam looking sleek.
Don’t give the caulk time to dry; do these steps as soon as you’re done with the caulk gun.
- Use a damp cloth to gently press your finger into the seam.
- Move your cloth-covered finger across the seam in a steady, continuous motion.
- Remove the painter’s tape without letting it touch the caulk.
- Use your damp cloth and finger to smooth down any imperfections left by the tape.
- Allow 24 hours to cure.
How to Caulk a Bathtub: Final Thoughts
Caulking a bathtub is a straightforward process that even the most inexperienced home handyman can pull off. Follow the tips and steps in this handy how-to guide to give your bathtub a fresh new coat of sealant.
It’ll take a bit of effort, but you’ll protect it from leakage and mildew for years to come.